
Storm damage leaves thousands of American families in Texas scrambling to fix roof leaks each year. Protecting your home in Corpus Christi or San Antonio means acting quickly before water intrusion leads to costly repairs. This guide breaks down clear steps for identifying, preparing, patching, and reinforcing vulnerable roof areas so you can confidently restore safety and value to your property.
Table of Contents
- Step 1: Inspect The Roof To Identify Leak Sources
- Step 2: Prepare Repair Area By Cleaning And Clearing Debris
- Step 3: Apply Effective Patching Materials And Sealants
- Step 4: Reinforce Vulnerable Zones For Lasting Durability
- Step 5: Check Repairs For Watertight Performance
Quick Summary
| Key Insight | Explanation |
|---|---|
| 1. Inspect roof for leak sources | Thoroughly check areas around critical penetrations like chimneys and vents for damaged flashing or shingles to prevent leaks. |
| 2. Clean the repair area effectively | Remove debris and clean the workspace meticulously to ensure proper adhesion of patching materials during repairs. |
| 3. Use appropriate materials for repairs | Select patching materials that match your roofing type for effective and long-lasting repairs, ensuring seamless application. |
| 4. Reinforce vulnerable zones strategically | Focus on reinforcing critical points such as roof edges and valleys to enhance durability and prevent future leaks. |
| 5. Check repairs for watertight performance | Perform thorough inspections and water tests to confirm the effectiveness of repairs and ensure no ongoing leaks are present. |
Step 1: Inspect the roof to identify leak sources
Identifying potential roof leak sources requires a systematic and thorough visual examination. By understanding where and how water might penetrate your roofing system, you can prevent extensive water damage and costly repairs.
Start your inspection by carefully examining areas around critical roof penetrations. These include chimneys, skylights, vent pipes, and any other structures that interrupt the roof surface. Look closely at the flashing surrounding these elements. Damaged or improperly sealed flashing often becomes the primary entry point for water. Check for signs of cracking, lifting, or separation between the flashing and roofing material.
Move methodically across your roof surface, scanning for damaged shingles, curling edges, missing granules, or areas with visible wear. Pay special attention to valleys where roof sections meet and areas around satellite dishes or solar panels. Dark spots, moss growth, or discoloration can indicate potential moisture problems. Inside your home, look for telltale water stains on ceilings and walls which might reveal hidden leak locations.
Here’s a quick comparison of common roof types and their typical leak risk zones:
| Roof Type | Most Vulnerable Areas | Common Leak Causes |
|---|---|---|
| Asphalt Shingle | Roof valleys, flashing, vents | Cracked shingles, loose flashing |
| Metal | Seams, fastener points, edges | Failed sealant, rusted screws |
| Tile | Under broken tiles, ridge caps | Cracked tiles, dislodged caps |
| Flat/Low Slope | Roof edges, around drains | Ponding water, membrane cracks |
Pro Tip: Use binoculars for an initial ground level inspection to safely identify potential problem areas before climbing onto the roof.
Step 2: Prepare repair area by cleaning and clearing debris
Before starting any roof repair, creating a clean and safe workspace is crucial for ensuring quality work and preventing potential complications. A meticulously prepared repair area sets the foundation for successful roof restoration.

Begin by removing construction debris safely and systematically clearing the work zone. Use protective gloves and wear non slip shoes to prevent accidents. Remove loose shingles, fallen branches, leaves, and any sharp objects that could interfere with your repair process. Pay special attention to roof valleys and edges where debris tends to accumulate, as these areas can harbor moisture and potential damage.
Thoroughly sweep and clean the repair surface, ensuring it is completely dry and free from dirt, moss, or loose granules. Use a soft bristle brush or leaf blower to gently remove surface contaminants without damaging the roofing material. Check the surrounding area for potential environmental hazards and ensure your workspace is organized and accessible. This methodical approach helps guarantee proper adhesion of repair materials and prevents future complications.
Pro Tip: Work during dry weather conditions and use drop cloths to collect debris, making cleanup easier and protecting your property from potential damage.
Step 3: Apply effective patching materials and sealants
Selecting and applying the right patching materials is critical for creating a durable roof repair that prevents future water intrusion. Your goal is to restore the roof’s protective barrier with precision and long lasting effectiveness.
Choose patching materials that match existing roofing specifications carefully. Use roofing cement or specialized sealants designed for your specific roof type whether asphalt shingles, metal, or tile. Apply the material in thin consistent layers using a putty knife or specialized roofing trowel. For small holes or cracks less than quarter inch wide, silicone based sealants work well. Larger damaged areas might require patch kits with reinforcing mesh to ensure complete coverage and structural integrity.
Pay close attention to the edges of your repair area. Blend the new patch seamlessly with surrounding roofing materials to create a watertight seal. Use smooth even strokes when applying sealants and ensure complete coverage without air bubbles or uneven surfaces. Allow sufficient drying time as recommended by the manufacturer before testing the repair or exposing it to potential moisture.
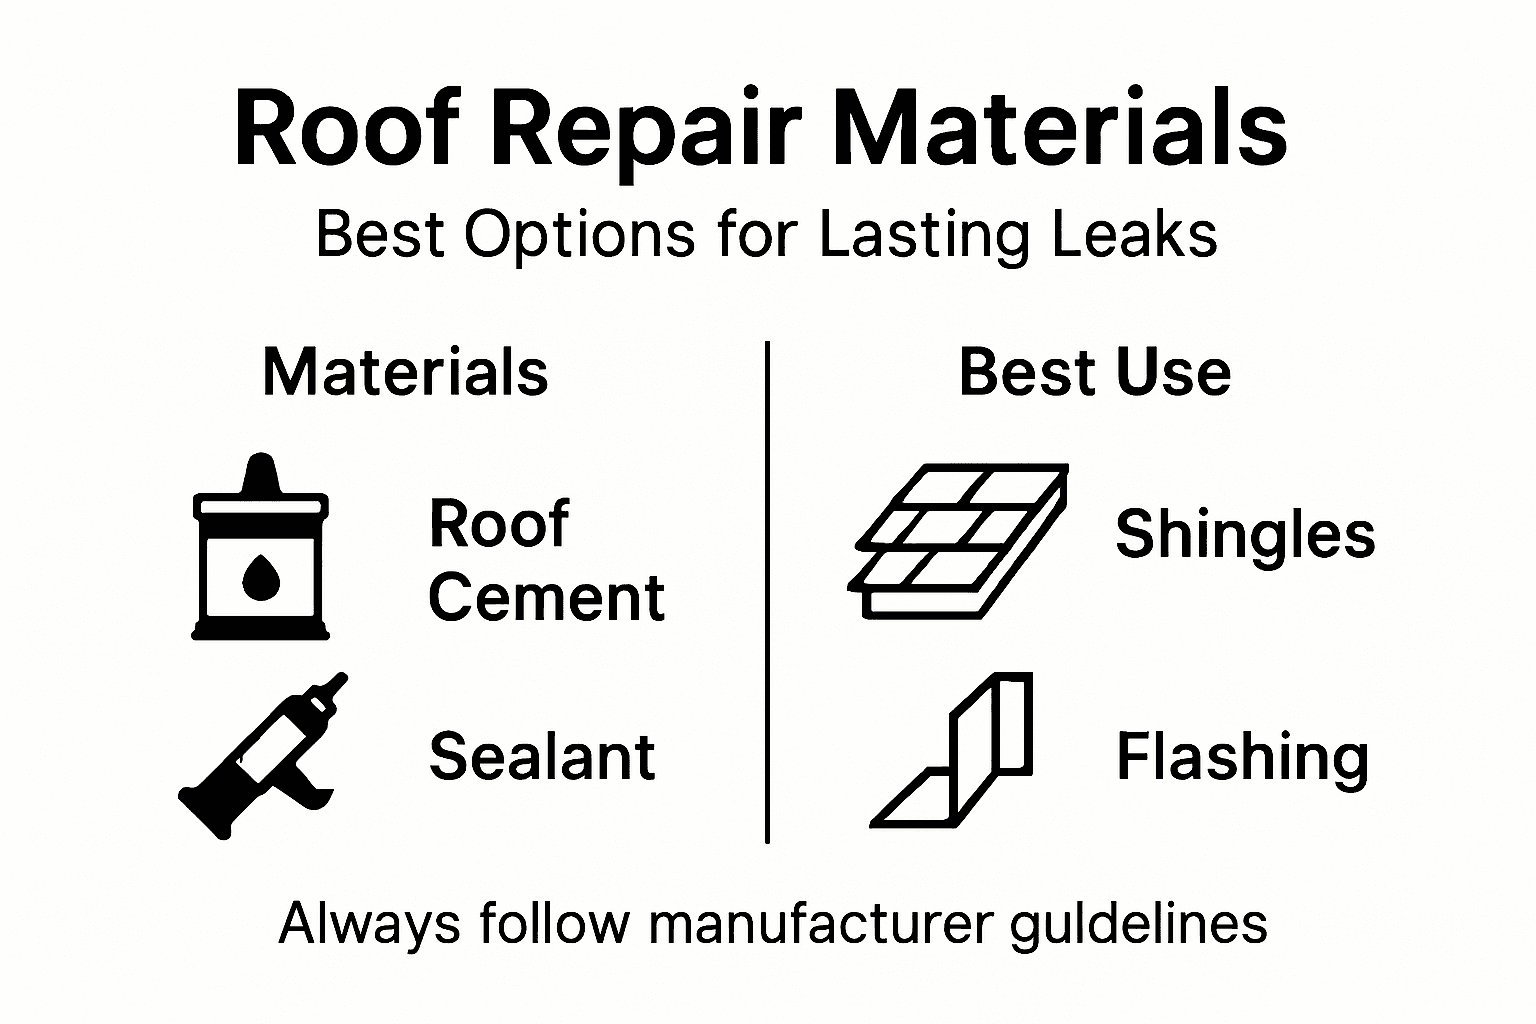
The table below summarizes patching material options and their ideal uses:
| Material Type | Best for Roof Type | Key Benefit |
|---|---|---|
| Roofing Cement | Asphalt shingles | Strong adhesion, easy to mold |
| Silicone Sealant | Metal or tile | Flexible, highly waterproof |
| Patch Kit with Mesh | All roofs, larger holes | Extra strength, covers wide areas |
| Acrylic Sealant | Low slope roofs | UV resistant, fast drying |
Pro Tip: Choose sealants and patches that match your roof color to create a more aesthetically pleasing and less noticeable repair.
Step 4: Reinforce vulnerable zones for lasting durability
Protecting your roof from potential water damage requires strategic reinforcement of areas most susceptible to wear and environmental stress. By identifying and strengthening these critical zones, you can significantly extend your roof’s lifespan and prevent future leaks.
Roof reinforcement strategies focus on addressing key vulnerable points. Concentrate on roof edges, ridge lines, and areas around chimneys, vents, and skylights. Use additional flashing materials and specialized sealants to create a more robust water barrier. Pay special attention to roof valleys where two slopes meet, as these areas are prone to water accumulation and potential leakage. Consider using reinforcing mesh or additional layers of waterproof membrane in these high risk zones to provide extra protection against water infiltration.
Apply wind rated materials and ensure proper attachment techniques for long term durability. Check that all fasteners are secure and that no gaps exist between roofing components. Install metal edge strips along roof perimeters to help prevent wind uplift and reduce the risk of material separation during severe weather conditions. Verify that all flashing points are properly sealed and integrated with the roofing system to create a continuous protective barrier.
Pro Tip: Invest in high quality weatherproof materials during reinforcement to maximize your roof’s resilience against Texas coastal storm conditions.
Step 5: Check repairs for watertight performance
Verifying the effectiveness of your roof repairs is crucial to ensuring long lasting protection against water damage. A comprehensive performance check will help confirm that your repair work has successfully addressed potential leak points and restored your roof’s integrity.
Post repair roof inspections involve multiple assessment techniques to detect any hidden moisture problems. Start by examining interior spaces carefully for signs of water intrusion such as damp spots, discoloration, or subtle staining on walls and ceilings. Check your attic thoroughly using a bright flashlight to identify any moisture trails or new water damage around the repaired areas. Look for subtle temperature differences or unusual dampness that might indicate ongoing leakage.
Conduct a simulated water test by carefully spraying the repaired section with a garden hose on a low pressure setting. Watch closely for any water penetration or seepage through the patched areas. Pay special attention to the edges of your repair work and along flashing points. Document your findings with photographs to create a visual record of your repair assessment. If you notice any persistent moisture or signs of incomplete sealing, consider reapplying sealant or consulting a professional roofing expert for a more detailed evaluation.
Pro Tip: Perform your watertight performance check during dry weather conditions to ensure accurate moisture detection and easier visual assessment.
Secure Your Home with Expert Roof Leak Repairs Today
Roof leaks can cause hidden water damage that destroys your home’s integrity and peace of mind. If you have identified vulnerable zones such as flashing failures or damaged shingles, it’s crucial to act before small problems turn into costly repairs. This article covers essential steps like inspecting leak sources, cleaning repair areas, and applying durable sealants — all vital to long-lasting protection.

Don’t let water intrusion threaten your property. At Buffalo Roofing & Exteriors, we specialize in precision roof repairs designed for the harsh weather conditions in Corpus Christi and surrounding Texas coastal regions. Benefit from our expert knowledge in roofing solutions and roof repairs to reinforce your most vulnerable zones effectively. Visit our main site now for a free estimate and fast, reliable service that keeps your home dry and secure all year round.
Frequently Asked Questions
How do I identify the source of a roof leak?
To identify the source of a roof leak, conduct a thorough visual inspection of critical roof penetrations, such as chimneys, skylights, and vent pipes. Look for damaged flashing or signs of wear around these areas and check the interior of your home for water stains on ceilings and walls.
What materials do I need to repair roof leaks effectively?
To effectively repair roof leaks, gather materials like roofing cement, silicone sealant, or patch kits that suit your roof type. Apply these materials carefully in thin layers to ensure a durable seal and prevent further water intrusion.
How can I reinforce vulnerable areas of my roof?
To reinforce vulnerable areas of your roof, focus on roof edges, valleys, and points around chimneys and vents. Use additional flashing and waterproof sealants to strengthen these zones and consider adding layers of reinforcing mesh for extra protection against leaks.
What steps should I take to prepare for roof repairs?
To prepare for roof repairs, clear your work area of debris and ensure the repair surface is clean and dry. Remove any loose shingles, branches, or dirt that might interfere with your work to establish a safe and effective workspace.
How can I test if my roof repairs are watertight?
To test if your roof repairs are watertight, perform a simulated water test by spraying the repaired section with a garden hose at low pressure. Watch closely for any leaks or water penetration around the patched areas, ensuring that the repairs have effectively sealed the roof.
What should I do if my roof repair doesn’t hold up?
If your roof repair doesn’t hold up, inspect the repaired area for signs of moisture or incomplete sealing. Reapply sealant as needed, or consult a professional roofing expert to evaluate the issue and recommend a comprehensive solution.
Recommended
- How to Spot and Fix Roof Leaks Before They Lead to Major Damage | Buffalo Roofing & Exteriors | San Antonio to Corpus Christi, TX
- Top Signs Your Roof Needs Repairs Before It’s Too Late | Buffalo Roofing & Exteriors | San Antonio to Corpus Christi, TX
- Why is it Important to Get Home Exteriors and Roofing Repaired Quickly? | Buffalo Roofing & Exteriors | San Antonio to Corpus Christi, TX
- Roof Repair | Buffalo Roofing & Exteriors | San Antonio to Corpus Christi, TX
- 7 Ways to Storm-Proof Your Home: Small Fixes for Water Damage | Chicago Home Inspect LLC
- Roofing Services in Corpus Christi TX