Storms can test the limits of any roof in Corpus Christi and San Antonio, leaving homeowners worried about costly damage. Regular roof maintenance matters because even small problems—like missing shingles or debris buildup—can become major headaches in harsh Texas weather. By learning a step by step workflow, you can address vulnerabilities early and protect your home’s value for years to come. Discover how a detailed inspection, safe debris removal, and strategic repairs form the foundation of effective storm damage prevention.
Table of Contents
- Step 1: Assess Roof Condition And Identify Vulnerable Areas
- Step 2: Clear Debris And Prepare The Workspace Safely
- Step 3: Repair Minor Issues To Reinforce Roof Integrity
- Step 4: Seal And Weatherproof Critical Roof Components
- Step 5: Verify Repairs And Schedule Ongoing Inspections
Quick Summary
| Key Insight | Explanation |
|---|---|
| 1. Inspect Roof Regularly | Schedule professional inspections every twelve months to catch potential issues early. |
| 2. Address Minor Repairs Promptly | Fix damaged shingles and flashing immediately to prevent leaks and further damage. |
| 3. Clear Debris for Safety | Remove leaves and twigs to ensure a safe working area and maintain roof integrity. |
| 4. Weatherproof Vulnerable Areas | Apply sealants around vents and edges to prevent water penetration from storms. |
| 5. Document Maintenance Procedures | Keep a log with photos and dates of repairs for insurance and future reference. |
Step 1: Assess roof condition and identify vulnerable areas
Protecting your home from storm damage begins with a thorough roof inspection. Your goal is to systematically evaluate potential weak spots that could compromise your roof’s integrity during severe Texas weather. This comprehensive assessment helps you proactively address minor issues before they escalate into costly repairs.
Start by conducting a detailed visual examination of your roof, focusing on critical areas like roof valleys, edges, and flashing where water tends to accumulate. Trained professionals recommend using advanced damage assessment techniques to identify early signs of wear such as cracked or missing shingles, damaged underlayment, and potential structural weaknesses. Pay special attention to areas around chimneys, vents, and skylights where water can easily penetrate.
Carefully inspect your roof from both ground level and up close if it is safely accessible. Look for telltale signs of potential storm vulnerability like curling shingle edges, granule loss, exposed nail heads, and areas with visible sagging or uneven surfaces. Document any discovered issues with clear photographs to help track changes and support potential insurance claims.
Here’s a summary of common roof vulnerabilities and their typical warning signs:
| Vulnerable Area | Common Issues | Early Warning Signs |
|---|---|---|
| Roof valleys | Shingle wear, debris buildup | Granule loss, pooling water |
| Edges | Curling shingles, loose nails | Sagging, exposed nail heads |
| Flashing (chimneys, vents) | Rust, cracks, loose connections | Water stains, visible gaps |
Pro tip: Consider scheduling a professional roof inspection every 12 months, especially before hurricane season in coastal Texas regions.
Step 2: Clear debris and prepare the workspace safely
Preparing your roof for maintenance requires a strategic approach to debris removal and workspace preparation. Your primary objectives are to create a safe working environment and minimize potential hazards that could compromise worker safety or equipment efficiency.
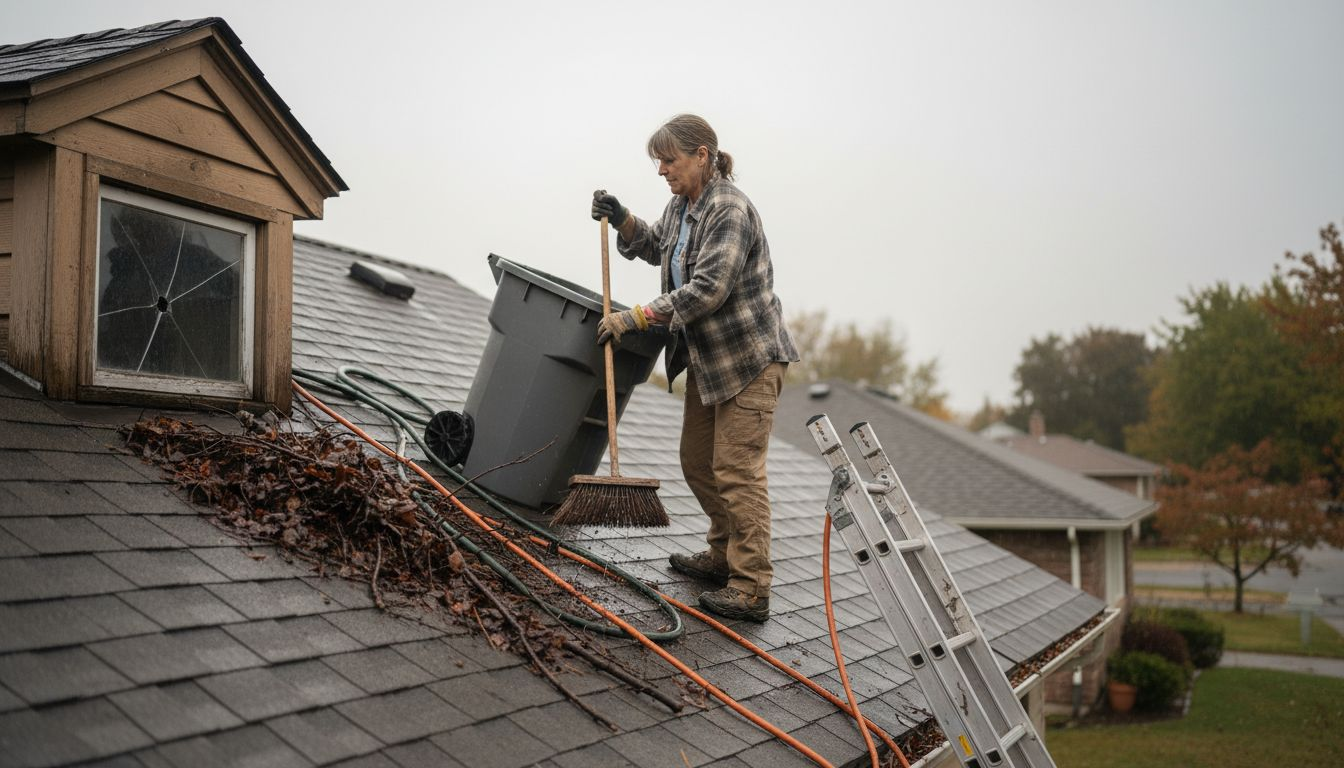
Comprehensive debris removal strategies involve carefully identifying and managing potential risks before starting any roof work. Begin by wearing appropriate protective gear including heavy duty gloves, safety glasses, and non slip shoes. Systematically remove fallen branches, leaves, twigs, and other organic materials that have accumulated on your roof surface. Use a wide push broom or leaf blower to clear loose debris, being careful to avoid damaging shingles or roofing materials.
When clearing the workspace, verify the structural integrity of your roof and surrounding environment before stepping onto any surface. Check for signs of structural weakness like soft spots, rotting wood, or areas with significant water damage. If you are uncomfortable or unsure about the roof’s condition, contact a professional roofing contractor who can safely assess and prepare the workspace.
Pro tip: Always work with a partner during roof maintenance and keep communication devices nearby in case of emergencies.
Step 3: Repair minor issues to reinforce roof integrity
Addressing minor roof damage before storm season is critical for protecting your home from potentially catastrophic structural failures. Your goal is to identify and repair small vulnerabilities that could compromise your roof’s ability to withstand severe Texas weather conditions.
Performing strategic minor repairs requires careful attention to detail and proper safety precautions. Begin by replacing any damaged or missing shingles using roofing nails and ensuring a tight seal. Look for signs of dry rot around edges and joints where water might accumulate. Carefully reattach any loose flashing around chimneys or vents using roofing cement to create a watertight seal. Pay special attention to areas where previous leaks might have occurred.
Professional recommendations suggest strengthening roof systems through preventive maintenance by securing loose materials and installing impact resistant components. Check for small cracks or gaps in your roofing surface and use appropriate sealants to prevent water penetration. If you discover extensive damage or feel uncertain about your repair skills, consult a professional roofing contractor who can provide comprehensive roof reinforcement.
Pro tip: Invest in high quality silicone based roof sealants that offer superior weather resistance and flexibility during temperature fluctuations.
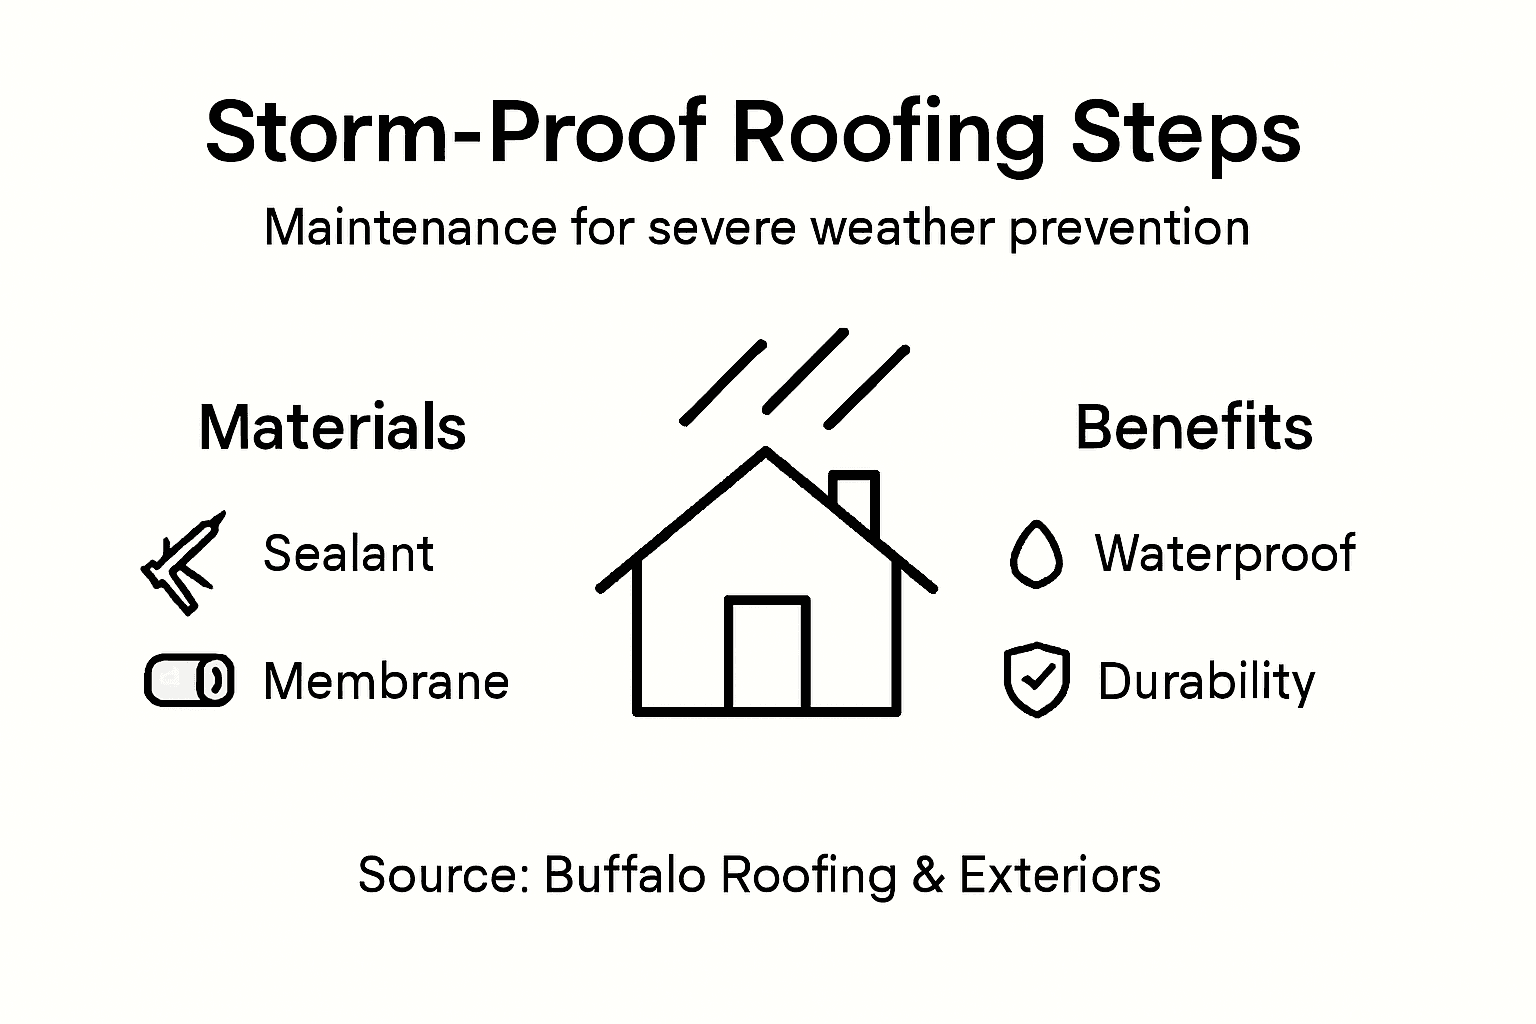
Step 4: Seal and weatherproof critical roof components
Weatherproofing your roof is essential for protecting your home against the unpredictable storms common in Texas. Your primary objective is to create a comprehensive barrier that prevents water infiltration and strengthens your roof’s overall resilience.
Effective weatherproofing techniques focus on creating a continuous drainage system that redirects water away from vulnerable areas. Start by inspecting and applying high quality sealant around roof penetrations such as vents, chimneys, and skylights. Use peel and stick membranes in roof valleys and along edges where water tends to accumulate. Pay special attention to flashing connections and ensure all seams are completely sealed to prevent potential water entry points.
Water managed roof assemblies recommend installing ice and water shields at critical junctures to provide an additional layer of protection. Use silicone based sealants that offer superior flexibility and can withstand temperature variations. Carefully apply these materials around roof edges, intersections with walls, and areas prone to water buildup. If you encounter complex sealing requirements or significant damage, consider consulting a professional roofing contractor who can ensure comprehensive weatherproofing.
Below is a comparison of key roof weatherproofing materials and their benefits:
| Material Type | Primary Benefit | Ideal Usage Location |
|---|---|---|
| Silicone sealant | Superior flexibility | Around vents, skylights, edges |
| Peel & stick membrane | Extra waterproofing | Roof valleys, junctions |
| Ice & water shield | Protection from ice dams | Critical seams, roof intersections |
Pro tip: Test your roof’s waterproofing by conducting a garden hose simulation during dry weather to identify potential leak points.
Step 5: Verify repairs and schedule ongoing inspections
After completing roof maintenance, verifying the quality and effectiveness of your repairs is crucial to ensuring long term protection for your home. Your final step involves carefully documenting and assessing the work performed to maintain your roof’s structural integrity.
Building inspections are essential for verifying repair quality and confirming that all maintenance meets professional standards. Take detailed photographs of repaired areas, documenting the condition of shingles, flashing, and sealant applications. Compare these images with your initial assessment to track improvements and identify any areas that might require additional attention. Create a comprehensive maintenance log that records the date of repairs, materials used, and specific work performed.
Scheduling regular professional roof inspections helps maintain your roof’s long term health and prevents potential storm damage. Plan for comprehensive professional evaluations at least twice a year or following significant weather events. These inspections can catch developing issues early and help you budget for future maintenance. Keep all inspection reports and repair documentation organized for potential insurance claims or home sale purposes.
Pro tip: Use a digital folder or cloud storage service to maintain a chronological record of all roof maintenance and inspection documents for easy future reference.
Protect Your Home with Expert Roof Maintenance and Repairs
Storm damage can create costly and stressful challenges for homeowners in Texas. This article highlights the importance of identifying vulnerable roof areas, clearing debris safely, repairing minor issues, and applying effective weatherproofing to protect your property from severe storms. If you want to avoid unexpected leaks and structural damage, staying proactive with regular inspections and repairs is crucial.
At Buffalo Roofing & Exteriors, we understand these challenges and offer trusted solutions tailored to your needs. Whether you require thorough roof assessments, emergency repairs, or complete weatherproofing upgrades, our experienced team serves Corpus Christi, San Antonio, and Victoria with quality and reliability you can count on. Explore our Roofing Archives | Buffalo Roofing & Exteriors for detailed articles and to learn more about how expert roof maintenance prevents storm damage. Also, visit our Repairs Archives | Buffalo Roofing & Exteriors for insights on minor and major repair services that extend your roof’s life.

Don’t wait until the next storm threatens your home. Take the first step today by contacting Buffalo Roofing & Exteriors for a free inspection or quick quote. Visit our main site at https://buffaloroofingandexteriors.com and let us help you safeguard your investment with expert care and trusted service.
Frequently Asked Questions
How do I assess my roof’s condition before storm season?
Start by conducting a thorough visual inspection to identify weak spots, like cracked or missing shingles and issues around flashing. Document your findings with photographs and focus on areas prone to water accumulation, such as roof valleys and edges.
What should I do to prepare my roof workspace for maintenance?
Before starting any maintenance, clear debris from your roof and ensure the structural integrity of the surface. Use a broom or leaf blower to remove loose materials and check for soft spots and signs of water damage to create a safe working area.
How can I reinforce my roof’s integrity against storm damage?
Address minor issues by replacing damaged shingles and sealing any gaps or cracks with roofing cement. Make repairs promptly to prevent such small problems from escalating into major repairs later on.
What weatherproofing techniques should I apply to my roof?
Use high-quality sealants around roof penetrations like vents and skylights, and install peel and stick membranes in critical areas. Focus on areas where water typically accumulates to create a comprehensive barrier against water infiltration.
How often should I schedule professional roof inspections?
Plan for professional inspections at least twice a year and after significant weather events. Consistent evaluations can catch developing issues early, helping to maintain your roof’s health and prevent costly storm damage.
What should I include in my roof maintenance log?
Document the date of repairs, materials used, and specific work performed, along with photographs of the roof before and after maintenance. Keeping a well-organized log will aid in managing future maintenance and support any insurance claims you may need to file.
Recommended
- Why Regular Roof Maintenance Safeguards Texas Homes
- What to Do After a Storm Damages Your Roof | Buffalo Roofing & Exteriors | San Antonio to Corpus Christi, TX
- Commercial Roof Maintenance: Protecting Coastal Texas Assets
- 7-Step Roof Maintenance Checklist 2026 for Texas Homes
- Roofing Company Corpus Christi TX
- Roofing Company San Antonio TX
- Roofing Company Victoria TX