Sudden storms leave countless American roofs vulnerable in Corpus Christi every year. With repair costs often rising above $1,000, homeowners face tough choices to protect their property without overspending. Knowing how to safely assess damage and make effective repairs matters for preventing leaks and avoiding bigger headaches. This guide walks you through each step so you can tackle roof repairs confidently and keep your home secure after a storm.
Table of Contents
- Step 1: Assess Roof Damage And Safety
- Step 2: Gather Essential Tools And Materials
- Step 3: Remove Damaged Shingles Or Materials
- Step 4: Install New Roofing Components
- Step 5: Inspect And Ensure Quality Completion
Quick Summary
| Key Point | Explanation |
|---|---|
| 1. Prioritize Safety Before Inspection | Always assess potential hazards from ground level first to avoid personal risk during roof inspections. |
| 2. Prepare Essential Tools and Materials | Gather necessary safety gear and roofing materials to ensure you are ready for any repair tasks. |
| 3. Remove Damaged Shingles Carefully | Use precision tools to lift and remove damaged shingles, ensuring you don’t harm adjacent materials in the process. |
| 4. Install New Roofing Components Correctly | Lay new shingles carefully to achieve proper alignment and secure them tightly for effective weatherproofing. |
| 5. Conduct a Thorough Final Inspection | Inspect both the exterior and attic for signs of proper repair completion to ensure durability and prevent future issues. |
Step 1: Assess Roof Damage and Safety
Before climbing onto your roof, understanding potential hazards is critical. Safety must always be your first priority when conducting a roof damage assessment. Comprehensive roof inspection guidelines recommend evaluating surface conditions from ground level first to minimize personal risk.
Begin by carefully examining your roof from the safety of the ground using binoculars. Look for obvious signs of damage such as missing or curled shingles, visible punctures, sagging areas, or debris accumulation. Check your attic interior for water stains, which can indicate existing leaks or potential structural weaknesses. Take detailed notes and photographs to document any visible issues.
Compare these common roof damage signs and their possible causes:
| Visible Sign | Potential Cause | Recommended Action |
|---|---|---|
| Missing shingles | High winds or storms | Replace affected shingles |
| Curled edges | Aging or heat damage | Install new matching shingles |
| Sagging areas | Structural weakness | Consult a roofing professional |
| Water stains (attic) | Leaks or poor flashing | Inspect and repair leaks |
If ground level inspection reveals significant damage or you cannot safely assess the roof’s condition, contact a professional roofing contractor. Fall protection guidelines emphasize that untrained individuals should avoid walking on potentially compromised roof surfaces, especially after storm damage or when structural integrity is uncertain.
Pro tip: Conduct your initial roof assessment on a clear, dry day with good visibility and stable ground conditions to maximize safety and accuracy of your inspection.
Step 2: Gather Essential Tools and Materials
Before starting any roof repair project, assembling the right equipment is crucial for safety and efficiency. Comprehensive roof maintenance guidelines recommend gathering specific tools and materials to ensure you are prepared for various repair scenarios.
Start by collecting essential safety gear including a sturdy extension ladder, non slip work boots, safety harness, protective gloves, safety glasses, and a hard hat. For roof repair materials, you will need roofing nails, hammer, utility knife, roofing cement, replacement shingles matching your existing roof, roofing tape, caulk gun, and a tarp for catching debris. Additional tools like a pry bar, measuring tape, chalk line, and roofing shovel can help with more complex repairs. Consider keeping a first aid kit nearby and ensuring you have a communication device in case of emergencies.
Organize your tools and materials before climbing onto the roof to minimize movement and potential accidents. Safety planning recommendations emphasize the importance of having all necessary equipment easily accessible before beginning work.
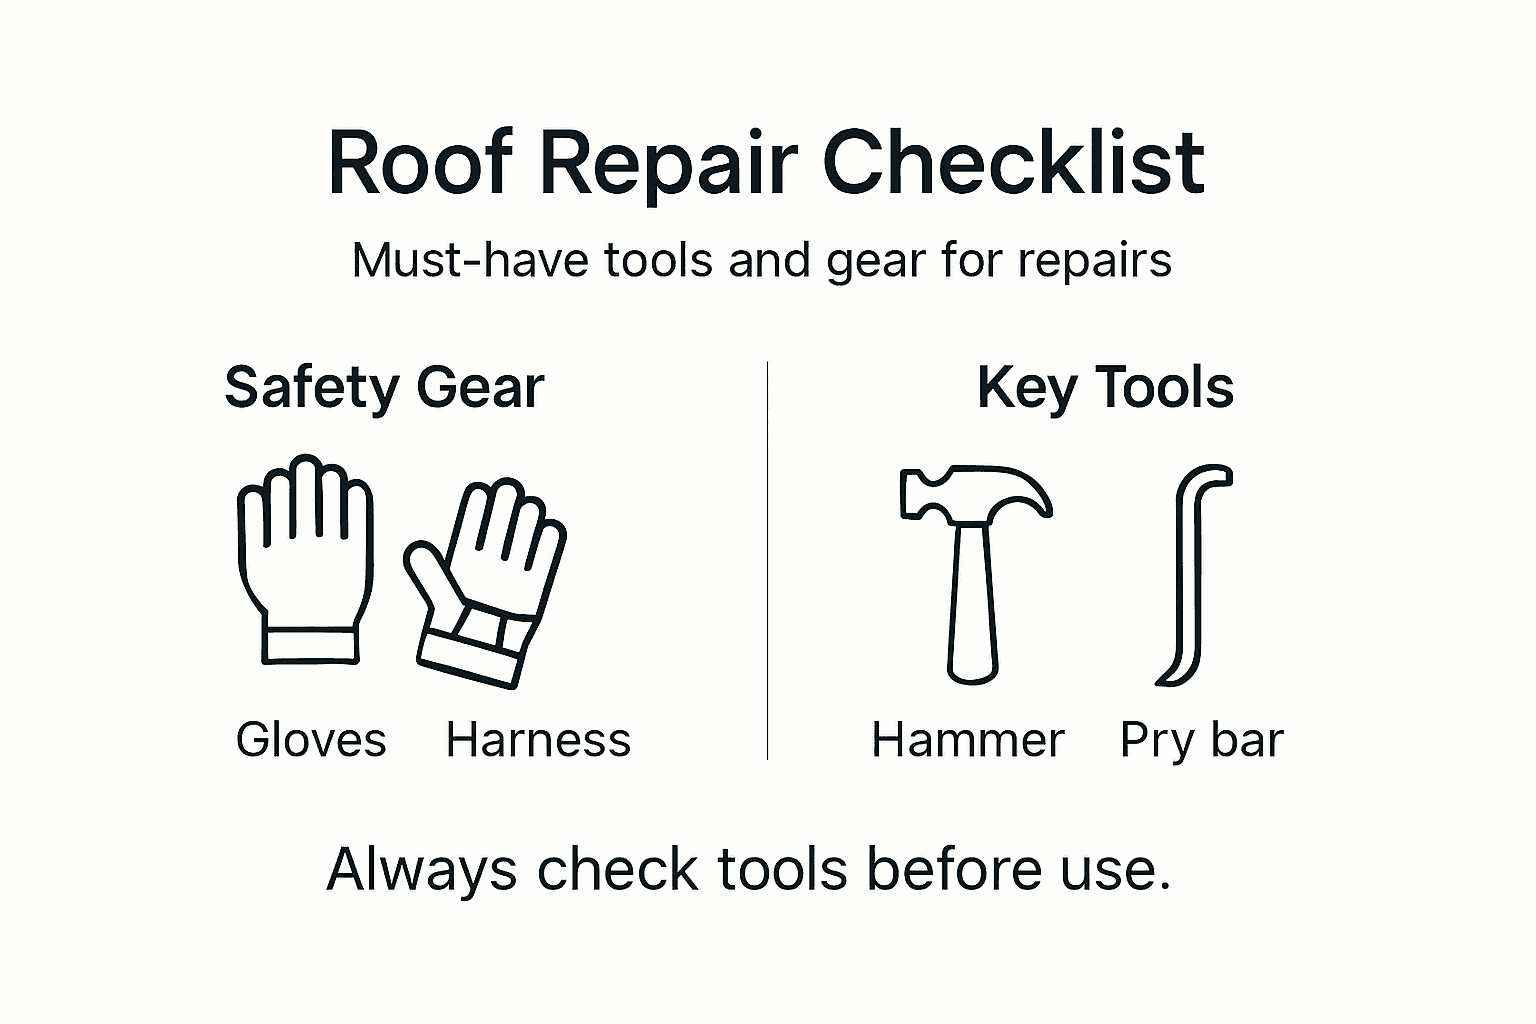
Pro tip: Invest in high-quality tools and always check their condition before starting your repair to prevent unexpected equipment failures during the project.
Step 3: Remove Damaged Shingles or Materials
Removing damaged roof materials requires precision and careful technique to prevent further damage to your roof structure. Detailed shingle removal procedures emphasize the importance of methodical and cautious material extraction.
Begin by carefully lifting the edge of the damaged shingles using a pry bar or roofing knife. Work slowly and systematically to loosen the nails holding the damaged shingles in place. For each section of damaged material, gently slide the pry bar underneath and lift upward to remove the nails. Be extra careful around the edges to avoid tearing adjacent good shingles. As you remove each damaged piece, place it directly into a disposal bag or tarp to keep your work area clean. Comprehensive roof maintenance techniques recommend inspecting the underlying roof deck for any additional damage or rot while the shingles are removed.
Once all damaged materials are removed, clean the area thoroughly and prepare the surface for new shingle installation. Ensure the roof deck is smooth, dry, and free of debris before proceeding to the next repair step.
Pro tip: Work in small sections and keep your tools organized to minimize the risk of accidentally damaging surrounding roof materials during the removal process.
Step 4: Install New Roofing Components
Installing new roofing materials requires precision and careful attention to detail to ensure a weatherproof and durable roof surface. Comprehensive roof installation procedures emphasize the importance of proper alignment and secure attachment of new roofing materials.
Start by preparing the roof deck, ensuring it is clean, dry, and smooth. Begin laying new shingles from the bottom edge of the roof, working upward in horizontal rows. Each row should overlap the previous one by at least 4 inches, creating a water-resistant barrier. Use roofing nails to secure each shingle, placing them precisely in the designated nail strip area. Roofing installation best practices recommend using four to six nails per shingle, depending on wind zone requirements and local building codes. Pay special attention to edges and corners, ensuring tight seals and proper alignment to prevent potential water infiltration.

As you progress, periodically step back and check your work to maintain consistent alignment and overlap. Trim shingles as needed to fit around roof features like vents or chimneys, using a utility knife for precise cuts.
Pro tip: Work on dry days with moderate temperatures and always install a waterproof underlayment before adding new shingles to provide an extra layer of protection against moisture.
Step 5: Inspect and Ensure Quality Completion
Final quality inspection is crucial to validate the success of your roof repair and prevent future issues. Systematic post-repair inspection techniques recommend a thorough review to confirm all repairs meet professional standards.
Begin your inspection by walking around the exterior of your home and examining the roof from ground level using binoculars. Look for consistent shingle alignment, smooth surface transitions, and no visible gaps or misalignments. Use a ladder to get closer views of critical areas such as valleys, edges, and around roof penetrations like chimneys or vents. Comprehensive maintenance documentation suggests checking for proper nail placement, complete sealant coverage, and confirming no exposed underlayment. Pay special attention to potential water pooling areas and verify that all new shingles are securely fastened with no signs of lifting or irregular positioning.
Internally, inspect your attic space for any signs of light penetration, moisture, or new water stains that might indicate incomplete repairs. Take photographs of your inspection for future reference and potential warranty claims.
Pro tip: Perform your final inspection during daylight hours and in dry weather to ensure the most accurate assessment of your roof repair work.
Here’s a summary of roof repair steps and their core objectives:
| Step | Main Focus | Key Outcome |
|---|---|---|
| 1: Assess Damage | Identify hazards, document issues | Safety maintained, evidence collected |
| 2: Gather Tools | Assemble safety gear and materials | Prepared for all repair tasks |
| 3: Remove Materials | Carefully lift and clean area | Damage removed, deck ready |
| 4: Install Components | Proper shingle and material placement | Weatherproof, aligned roofing surface |
| 5: Final Inspection | Check work inside and outside | Repair quality confirmed |
Protect Your Home with Expert Roof Repairs from Buffalo Roofing & Exteriors
Roof damage can bring serious risks to your home’s safety and comfort, especially when you face challenges like missing shingles, sagging areas, or water leaks as discussed in our Step by Step Roof Repair Guide for Homeowners. These issues demand precise assessment, skilled removal of damaged materials, and flawless installation of new roofing components to ensure your roof remains weather-resistant and secure. If you want peace of mind knowing your roof is repaired correctly and safely you should consider professional help.

Discover how Buffalo Roofing & Exteriors can take the stress out of your roof repair project. With trusted specialists offering everything from quick emergency fixes to full-scale restoration, our team serves Corpus Christi, San Antonio, and surrounding coastal areas where weather can take a heavy toll. Visit our Repairs Archives | Buffalo Roofing & Exteriors for expert insights and learn why homeowners rely on us for quality, reliability, and lasting protection. Don’t wait until small problems turn into costly damage. Reach out today at https://buffaloroofingandexteriors.com to get your free estimate and keep your home safe and dry.
Frequently Asked Questions
How do I assess roof damage before repair?
To assess roof damage, start by examining your roof from the ground using binoculars. Look for missing or curled shingles, sagging areas, or water stains in your attic. Document any issues you find with notes and photographs to prepare for repairs.
What tools do I need for roof repair?
Gather essential tools including a sturdy extension ladder, safety harness, roofing nails, hammer, utility knife, roofing cement, and protective gear like gloves and safety glasses. Organize your tools and materials before working on your roof to ensure efficiency and safety during the repair process.
How do I remove damaged shingles?
To remove damaged shingles, lift the edge with a pry bar or roofing knife, carefully loosening the nails. Work methodically to avoid damaging adjacent shingles and ensure that all debris is well-contained. Dispose of the removed materials properly to keep your work area clean.
What is the correct way to install new roofing components?
When installing new roofing, start from the bottom edge and overlap shingles by at least 4 inches as you work upwards. Use four to six nails to secure each shingle, ensuring proper alignment to prevent leaks. Trim shingles as necessary to fit around roof features, maintaining a clean finished look.
How do I inspect my roof after repairs?
After completing your roof repairs, inspect it from the ground and from a ladder. Look for consistent shingle alignment, secure nail placement, and any gaps or misalignments. Internally, check for signs of moisture or light penetration in your attic to confirm the success of your repairs.
Recommended
- How to Spot and Fix Roof Leaks Before They Lead to Major Damage | Buffalo Roofing & Exteriors | San Antonio to Corpus Christi, TX
- What to Do After a Storm Damages Your Roof | Buffalo Roofing & Exteriors | San Antonio to Corpus Christi, TX
- Top Signs Your Roof Needs Repairs Before It’s Too Late | Buffalo Roofing & Exteriors | San Antonio to Corpus Christi, TX
- Roof Repair | Buffalo Roofing & Exteriors | San Antonio to Corpus Christi, TX
- Routine Gutter Upkeep Process for Damp Prevention
- Roofing Services in Corpus Christi TX