
TL;DR:
- Exterior storm restoration on the Texas coast requires immediate safety checks, comprehensive damage documentation, and coordinated repairs to prevent further damage. Homeowners should act swiftly within the first 24 hours by photographing damage, removing debris, and applying for FEMA assistance, while ensuring permits are secured before structural repairs. Upgrading materials to impact-resistant options during repairs enhances future storm resilience and long-term property protection.
Exterior storm restoration is the process of safely returning a property’s outdoor structure and surfaces to full function after weather-related damage. For homeowners in Corpus Christi, San Antonio, and other coastal Texas communities, that process involves more than patching a few shingles. It requires immediate safety checks, detailed documentation, coordination with FEMA and insurance adjusters, licensed contractor work, and targeted upgrades that reduce future damage. This guide walks you through every phase of that process, from the first hour after a storm to the final weatherproofing upgrades that protect your home for years ahead.
What immediate steps should you take after storm damage?
The first 24 hours after a storm define the success of your entire restoration. Move too slowly, and secondary damage compounds the original problem. Move too fast, and you risk voiding your insurance claim or creating safety hazards.
Start with a safety sweep before you touch anything. Check for downed power lines near the structure, smell for gas leaks, and look for visible signs of structural compromise like sagging rooflines or cracked load-bearing walls. Do not enter the property until you have confirmed it is safe to do so.
Once you are inside, follow this sequence:
- Photograph and video every damaged area. Shoot the roof, siding, windows, doors, gutters, and any outbuildings. Label each photo by room or zone. FEMA advises photographing both interiors and exteriors and saving receipts for all cleanup expenses. This documentation is your evidence baseline for every claim that follows.
- Keep samples of damaged materials. Cut a small piece of damaged siding, carpet, or drywall and store it in a labeled bag. Insurance adjusters and flood inspectors use physical samples to verify material type and damage severity.
- Begin debris removal as soon as it is safe. Clear broken branches, shattered glass, and displaced materials from around the structure. Prompt removal prevents secondary damage like punctured roofing membranes or blocked drainage.
- Save every receipt. Cleanup costs, temporary tarps, generator rentals, and hotel stays are all potentially reimbursable. Missing receipts are a common reason claims fall short.
- Contact your insurance company and apply for FEMA assistance. Do this within the first 48 hours. Delays in application push back your inspection window and slow the entire recovery timeline.
- Pull permits before any structural repairs. Per FEMA guidance, structural work done without permits can disqualify you from disaster aid and create legal complications during resale.
Pro Tip: Set up a dedicated folder on your phone or cloud storage labeled with the storm date. Drop every photo, receipt scan, and contractor estimate into that single folder. Organized documentation speeds up adjuster reviews and FEMA inspections significantly.
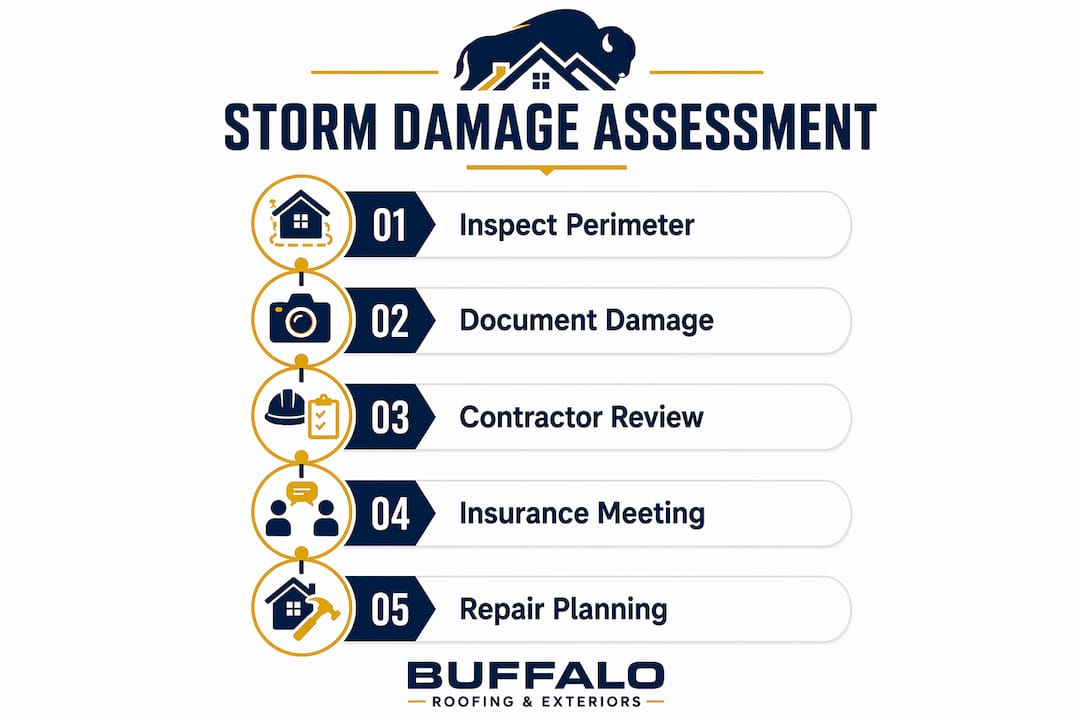
How do you effectively assess and document exterior storm damage?
Thorough damage assessment is not just a preliminary step. It is a central input for every decision FEMA inspectors and insurance adjusters make about your claim. Treat it with the same seriousness as the repairs themselves.
Walk the full perimeter of the property and inspect each exterior system in sequence: roof field and flashings, gutters and downspouts, siding panels, windows and door frames, outdoor structures like decks and fences, and any HVAC or utility equipment mounted outside. For each damaged item, record the serial number and model if applicable. This matters most for appliances and mechanical systems, where replacement cost disputes are common.
FEMA housing inspectors schedule visits within 7 to 10 days of application. Inspections typically run about 45 minutes, and you must be present with proof of occupancy. Plan your calendar accordingly and designate a backup contact who can be there if your schedule changes. Missing the inspection window delays reconstruction and can require a full reapplication.
Create an itemized inventory that separates damaged property from undamaged property. Use a spreadsheet with columns for item description, location, estimated value, and damage severity. This list becomes the backbone of your insurance claim and your repair priority list.
| Assessment method | Best for | Limitation |
|---|---|---|
| Visual self-inspection | Quick initial overview, photo documentation | Misses hidden damage in roof decking, wall cavities |
| Licensed contractor inspection | Detailed structural and material assessment | Costs money, requires scheduling |
| FEMA housing inspector visit | Official eligibility evaluation for disaster aid | Does not make eligibility decisions on site |
| Insurance adjuster review | Claim valuation and coverage determination | May undervalue damage without your documentation |
Coordinate your contractor inspection before the insurance adjuster arrives when possible. A licensed roofer or exterior contractor can identify damage that an adjuster without trade experience might miss, and having that written report strengthens your position during claim negotiations.
What are the best cleanup and mold prevention techniques?
Mold is the hidden threat in every storm recovery. Mold can begin growing within 24 hours under moist conditions, which means cleanup speed directly determines whether you face a straightforward repair or a full remediation project.
Follow these priorities during cleanup:
- Remove standing water immediately. Use wet vacuums, pumps, or absorbent materials. Every hour of standing water increases saturation depth in walls and subfloors.
- Pull and discard severely affected porous materials. Waterlogged drywall, carpet, and insulation cannot be dried effectively and become mold reservoirs. Cut out and bag these materials before they contaminate adjacent surfaces.
- Deploy fans and large-capacity dehumidifiers. Rent large-capacity dehumidifiers for bigger projects. Position fans to create cross-ventilation and run dehumidifiers continuously until moisture readings in walls and floors return to normal levels.
- Disinfect all hard surfaces. A solution of one cup of bleach per gallon of water kills most mold spores on non-porous surfaces. Apply, let sit for 10 minutes, then wipe clean.
- Inspect hidden cavities. Mold behind drywall or under flooring often goes undetected until it becomes a health hazard. Use a moisture meter to check wall cavities and subfloor assemblies before closing them up.
- Wear protective gear throughout. N95 respirators, nitrile gloves, and eye protection are non-negotiable during mold cleanup. Mold spores and contaminated water carry serious respiratory and bacterial risks.
Pro Tip: If you detect a musty odor but cannot locate visible mold, hire a certified industrial hygienist to conduct air quality testing before you close up walls. Enclosing active mold growth is one of the most expensive mistakes in storm recovery.
Call a professional remediation company if mold covers more than 10 square feet or if it has penetrated structural framing. At that scale, DIY cleanup creates more risk than it resolves.
How to plan and execute exterior storm repairs safely
Rushing repairs is the single most common and costly mistake in storm recovery. A structured recovery plan that prioritizes safety, documentation, and proper sequencing prevents additional damage and protects your insurance claim from denial.
Follow this repair sequence to minimize rework and stay compliant:
- Secure the structure with temporary measures. Install tarps over damaged roof sections, board up broken windows, and brace compromised walls before any permanent work begins.
- Confirm permits and insurance coverage. Avoid permanent repairs until you have established the full extent of damage and confirmed what your policy covers. Repairs made before adjuster review can reduce your payout.
- Hire licensed, insured contractors. Verify contractor licenses through the Texas Department of Licensing and Regulation. Ask for proof of general liability and workers’ compensation insurance before signing anything. Get at least two written estimates.
- Sequence repairs from structure outward. Address roof decking and framing first, then roofing materials, then siding, then windows and doors, then exterior finishes. Working outward from the structural core prevents weather from re-entering a partially repaired building.
- Schedule inspections at each phase. Many Texas municipalities require inspections after rough structural work and again after roofing. Skipping these steps can require you to tear out completed work.
- Document every repair phase. Photograph the work in progress, keep all contractor invoices, and maintain a written log of dates and work completed. This record supports warranty claims and future insurance renewals.
“Effective exterior storm restoration integrates multiple trades and phases, including electrical, structural, roofing, and siding, requiring coordination with local permit authorities and insurance specialists.” — Buffaloroofingandexteriors
Watch for contractor fraud after major storms. Unlicensed crews often appear in storm-affected neighborhoods offering fast, cheap repairs. They frequently disappear after collecting a deposit, leaving you with incomplete work and no recourse.
What outdoor restoration techniques protect against future storms?
Restoring your exterior to its pre-storm condition is the floor, not the ceiling. The smarter move is to use the restoration as an opportunity to upgrade materials and systems that will perform better in the next storm.
Weather-resistant roofing materials and proper siding selection significantly improve storm resilience for coastal properties. Here is how the main options compare:
| Component | Standard option | Storm-resistant upgrade |
|---|---|---|
| Roofing | 3-tab asphalt shingles | Class 4 impact-resistant shingles, metal roofing |
| Siding | Standard vinyl panels | Fiber cement siding, engineered wood |
| Windows | Single-pane glass | Impact-resistant laminated glass, storm shutters |
| Gutters | Standard aluminum | Oversized gutters with gutter guards and sealed downspouts |
Beyond material selection, several installation and maintenance practices determine how well your exterior holds up:
- Proper siding installation with sealed joints and back-wrapped edges prevents wind-driven rain from penetrating the wall assembly.
- Functional gutters and correct landscape grading direct water away from the foundation, reducing hydrostatic pressure and basement flooding risk.
- Impact-resistant windows rated to Miami-Dade standards provide the highest level of protection available for residential glazing in hurricane-prone regions.
- Regular siding maintenance and annual roof inspections catch minor deterioration before it becomes storm vulnerability.
The Texas coast presents specific challenges. Salt air accelerates corrosion in metal fasteners and flashing. UV exposure degrades sealants faster than in inland climates. Material choices and maintenance schedules need to account for both factors, not just wind and rain resistance.
Key takeaways
Successful exterior storm restoration depends on documentation speed, repair sequencing, and material upgrades that reduce future exposure.
| Point | Details |
|---|---|
| Document before you repair | Photograph all damage and save material samples before any cleanup or repair work begins. |
| Follow FEMA inspection timing | Apply within 48 hours and plan to be present for the 7 to 10 day inspection window. |
| Stop mold within 24 hours | Deploy dehumidifiers and remove saturated porous materials immediately to prevent mold growth. |
| Sequence repairs correctly | Address structural and roofing systems first, then work outward to siding, windows, and finishes. |
| Upgrade during restoration | Replace standard materials with impact-resistant alternatives to reduce damage in future storms. |
What I’ve learned managing storm restoration projects on the Texas coast
After years of working with homeowners in Corpus Christi and San Antonio through hurricane seasons, the pattern I see most often is not incompetence. It is impatience. Homeowners want their property back to normal as fast as possible, and that urgency leads to decisions that cost more in the long run.
The homeowners who recover best are the ones who treat documentation like a job. They photograph everything, organize their records from day one, and communicate consistently with their insurance adjuster and FEMA contact. That discipline pays off in faster claim processing and fewer disputes over repair costs.
The second lesson is that the permit process is not bureaucratic friction. It is protection. Contractors who push you to skip permits are protecting their own schedule, not your property. Unpermitted work creates problems during resale and can void your homeowner’s insurance coverage entirely.
My honest recommendation: view the restoration as a two-phase project. Phase one gets you safe and livable. Phase two makes you more resilient than you were before the storm. The storm damage assessment process for Texas coastal homes is specific enough that generic national guides often miss the details that matter most here. Work with contractors and inspectors who know the local codes and climate conditions.
— Buffaloroofingandexteriors
Get expert help with your storm restoration
Buffaloroofingandexteriors has helped homeowners across Corpus Christi, San Antonio, and Victoria restore and upgrade their exteriors after major storm events. The team handles roofing, siding, windows, and full exterior renovations with deep knowledge of Texas building codes, local permitting requirements, and insurance coordination.

Whether you need a post-storm inspection, a licensed contractor for structural repairs, or guidance on upgrading to impact-resistant materials, Buffaloroofingandexteriors offers free estimates and financing options to make the process manageable. Explore the full storm damage restoration services available for Texas homeowners, or review the complete recovery guide to understand every phase of the process before your first contractor call.
FAQ
What is the first thing to do after storm damage to your exterior?
Confirm the property is safe to enter by checking for electrical hazards, gas leaks, and structural instability. Then begin photographing and videoing all damage before touching or removing anything.
How long does FEMA take to inspect storm-damaged properties?
FEMA inspectors schedule visits within 7 to 10 days of application. Inspections last approximately 45 minutes, and the applicant must be present with proof of occupancy.
Can mold start growing after just one day of water damage?
Yes. Mold can begin growing within 24 hours under moist conditions. Removing saturated materials and running large-capacity dehumidifiers immediately after water intrusion is the most effective prevention.
Do I need permits for storm repair work in Texas?
Structural repairs, roofing replacements, and window installations generally require building permits in Texas municipalities. Starting permanent repairs without permits can disqualify you from FEMA disaster aid and create complications with your insurance claim.
What roofing materials hold up best in coastal Texas storms?
Class 4 impact-resistant asphalt shingles and standing-seam metal roofing offer the strongest performance in high-wind, salt-air environments. Both carry higher upfront costs but reduce long-term repair frequency and insurance premiums for many Texas homeowners.