
Strong coastal storms in Texas can leave your roof vulnerable to hidden damage. Catching issues quickly matters for homeowners in Corpus Christi and San Antonio, where relentless heat and humidity add to roof wear. This guide breaks down how to inspect your roof safely and effectively, highlighting personal protective equipment (PPE) and practical tools that help you spot damage before costly repairs or leaks develop.
Table of Contents
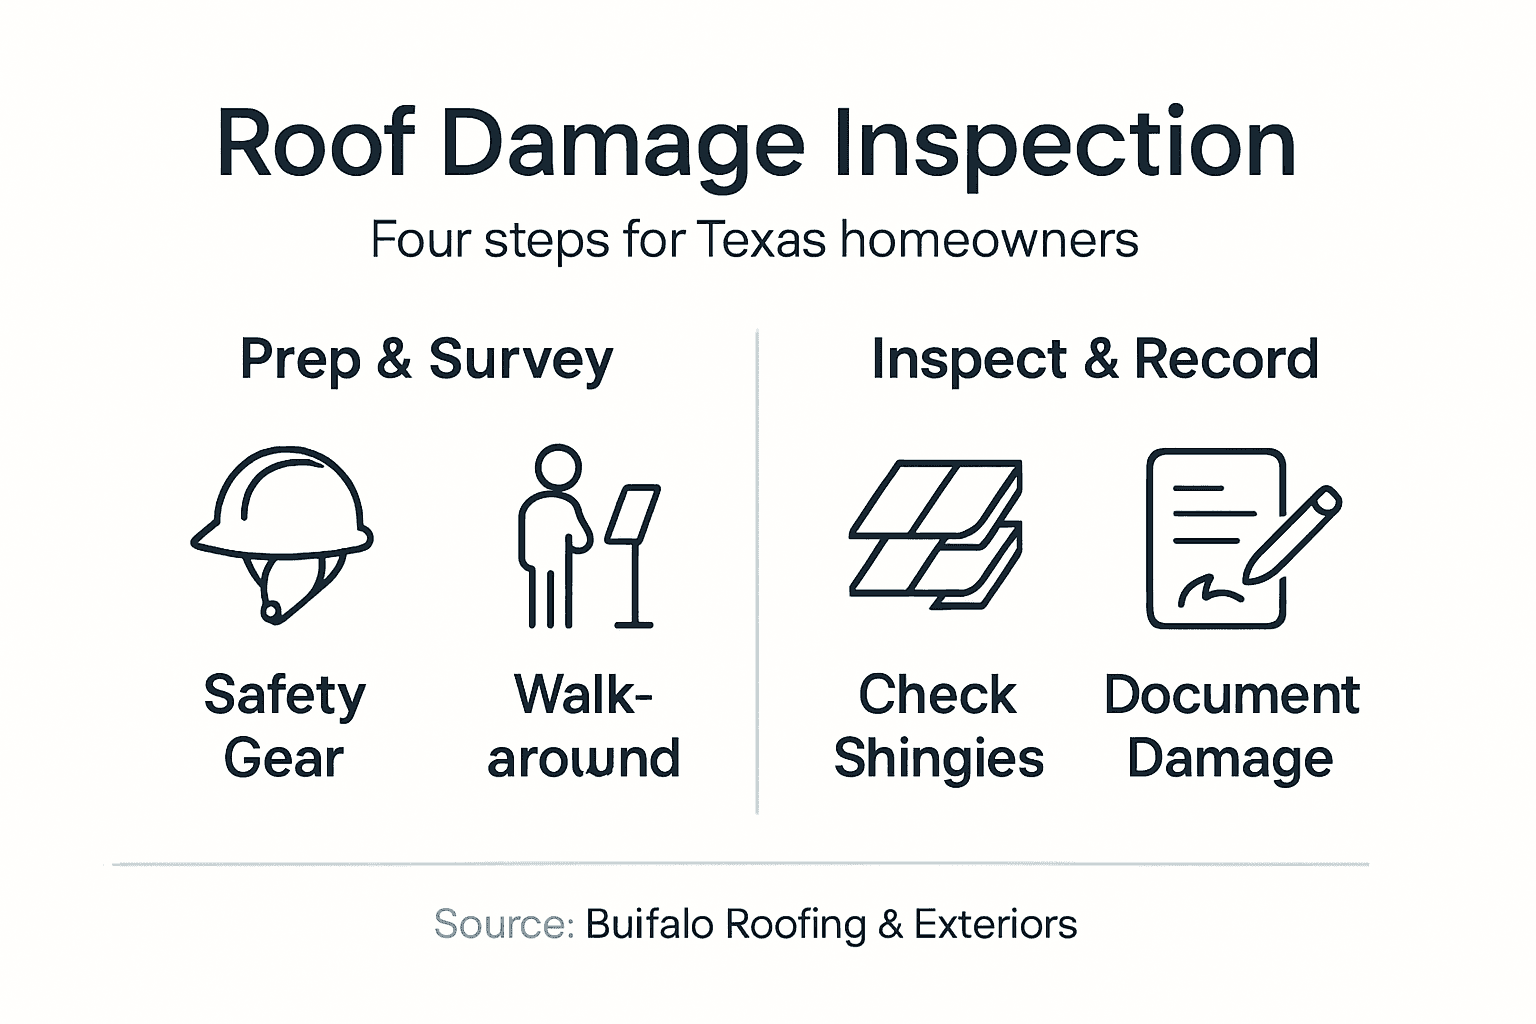
- Step 1: Gather Necessary Safety Gear and Tools
- Step 2: Survey the Roof and Exterior from the Ground
- Step 3: Inspect Shingles, Flashing, and Gutters Up Close
- Step 4: Document Findings and Assess Needed Repairs
Quick Summary
| Key Point | Explanation |
|---|---|
| 1. Assemble Safety Gear First | Gather essential personal protective equipment and tools before starting your inspection to ensure safety and efficiency. |
| 2. Conduct Ground-Level Survey | Observe your roof from the ground to identify visible issues and prioritize your inspection areas safely before climbing. |
| 3. Inspect Key Roof Components | Up close, check shingles, flashing, and gutters for specific damage signs that compromise your roof’s integrity. |
| 4. Document Findings Thoroughly | Keep clear records of damage, including location and type, to assist in repairs and insurance claims later. |
| 5. Assess Repair Urgency | Prioritize repairs based on severity and potential impact on your home, determining whether to DIY or call a professional. |
Step 1: Gather Necessary Safety Gear and Tools
Before you climb that ladder or step onto your roof, you need the right protection and equipment. Taking 30 minutes to assemble everything beforehand beats having to climb back down for a forgotten tool.
Start with personal protective equipment (PPE). Your roof can be slippery, especially in coastal Texas heat and humidity. Here’s what you absolutely need:
- Soft-soled shoes with excellent grip (not rubber-soled work boots that can slide)
- Hard hat to protect against low branches or accidental bumps
- Safety harness if you’re working on a steep pitch or high peak
- Work gloves for handling rough shingles and debris
- Long pants and sleeves to protect skin from the sun and sharp materials
Next, gather your inspection tools. OSHA guidelines recommend collecting inspection tools like ladders and moisture meters before you begin. You’ll want a sturdy ladder that extends at least 3 feet above your roofline for safe access.
Other essential tools include a flashlight or headlamp for looking into dark spots, binoculars for examining distant areas without climbing there, a moisture meter to detect hidden water damage, and a camera or smartphone to document problem areas. A clipboard and pen help you record locations and observations while they’re fresh in your mind.
Gathering everything before you start saves time and reduces the temptation to skip safety steps when you’re already on the roof.
Pack your tools in a secure, easy-to-carry bag. Loose items in your pockets can fall onto the ground below or distract you while climbing. A tool belt keeps essentials within arm’s reach once you’re up there.
Also check your weather forecast and wait for a calm, dry day. Morning or late afternoon inspections are safest since the sun won’t be directly overhead causing glare or heat exhaustion.
Pro tip: Test your ladder on level ground and have someone hold it steady while you climb, even if you feel confident solo. A second person also helps document issues and keeps you accountable for safety.
Step 2: Survey the Roof and Exterior from the Ground
Before climbing anywhere, spend time observing your roof from ground level. This initial survey identifies problem areas, prioritizes your inspection, and keeps you safer by planning what to focus on once you’re up there.
Start at a distance where you can see your entire roofline clearly. Stand back about 20 to 30 feet from your home if possible. Use your binoculars to scan the roof methodically from left to right, top to bottom.
Look for these visible warning signs:
Here’s a summary of roof inspection warning signs and what they may indicate:
| Visible Sign | Possible Underlying Issue | Urgency Level |
|---|---|---|
| Discolored patches | Hidden water leaks or mold | Address soon |
| Sagging roof sections | Structural or decking failure | Immediate professional |
| Lifted or curled shingles | Wind damage or poor venting | Schedule repair |
| Debris accumulation | Blocked water flow, mildew | Clear promptly |
| Missing shingles | Exposed underlayment to leaks | Repair soon |
- Missing or damaged shingles that expose the underlayment or wood beneath
- Sagging sections where the roofline dips unnaturally
- Debris accumulation like branches, leaves, or granules gathering in valleys
- Discolored patches that suggest water stains or mold growth
- Lifted or curled shingles that no longer lie flat against the roof deck
Next, check your gutters and downspouts. Damaged flashing and clogged gutters are common entry points for water damage. Walk around your home and look at where the gutters meet the roofline. Do they sag? Is there visible debris piled up inside them?
Examine the areas around roof penetrations like chimneys, vents, and skylights. These spots are vulnerable to leaks because they create breaks in the roofline. Look for gaps, rust, or separation between the flashing and the roof material.
Ground-level observation reveals the big picture before you climb, helping you spot patterns and plan your detailed inspection strategically.
Check your downspouts and make sure water is flowing away from your home’s foundation. If water pools near the foundation, it can cause problems beyond just roof damage.
Take photos or video from the ground. This documentation helps you remember locations and compare conditions over time. It also provides useful information if you need to contact a professional roofer.
Pro tip: Conduct your ground survey during daylight but when the sun is low on the horizon, which creates shadows that make damage more visible and easier to spot.
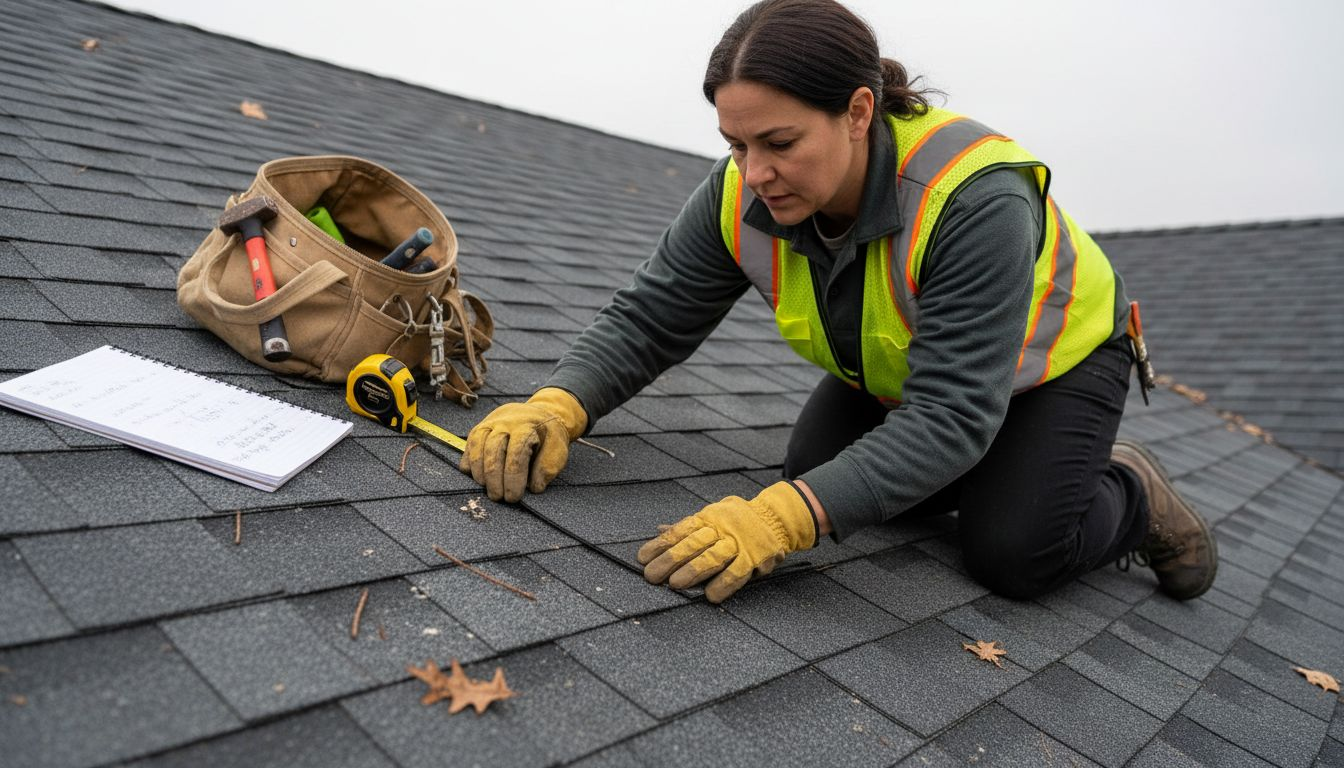
Step 3: Inspect Shingles, Flashing, and Gutters Up Close
Now that you’re on the roof, it’s time to examine the details that protect your home. Focus on shingles, flashing, and gutters because these three components work together to keep water out.
Start with your shingles. Look for these specific signs of damage:
- Cracks or splits running across individual shingles
- Curling or cupping where shingle edges lift away from the roof
- Granule loss visible as bare spots or excessive granules in gutters below
- Blistering that looks like small bumps or bubbles on the shingle surface
- Missing shingles that expose the felt or wood underneath
Gently press on damaged areas to check if the shingle is still securely attached. If it moves or flexes excessively, it’s compromised and needs replacement.
Next, inspect your flashing around penetrations. Flashing at roof-wall intersections like chimneys, vents, and skylights requires special attention since these areas are leak magnets. Check that flashing is securely nailed down and sits flat against both the roof and the wall. Look for gaps, separation, rust, or corrosion.
Check where the flashing meets the shingles. There should be overlap that directs water downward, not upward. If flashing is lifted or bent, water will pool underneath and cause damage.
Now examine your gutters closely. Gutters should be free from rust, holes, and debris that prevents proper drainage. Walk along your gutters and look inside them. Is there standing water, leaves, granules, or dirt buildup? Do you see rust spots, holes, or separation from the fascia board?
Shingles, flashing, and gutters are your roof’s three-line defense against water damage, so damage to any one component puts the others at risk.
Check that gutters slope slightly toward downspouts. Gutters that sag or run level will trap water and cause premature deterioration. Trace water flow from gutters down through downspouts to make sure it’s directing water at least 4 to 6 feet away from your home’s foundation.
Document what you find. Photograph any damage, note the location, and record whether it seems recent or old.
Pro tip: Inspect your roof on an overcast day or in early morning when shingles are cool and less likely to shift, making it easier to spot damage accurately and safely.
Step 4: Document Findings and Assess Needed Repairs
Your inspection notes are worthless if you can’t remember what you found. Document everything clearly so you can reference it later, share it with contractors, or file insurance claims if needed.
Create a simple written record. Start by listing each area of damage you found, where it’s located on the roof, and what you observed. Be specific instead of vague. Write “missing shingles on northeast slope above second-story window” rather than “roof damage.”
Include these details in your notes:
- Location using compass directions and reference points
- Damage type like missing shingles, flashing gaps, or granule loss
- Severity as minor cosmetic, functional but not urgent, or needs immediate repair
- Cause if apparent, such as storm damage, age, or poor installation
- Date observed so you track when problems appeared
Take clear photographs of every damaged area. Photographic evidence in inspection reports helps you remember details and proves damage to insurance companies. Photograph from multiple angles, include close-ups of specific defects, and capture wider shots showing context.
Label your photos with the location or date. This sounds tedious now but proves invaluable later when you’re coordinating repairs.
Now assess what repairs are needed. Determine whether damage is cosmetic, functional, or urgent. Cosmetic issues like minor discoloration don’t require immediate action. Functional problems like isolated missing shingles need repair within a season. Urgent issues like widespread water damage or major flashing separation demand immediate professional attention.
Prioritize repairs by potential impact. Damage at roof-wall intersections threatens your home faster than damage on an open slope. Water pooling in valleys creates urgency that surface damage doesn’t.
Use this table to prioritize roof damage repairs after your inspection:
| Damage Type | Repair Priority | Professional Needed? |
|---|---|---|
| Major flashing gap | Urgent | Strongly recommended |
| Minor granule loss | Cosmetic | DIY often sufficient |
| Multiple missing shingles | Functional | Likely for larger areas |
| Minor gutter rust | Schedule soon | Handyman or self |
| Structural sagging | Emergency | Roofing contractor required |
Clear documentation transforms your inspection into an actionable plan and protects you when working with contractors or filing insurance claims.
Consider calling a professional if you’re uncertain about severity. You now understand what to look for, but assessing repair costs and urgency often requires contractor expertise.
Pro tip: Create a simple spreadsheet or form with columns for location, damage type, severity, and notes, then transfer your handwritten observations to it after you come down from the roof while details are still fresh.
Protect Your Texas Home with Expert Roofing Solutions
Inspecting your roof for damage can be overwhelming, especially with the challenges of Texas weather and tricky roofing terms like flashing gaps and granule loss. If you spot issues like missing shingles, sagging roof sections, or damaged gutters during your inspection, acting fast is vital to prevent costly water damage or structural problems. Relying on professional roofing and repair experts ensures your home stays safe, secure, and weather-resistant.

Discover how Buffalo Roofing & Exteriors can help with trusted, reliable roofing services tailored for Texas homeowners. From thorough inspections to urgent repairs and new installations, our team understands the unique needs of homes in Corpus Christi, San Antonio, and Victoria. Don’t wait until minor roofing problems turn into major headaches. Visit our Roofing Archives and Repairs Archives to learn more, then get your free estimate today at https://buffaloroofingandexteriors.com/. Protect your investment with experts you can trust.
Frequently Asked Questions
What safety gear do I need for roof inspections?
You need personal protective equipment (PPE) such as soft-soled shoes with grip, a hard hat, a safety harness, and work gloves. Assemble your gear, including a sturdy ladder and inspection tools, before beginning your inspection to ensure your safety.
How do I identify potential roof damage from the ground?
To identify potential damage, observe your roof from a distance of about 20 to 30 feet using binoculars. Look for signs like discolored patches, sagging sections, debris accumulation, and lifted shingles to prioritize your inspection areas before climbing.
What should I focus on during a close-up roof inspection?
During a close-up inspection, focus on the shingles, flashing, and gutters. Check for cracks, curling, gaps, and rust, and document any damage to assess what repairs are necessary.
How do I document my roof inspection findings?
Create a written record that lists each area of damage, its location, and observed details. Include photographs of the damage, noting their locations for easier reference when discussing repairs later.
When should I call a professional for roof repairs?
Call a professional if you encounter urgent issues, such as significant flashing gaps or structural sagging that threaten your home. If you feel uncertain about the severity of the damage, seeking a professional’s expertise will provide peace of mind within a few days.
Recommended
- 7 Types of Roof Damage Every Texas Homeowner Should Know
- Roof Hail Damage – How it Impacts Texas Homes
- 7-Step Roof Maintenance Checklist 2026 for Texas Homes
- 7 Essential Home Roofing Tips for Homeowners in Texas
- Roofing Company Corpus Christi TX
- Roofing Company San Antonio TX
- Roofing Company Victoria TX