
Coastal Texas homes face relentless storms, hurricanes, and humidity that test exterior defenses year-round. Your siding serves as the first barrier against wind-driven rain, moisture intrusion, and structural deterioration. While many homeowners focus on material choice, installation quality determines whether your siding will protect your home or fail when the next storm hits. Understanding how proper installation prevents costly damage and improves energy efficiency is essential for long-term home protection.
Table of Contents
- Introduction To Siding And Its Importance In Coastal Texas
- How Proper Siding Installation Protects Against Weather Damage
- Common Siding Installation Mistakes And Their Consequences
- Energy Efficiency Benefits Of Correct Siding Installation
- Material And Method Selection For Coastal Environments
- Role Of Professional Contractors In Ensuring Proper Installation
- Practical Guidelines For Assessing And Maintaining Siding Health
- Common Misconceptions About Siding Installation
- How Buffalo Roofing & Exteriors Supports Your Siding Installation Needs
Key takeaways
| Point | Details |
|---|---|
| Moisture protection | Proper installation reduces moisture infiltration by up to 40% compared to substandard work. |
| Installation errors | Common mistakes like improper nailing and missing moisture barriers drastically increase repair costs and failure rates. |
| Energy efficiency | Correct installation minimizes air leakage, reducing energy loss by preventing gaps where conditioned air escapes. |
| Code compliance | Texas coastal building codes require specific materials and methods to withstand hurricane-force winds and flooding. |
| Professional advantage | Licensed contractors reduce installation error rates from 26% (DIY) to approximately 8%, protecting warranties and insurance claims. |
Introduction to siding and its importance in coastal Texas
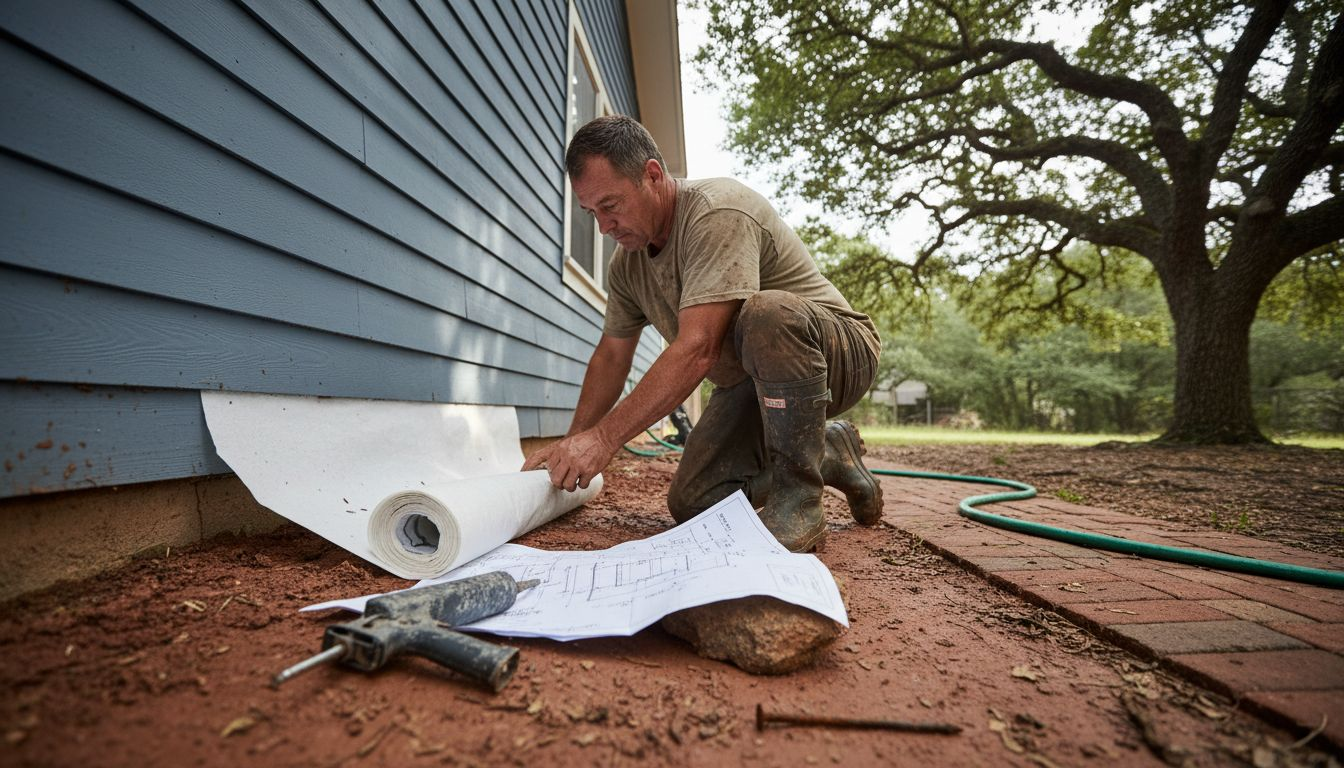
Siding is the external cladding that shields your home from wind, rain, sun exposure, and physical impacts. In coastal Texas, where storms and hurricanes cause significant exterior damage, this protective layer faces extreme testing. Your siding must withstand sustained winds exceeding 100 mph, torrential rainfall, airborne debris, and prolonged humidity that accelerates rot and mold.
Understanding what siding replacement entails starts with recognizing that this system does more than beautify your home. It creates a weather-resistant envelope that keeps moisture out while allowing trapped vapor to escape. When properly installed, siding works with underlying moisture barriers to prevent water from reaching structural framing, insulation, and interior spaces.
Most homeowners underestimate how installation quality affects performance. You might select premium fiber cement or impact-resistant vinyl, but poor fastening techniques or skipped waterproofing steps can nullify those material advantages. The difference between siding that lasts 30 years versus failing within 10 often comes down to installation precision.
Coastal environments create three primary challenges:
- Wind pressure and suction: Hurricane-force winds create uplift that tears poorly fastened panels away from walls
- Water intrusion: Horizontal rain driven by sustained winds finds every unsealed gap and penetrates behind siding
- Thermal cycling: Intense heat and humidity cause materials to expand and contract, stressing improperly installed fasteners
Before planning your project, assess whether your siding is ready for hurricane season by checking for loose panels, gaps around windows, and deteriorated caulking. Learning about exterior siding basics helps you communicate effectively with contractors and evaluate installation proposals.
How proper siding installation protects against weather damage
Installation quality determines whether your siding remains intact during the next coastal storm or becomes a liability. Each component must work together to create a weathertight barrier that channels water away while resisting wind forces.
Correct fastening prevents catastrophic failure during high winds. Installers must:
- Position fasteners in manufacturer-specified zones: Nailing too high, too low, or too close to panel edges creates stress points that crack under wind pressure
- Space fasteners at proper intervals: Gaps larger than 16 inches allow panels to flutter and loosen during sustained winds
- Avoid overdriving or underdriving: Overdriven nails compress panels and restrict thermal movement, while loose nails fail to secure properly
- Use corrosion-resistant fasteners: Coastal salt air corrodes standard nails within years, weakening the entire system
Proper sealing and flashing create the second line of defense. Water follows gravity and capillary action, finding microscopic gaps around windows, doors, and panel joints. Professional installers apply flashing tape at horizontal seams before installing trim, directing water outward rather than allowing it to wick behind siding.
Moisture barriers under siding prevent the 40% increase in water infiltration that results from improper installation. These breathable membranes stop liquid water while allowing interior moisture vapor to escape, preventing rot and mold growth within wall cavities. Skipping this layer or installing it incorrectly traps moisture against sheathing, creating ideal conditions for wood decay.
Pro Tip: Check that your contractor uses housewrap or building paper rated for coastal environments with enhanced tear resistance and water holdout. Standard products deteriorate faster in high-humidity conditions.
Following manufacturer guidelines extends siding lifespan dramatically. Each product has specific expansion gap requirements, recommended fastener types, and installation temperature ranges. Installing vinyl siding when temperatures drop below 40°F causes brittle cracking. Installing fiber cement without proper clearances from roof lines allows water accumulation and premature failure.
The siding maintenance guide for 2026 emphasizes that installation quality equals material quality in determining longevity. Premium materials installed poorly fail faster than economy materials installed correctly.
Common siding installation mistakes and their consequences
Installation errors create vulnerabilities that compound over time, transforming minor oversights into expensive failures. Understanding these mistakes helps you evaluate contractor proposals and spot warning signs during installation.
Improper nailing ranks as the most frequent error. Installers rushing to complete jobs often:
- Drive nails at wrong angles: Angled fasteners create stress concentrations that crack panels during thermal expansion
- Use insufficient fasteners: Reducing nail count by even 20% dramatically increases wind damage risk
- Nail through panel faces: This practice, common with inexperienced crews, prevents thermal movement and causes buckling
- Skip starter strips: Omitting this foundation piece allows bottom panels to pull away from walls during uplift
Skipping moisture barriers represents a critical shortcut that causes significantly higher failure rates compared to material defects. Without this protection, wind-driven rain penetrates directly to wall sheathing. Within months, you’ll notice interior water stains, peeling paint, and musty odors indicating hidden mold growth.
Poor sealing at joints and edges creates air and moisture pathways. Common sealing failures include:
- Gaps around window and door trim: Unsealed perimeters allow water to flow behind siding during heavy rains
- Missing end caps: Exposed panel ends wick water through capillary action into wall cavities
- Deteriorated caulking: Using non-paintable or inappropriate caulk types leads to premature cracking and separation
These errors increase both repair frequency and total costs. Homeowners facing premature siding failure often spend 150% to 200% more over 20 years compared to those who invested in quality installation initially. Insurance companies may deny claims when adjusters determine that installation defects, not storm damage, caused failure.
Before hurricane season, verify your siding readiness by checking fastener visibility, panel alignment, and seal integrity. Catching installation errors early allows corrections before weather exposes these vulnerabilities.
Energy efficiency benefits of correct siding installation
Beyond weather protection, proper siding installation directly impacts your utility bills and indoor comfort. Coastal Texas homeowners running air conditioning 8+ months annually can realize substantial savings when installation quality prevents air leakage.
Correct installation minimizes gaps where conditioned air escapes. Every unsealed penetration, misaligned panel, or improperly fitted trim piece creates an air pathway. Collectively, these small gaps force your HVAC system to work harder maintaining temperature. Studies show that air leakage from poor installation accounts for 25% to 40% of residential cooling load in coastal climates.
Key installation practices that improve efficiency include:
- Tight-fitting J-channels around windows: Properly sized channels eliminate air gaps while allowing thermal movement
- Sealed penetrations for outlets and fixtures: Foam backing and weatherproof covers prevent air infiltration
- Continuous insulation behind siding: When installed correctly, rigid foam boards eliminate thermal bridging through wall studs
- Properly overlapped panels: Each panel must overlap its neighbor by manufacturer-specified amounts to prevent wind washing
Proper siding works synergistically with wall insulation to maintain stable indoor temperatures. Even R-15 wall insulation loses effectiveness when air leaks bypass the insulated cavity. Professional installation ensures that siding, moisture barriers, and insulation function as an integrated system rather than separate components.
Quality siding installation pays dividends through reduced energy consumption, improved comfort during temperature extremes, and extended HVAC equipment life. Homeowners typically recover premium installation costs within 5 to 7 years through utility savings alone.
Poor installation can increase energy loss by up to 25% compared to code-minimum standards. In a 2,000-square-foot home cooling to 72°F when outdoor temperatures reach 95°F, this inefficiency adds $40 to $60 monthly to summer electric bills. Over a 20-year siding lifespan, that represents $9,600 to $14,400 in unnecessary energy costs.
Improved comfort during extreme weather extends beyond cost savings. Properly installed siding eliminates hot spots near windows, reduces humidity infiltration, and prevents the drafts that make rooms uncomfortable despite thermostat settings. Coastal humidity control becomes significantly easier when exterior air doesn’t continuously leak into conditioned spaces.
Material and method selection for coastal environments
Texas coastal building codes mandate specific performance standards for siding systems in hurricane-prone regions. Understanding material options and installation requirements helps you make informed decisions that balance durability, aesthetics, and budget.
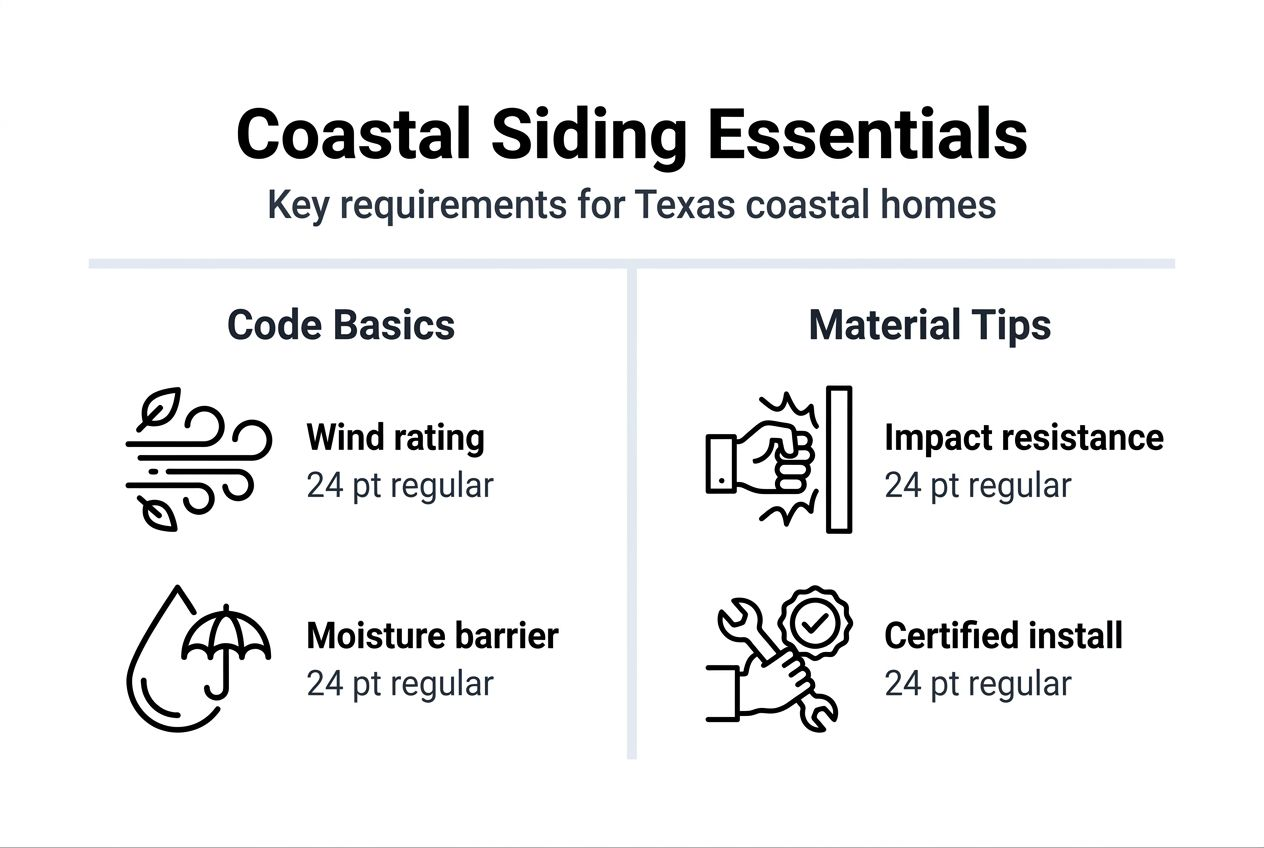
Texas building codes require impact-resistant materials rated for wind speeds of 140+ mph in coastal counties. Products must pass ASTM D3679 testing for wind resistance and meet Miami-Dade certification standards in the most exposed locations. These requirements eliminate some economy materials while ensuring that approved products can withstand typical coastal conditions.
Comparing common siding materials for coastal applications:
| Material | Wind Resistance | Moisture Performance | Maintenance | Cost Range |
|---|---|---|---|---|
| Vinyl | Good (130-150 mph) | Excellent (non-absorbent) | Low | $ |
| Fiber Cement | Excellent (150+ mph) | Excellent (moisture-resistant) | Medium | $$$ |
| Engineered Wood | Good (130+ mph) | Good (treated) | Medium-High | $$ |
| Metal (Steel/Aluminum) | Excellent (150+ mph) | Excellent (non-corrosive) | Low | $$-$$$ |
Best installation methods combine proper moisture management with robust fastening patterns. Critical techniques include:
- Double moisture barriers in flood zones: Applying housewrap over foam sheathing creates redundant water protection
- Stainless steel fasteners: Coastal salt air corrodes galvanized nails within 5 to 10 years, while stainless remains intact
- Enhanced flashing at roof-wall intersections: Step flashing with membrane underlayment prevents the most common leak points
- Vented siding systems: Creating airspace behind panels allows moisture to escape rather than accumulating
Code compliance protects both immediate performance and long-term value. Insurance companies increasingly require proof of code-compliant installation when processing storm damage claims. Non-compliant work can void warranties and reduce claim payouts by 50% or more.
Pro Tip: Request that contractors provide manufacturer installation certifications and local building permits. These documents confirm that work meets both product specifications and municipal requirements.
Selecting materials balances cost, durability, and aesthetics based on your specific exposure. Homes within 3,000 feet of saltwater face more aggressive corrosion and should prioritize non-ferrous materials. Properties in flood zones benefit from materials that withstand temporary submersion without permanent damage.
Explore exterior siding protection options and weatherproofing strategies for coastal homes to understand how comprehensive exterior systems work together. The same principles that guide coastal deck construction apply to siding: materials must resist moisture, corrosion, and mechanical stress simultaneously.
Role of professional contractors in ensuring proper installation
Hiring experienced, licensed professionals dramatically reduces installation errors and protects your long-term investment. The performance gap between DIY and professional installation becomes especially pronounced in demanding coastal environments.
DIY siding installation carries approximately 26% error rates in critical areas like moisture barrier installation, fastener placement, and flashing integration. Professional installers reduce this to roughly 8% through training, experience, and quality control processes. This 18-percentage-point difference translates directly into fewer callbacks, warranty claims, and premature failures.
Professionals understand local Texas codes and best practices specific to coastal construction. They know:
- Wind load requirements for your specific location: Installation methods vary based on distance from coast and building height
- Flood zone restrictions: Certain materials and methods are prohibited in designated flood hazards
- Local permit processes: Professional contractors handle inspections and documentation that DIYers often miss
- Material availability and lead times: Established contractors have supplier relationships that ensure quality materials arrive on schedule
Professional installation supports insurance claims and warranty coverage. When storm damage occurs, adjusters scrutinize installation quality to determine coverage. Documentation showing licensed contractor installation with proper permits strengthens claims significantly. Many siding manufacturers void material warranties entirely when products are installed by unlicensed individuals.
Choosing certified contractors minimizes costly rework. A botched DIY installation might save $3,000 to $5,000 initially but require complete tear-off and reinstallation within 5 years, costing $12,000 to $18,000 total. Professional installation costs more upfront but eliminates these expensive failures.
Quality contractors ensure proper use of moisture barriers, sealing compounds, and fastening systems. They understand how these components interact and follow integrated installation sequences rather than treating each element separately. This systems approach prevents the compatibility issues that plague piecemeal installations.
When selecting contractors for damaged siding replacement, verify licensing, insurance, and references from coastal projects. Ask specific questions about moisture barrier brands, fastener specifications, and quality control procedures. Contractors who provide detailed answers demonstrate the expertise your home requires.
Understanding what siding replacement involves helps you evaluate contractor proposals and identify warning signs of corner-cutting. Detailed contracts specifying materials, methods, and warranties protect both parties and set clear performance expectations.
Practical guidelines for assessing and maintaining siding health
Regular inspection and maintenance extend siding lifespan while preventing small issues from becoming expensive emergencies. Homeowners who invest 2 to 3 hours twice yearly in siding care avoid 80% of premature failure scenarios.
Conduct visual inspections using this systematic approach:
- Walk the entire perimeter at ground level: Look for loose panels, visible gaps, discolored areas indicating water intrusion, and damaged sections from debris impacts
- Inspect from ladders or scaffolding: Check upper sections near roof lines where water accumulation is most likely and wind forces are strongest
- Examine all penetrations closely: Outlets, light fixtures, vents, and utility connections are common failure points requiring regular seal checks
- Document findings with photos: Creating a visual record helps track deterioration patterns and supports insurance claims if damage worsens
- Schedule professional assessments annually: Trained eyes spot subtle warning signs that homeowners often miss until damage becomes obvious
Check fastening points and flashing condition during each inspection. Visible nail heads shouldn’t show rust staining or pull-through. Flashing around windows and doors must remain sealed without gaps or separation. Any movement when you press firmly against panels indicates fastening failure requiring immediate attention.
Maintain sealants and reapply as needed to prevent moisture intrusion. Caulking around trim typically requires renewal every 3 to 5 years in coastal environments. Use high-quality polyurethane or silicone-based products rated for exterior exposure and UV resistance. Apply fresh caulk in spring after winter temperature cycling but before summer heat makes working conditions difficult.
Pro Tip: Keep a maintenance log noting inspection dates, repairs completed, and contractor contacts. This documentation proves valuable when selling your home and helps new owners continue proper care.
Schedule professional inspections every 1 to 2 years, particularly after major storms. Professionals use moisture meters to detect hidden water intrusion, thermal cameras to identify air leakage, and specialized tools to test fastener integrity. These assessments cost $150 to $300 but often identify $2,000+ in preventable damage.
Timely repairs save substantially compared to deferred maintenance. Replacing 10 damaged panels costs $800 to $1,200. Waiting until moisture penetrates wall cavities and damages framing increases project costs to $5,000 to $8,000. The 2026 siding maintenance guide provides seasonal checklists and identifies priority repair triggers that prevent escalation.
Common misconceptions about siding installation
Several persistent myths about siding lead homeowners toward poor decisions that compromise protection and waste money. Understanding these misconceptions helps you focus on factors that actually determine performance.
Installation errors can nullify up to 50% of material benefits regardless of thickness or initial cost. A premium fiber cement product installed with missing moisture barriers and improper fastening performs worse than economy vinyl installed correctly. Material specifications assume proper installation; when that assumption fails, advertised performance ratings become meaningless.
Common false beliefs include:
- Thicker always means better: While material thickness affects impact resistance, it doesn’t compensate for poor fastening or missing waterproofing
- Fast installation saves money: Rushed crews skip critical steps like proper moisture barrier integration and seal verification
- All contractors are equally qualified: Licensing alone doesn’t indicate coastal installation expertise or commitment to manufacturer specifications
- Visible damage is the only concern: Most serious installation failures occur behind siding where moisture accumulates unnoticed for years
Material quality alone doesn’t guarantee protection when installation is poor. Laboratory testing showing 140-mph wind resistance assumes fasteners are placed correctly at specified intervals. Real-world performance drops dramatically when installers modify patterns to save time.
Rushed installation increases moisture intrusion and structural damage risk substantially. Proper siding installation requires specific sequences: moisture barriers must cure before panel installation, flashing must integrate with housewrap before trim installation, and sealants need appropriate temperature ranges for proper adhesion. Contractors completing 2,000-square-foot homes in 2 days instead of the recommended 4 to 5 days inevitably skip steps.
Proper techniques are required to realize advertised energy efficiency benefits. Manufacturers rate products assuming code-compliant installation with continuous insulation, sealed penetrations, and proper overlap. When contractors omit these elements, actual efficiency drops 30% to 50% below rated values.
Informed decisions based on installation quality, material appropriateness for coastal conditions, and contractor expertise produce better outcomes than simplistic price or appearance comparisons. Investing time to understand proper installation requirements and verify contractor capabilities pays dividends throughout your siding’s lifespan.
How Buffalo Roofing & Exteriors supports your siding installation needs
Protecting your coastal Texas home requires expertise in both material selection and installation precision. Buffalo Roofing & Exteriors brings decades of coastal construction experience to every project, ensuring your siding withstands hurricanes, humidity, and salt air exposure.
Our siding services include comprehensive assessments, code-compliant installation, and ongoing maintenance support. We understand the unique challenges coastal homes face and select materials proven to perform in your specific microclimate. Professional installation minimizes damage risk while maximizing energy efficiency through proper sealing and moisture management.

When storms strike, our storm damage repair services restore protection quickly and completely. We work directly with insurance adjusters, document pre-existing conditions, and ensure repairs meet all code requirements for future coverage.
Whether you need complete siding replacement or targeted repairs, contacting experienced contractors ensures your investment delivers decades of reliable protection. Our teams stay current with evolving building codes, manufacturer specifications, and best practices specific to Corpus Christi, San Antonio, and Victoria regions.
FAQ
What is the main role of proper siding installation in weather resistance?
Proper installation prevents water infiltration, wind damage, and material deterioration through correct fastening patterns and comprehensive sealing. Following manufacturer specifications and building codes ensures your siding performs as designed during hurricanes and severe weather events.
How does proper siding installation improve energy efficiency?
Correct installation minimizes gaps and air leakage pathways around window trim, penetrations, and panel joints. This helps maintain stable indoor temperatures by preventing conditioned air from escaping and unconditioned air from entering, reducing your heating and cooling demands significantly.
What are common mistakes homeowners should avoid during siding installation?
Incorrect nailing patterns that create stress points and allow panel loosening represent the most frequent error. Failing to install moisture barriers and improperly sealing joints around windows and doors also cause premature failure and expensive water damage.
Why is hiring professional contractors recommended for siding installation in coastal Texas?
Professionals ensure compliance with Texas coastal building codes and understand installation methods specific to hurricane-prone regions. They reduce error rates from 26% to approximately 8%, protect manufacturer warranties, and provide documentation supporting insurance claims after storm damage.
How often should homeowners inspect their siding for potential issues?
Conduct visual inspections twice yearly, ideally in spring and fall, checking for loose panels, deteriorated caulking, and water stains. Schedule professional assessments every 1 to 2 years and always after major storms to catch hidden damage before it compromises structural integrity.
Recommended
- Damaged Siding Replacement – Protecting Coastal Texas Homes
- Is Your Siding Ready for Hurricane Season? | Buffalo Roofing & Exteriors | San Antonio to Corpus Christi, TX
- What Is Siding Replacement and Why It Matters
- Exterior Weatherproofing Texas Coastal Homes: 60% Fewer Failures
- Roofing Company Corpus Christi TX