
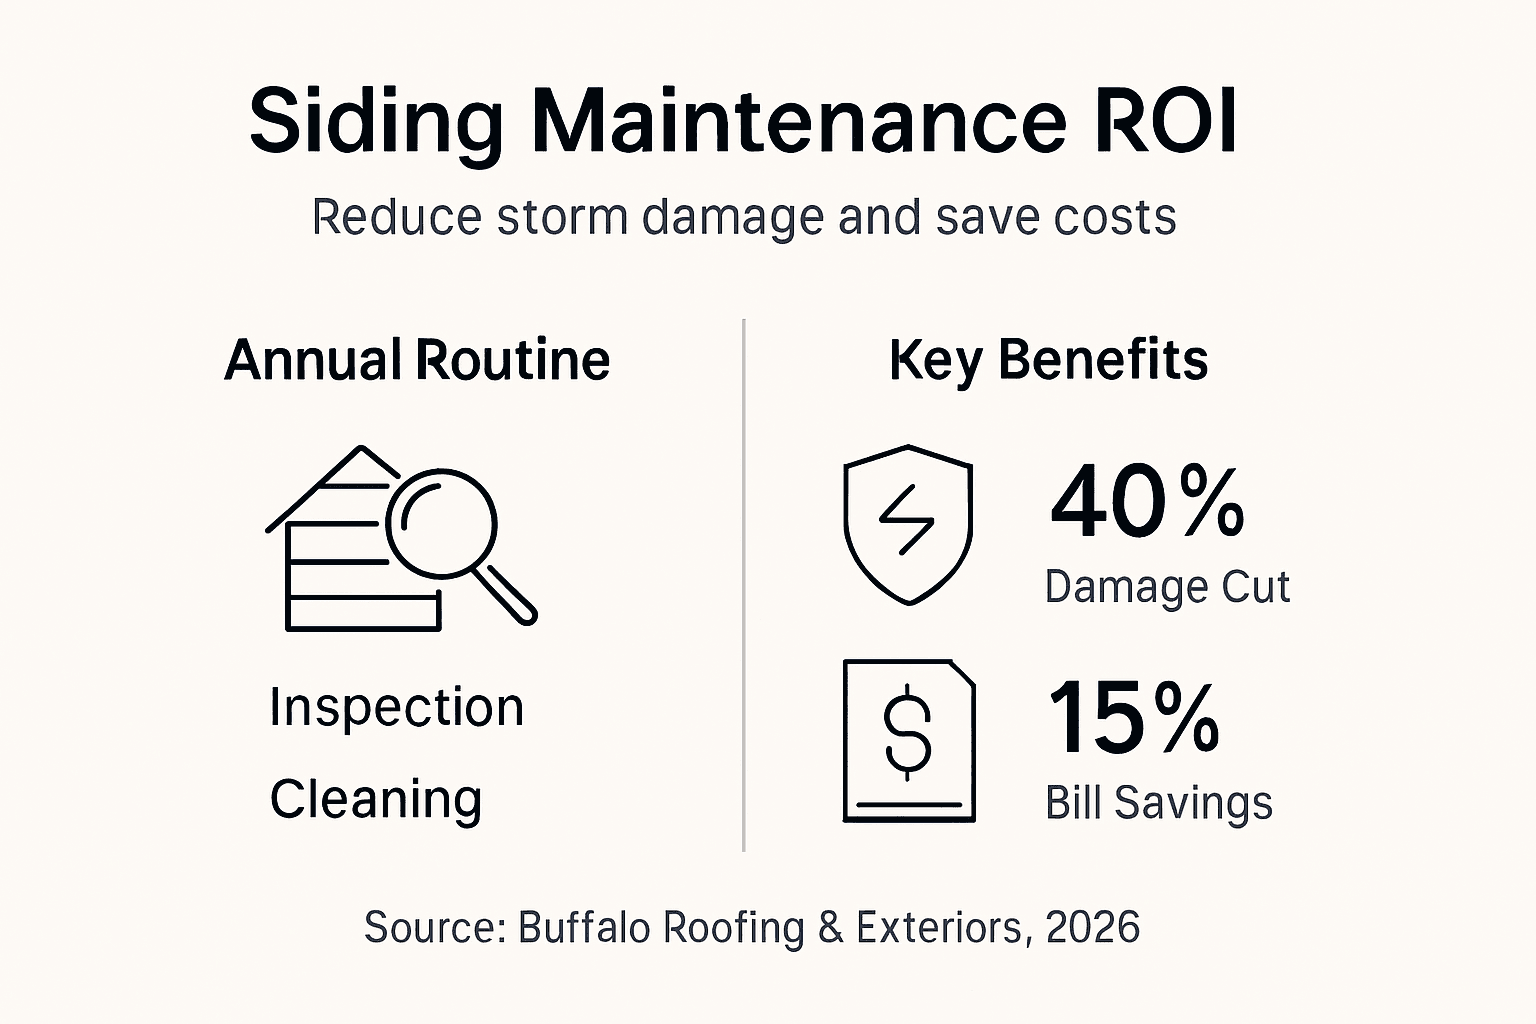
Coastal Texas homeowners know storms accelerate siding deterioration through relentless salt air and wind. Without regular maintenance, minor damage rapidly becomes expensive replacements. This guide shows you exactly how to protect your siding with practical steps tailored to coastal conditions, cutting storm damage by 40% while lowering energy bills by 15%. You’ll gain confidence to inspect, clean, seal, and troubleshoot siding issues before they escalate.
Table of Contents
- Prerequisites: Tools, Knowledge, And Timing
- Step 1: Regular Inspection Routine
- Step 2: Cleaning And Mold Prevention
- Step 3: Caulking And Sealant Repairs
- Step 4: Material-Specific Maintenance Tips
- Common Mistakes And Troubleshooting
- Expected Costs, Timelines, And Outcomes
- Safety Precautions For DIY Maintenance
- Protect Your Coastal Texas Home With Buffalo Roofing & Exteriors
- Frequently Asked Questions
Key Takeaways
| Point | Details |
|---|---|
| Regular biannual inspections | Reduce minor damage progression by 40% through early detection. |
| Proper low-pressure cleaning | Prevents 35% of DIY-caused damage from improper washing techniques. |
| Twice-yearly caulking | Cuts water intrusion risk by 30% when UV-resistant sealants are applied correctly. |
| Energy savings potential | Maintenance lowers energy bills by up to 15% through improved insulation integrity. |
| Annual maintenance investment | Costs $300-$500 yearly but reduces major repair expenses by 70%. |
Prerequisites: Tools, Knowledge, and Timing
Before starting siding maintenance, gather essential equipment and understand coastal weather patterns. You need an adjustable pressure washer, quality caulking guns, and UV-resistant sealants designed for protecting your home’s exterior siding. Safety gear includes stable ladders rated for your height needs, heavy-duty gloves, safety eyewear, and non-slip footwear.
Coastal weather dictates optimal maintenance windows. Schedule work during dry, low-wind periods before and after storm seasons. Understanding your siding material helps you recognize damage signs early. Fiber cement, vinyl, and engineered wood each show distress differently.
Pro Tip: Check local weather forecasts three days ahead and schedule maintenance during dry, low-wind days to maximize safety and effectiveness.
Essential Tool Checklist:
- Adjustable pressure washer (500-1200 PSI range)
- Caulking gun with smooth trigger action
- UV-resistant marine-grade sealants
- Stable extension ladder with non-slip feet
- Safety glasses and heavy-duty work gloves
- Soft-bristle brush for gentle scrubbing
- Garden hose with adjustable nozzle
- Digital camera or smartphone for documentation
| Tool Category | Recommended Specs | Coastal Application |
|---|---|---|
| Pressure Washer | 500-1200 PSI adjustable | Removes salt deposits without damage |
| Sealant | UV-resistant, marine-grade | Withstands intense sun and salt air |
| Ladder | Extension, 300 lb capacity | Reaches two-story siding safely |
| Protective Gear | ANSI-rated eyewear, grip gloves | Prevents injury from debris and chemicals |
Step 1: Regular Inspection Routine
Schedule siding inspections twice yearly, ideally in March before storm season and October after peak hurricane months. Regular inspections reduce minor damage progression by 40% by catching problems early. Walk your home’s perimeter systematically, examining every panel.
Use a detailed checklist covering cracks, warping, loose panels, and water intrusion signs. Pay special attention to edges, seams, corners, and areas around windows and doors where wind-driven rain penetrates. Document findings in a maintenance journal with dates and locations.
Check for these specific issues:
- Cracks longer than two inches or spiderweb patterns
- Warped or buckled panels indicating moisture damage
- Loose or missing panels requiring immediate reattachment
- Discoloration or water stains suggesting hidden leaks
- Gaps in caulking around trim and openings
- Mold or mildew growth in shaded, damp areas
- Paint peeling or coating degradation
- Rust stains from corroded fasteners
Pro Tip: Photograph problem areas during inspection for reference and to monitor progression over time, creating a visual maintenance history.
When you spot damage requiring professional attention, consider damaged siding replacement services. Early intervention through siding preparation for hurricane season prevents escalation.
Step 2: Cleaning and Mold Prevention
Clean siding annually using proper techniques to avoid damage. Set pressure washers to low or medium settings, never exceeding 1200 PSI for vinyl siding. Improper pressure washing causes siding damage in 35% of DIY cases, resulting in stripped coatings and cracks.

Avoid harsh chemical cleaners that degrade protective coatings. Instead, use mild detergent solutions or specialized siding cleaners. After washing, apply mildew-resistant treatments to prevent mold regrowth in humid coastal conditions.
Salt deposits accelerate deterioration, so prioritize their removal. Work from top to bottom, rinsing thoroughly to prevent residue buildup that attracts moisture. Gentle cleaning preserves siding integrity while maintaining appearance.
Safe Cleaning Protocol:
- Start with garden hose rinse to remove loose debris
- Mix mild detergent with water in bucket
- Apply solution with soft-bristle brush using gentle circular motions
- Let solution sit for five minutes on stubborn stains
- Rinse thoroughly from top to bottom with low-pressure water
- Apply mildew-resistant treatment to vulnerable areas
- Allow complete drying before inspecting for missed spots
For persistent mold, use oxygen bleach solutions rather than chlorine bleach, which damages siding materials. Focus on north-facing walls and shaded areas where moisture lingers. Following damaged siding repair tips ensures you address underlying issues causing repeated mold growth.
Step 3: Caulking and Sealant Repairs
Inspect all caulking twice yearly around edges, corners, windows, and doors. Proper biannual caulking reduces water intrusion risk by 30% by maintaining waterproof seals. Remove cracked or loose caulking completely before reapplication.
Apply UV-resistant sealant designed for coastal environments to protect against intense sun and salt exposure. Focus on high-risk water intrusion points where horizontal and vertical surfaces meet. Proper application creates lasting protection.
Follow these steps for effective sealing:
- Remove old caulking with utility knife or caulk removal tool
- Clean surfaces thoroughly and let dry completely
- Cut sealant tube nozzle at 45-degree angle for optimal bead size
- Apply steady pressure to caulking gun for consistent bead
- Smooth bead immediately with moistened finger or tool
- Allow full curing time per manufacturer instructions before exposure to water
- Inspect seal after 24 hours for gaps requiring touch-up
Pro Tip: Use a caulking gun with consistent pressure for clean, uniform bead application to maximize sealing efficiency and prevent weak spots.
Prioritize weatherproofing Texas homes through comprehensive sealing. Marine-grade sealants offer superior protection in salt-air environments compared to standard products.
Step 4: Material-Specific Maintenance Tips
Different siding materials require tailored care approaches. Fiber cement siding resists moisture well but needs joint sealing; vinyl siding requires gentle cleaning; engineered wood benefits from coatings. Understanding your material optimizes protection.
Fiber cement handles coastal conditions excellently but demands regular joint sealing. Its inherent moisture resistance makes it ideal for frequent storm exposure. Vinyl offers cost-effective protection when cleaned properly with low pressure to avoid warping. Engineered wood requires protective coatings and moisture checks to prevent rot.
| Siding Material | Key Maintenance | Frequency | Coastal Advantage | Precautions |
|---|---|---|---|---|
| Fiber Cement | Joint sealing, inspection | Biannual sealing, quarterly inspection | Excellent moisture resistance | Seal all joints thoroughly |
| Vinyl | Gentle cleaning, panel checks | Annual cleaning, biannual inspection | Cost-effective, low maintenance | Avoid high pressure washing |
| Engineered Wood | Protective coating, moisture monitoring | Annual coating, monthly moisture checks | Natural appearance | Requires consistent moisture control |
Maintenance Frequency by Material:
- Fiber Cement: Seal joints every six months; inspect quarterly for cracks
- Vinyl: Clean annually with low pressure; check for warping biannually
- Engineered Wood: Apply protective coating yearly; monitor moisture monthly
- All Materials: Conduct post-storm inspections within 48 hours
Learn more about material-specific siding care to maximize your investment. Each material’s unique properties demand customized approaches for optimal longevity.
Common Mistakes and Troubleshooting
Avoiding frequent errors prevents costly damage. High-pressure washing causes damage in 35% of DIY cases, and delaying repairs leads to higher costs. Never use pressure settings exceeding manufacturer recommendations, as stripped coatings and cracks result.
Delaying repairs beyond one year allows minor issues to escalate into major damage requiring full replacement. Address problems immediately upon discovery. Check for mold missed during initial cleaning and treat promptly with mildew-resistant solutions.
Recognize caulking failure symptoms including water stains, soft spots, or visible gaps. These indicate compromised seals requiring immediate attention before water penetrates wall cavities.
Critical Mistakes to Avoid:
- Using high-pressure settings that strip protective coatings
- Applying caulk over dirty or wet surfaces
- Ignoring small cracks that expand rapidly
- Cleaning with harsh chemicals that degrade materials
- Postponing repairs until next season
- Overlooking hidden damage behind trim or corners
- Installing incorrect fasteners that corrode quickly
Pro Tip: Keep a maintenance journal with dates and actions to spot neglect patterns early and establish consistent care routines.
When DIY approaches fail, professional siding damage fixes prevent further deterioration. Recognize when expertise ensures proper resolution.
Expected Costs, Timelines, and Outcomes
Annual maintenance costs average $300-$500, reducing major repair expenses by 70% and cutting energy bills by 15% through improved insulation integrity. This investment delivers measurable returns in damage prevention and energy efficiency.
Establish a maintenance timeline with biannual inspections in March and October, annual cleaning in spring, and twice-yearly resealing before and after storm season. Consistency produces reliable protection.
| Maintenance Activity | Cost Range | Frequency | Expected Outcome |
|---|---|---|---|
| Biannual Inspection | $0-$150 | Twice yearly | 40% reduction in damage progression |
| Annual Cleaning | $150-$250 | Once yearly | Prevents 35% of DIY damage cases |
| Twice-Yearly Caulking | $100-$150 | Every 6 months | 30% decrease in water intrusion |
| Material-Specific Care | $50-$100 | As needed | Extended siding lifespan by 5-7 years |
| Total Annual | $300-$500 | Ongoing | 70% fewer major repairs, 15% energy savings |
Financial Benefits of Routine Maintenance:
- Prevents 70% of major repair expenses through early intervention
- Reduces energy bills by 15% via maintained insulation integrity
- Extends siding lifespan by five to seven years
- Maintains home value and curb appeal
- Avoids emergency repair premiums during storm seasons
Long-term value of routine upkeep far exceeds reactive repair costs. Understanding roof maintenance investment benefits applies equally to siding protection strategies.
Safety Precautions for DIY Maintenance
Prioritize safety during all maintenance activities. Use stable ladders with proper weight ratings and non-slip footwear to reduce fall risk by 60%. Falls represent the leading cause of DIY injuries during exterior home maintenance.
Wear protective gloves and eyewear when handling chemicals, tools, or pressure washers. Chemical splashes and flying debris cause preventable injuries. Avoid maintenance during high winds, rain, or electrical storms when conditions create unnecessary hazards.
Safety first—no siding improvement is worth risking injury or worse. When conditions feel unsafe or tasks exceed your skill level, professional help ensures both quality results and your wellbeing.
Essential Safety Equipment:
- ANSI-rated safety glasses with side shields
- Chemical-resistant work gloves
- Non-slip work boots with ankle support
- Stable ladder with 300-pound capacity minimum
- Ladder stabilizer for uneven ground
- Safety harness for work above 12 feet
- First aid kit readily accessible
- Cell phone for emergency contact
Pre-Work Safety Checklist:
- Check weather forecast for stable conditions
- Inspect ladder for damage or wear
- Clear work area of tripping hazards
- Notify household member of work location
- Ensure stable ladder placement on level ground
- Test equipment function before starting
- Maintain three points of contact on ladder always
Know your limits. Complex repairs or work at dangerous heights warrant professional expertise to ensure safety and quality outcomes.
Protect Your Coastal Texas Home with Buffalo Roofing & Exteriors
While DIY maintenance provides essential protection, professional expertise ensures comprehensive storm resilience. Buffalo Roofing & Exteriors specializes in professional siding services tailored for coastal Texas homes facing unique weather challenges.

Our team understands how salt air, humidity, and storm patterns affect siding integrity. We provide thorough inspections identifying hidden damage and deliver storm damage restoration that withstands future weather events. From material selection to installation and ongoing maintenance, we protect your investment.
Contact us today for a comprehensive siding inspection and discover how our exterior siding solutions enhance your home’s protection and energy efficiency. Let our coastal expertise give you peace of mind before the next storm season arrives.
Frequently Asked Questions
How often should I schedule siding maintenance in coastal Texas?
Perform biannual inspections in March and October, annual cleaning in spring, and twice-yearly caulking before and after storm season. Coastal conditions demand more frequent attention than inland homes due to salt air and storm exposure.
Can I use any pressure washer for cleaning siding safely?
No, use only adjustable pressure washers set to 500-1200 PSI maximum for vinyl siding. Higher pressure strips protective coatings and causes cracks, accounting for 35% of DIY damage cases. Always test pressure on an inconspicuous area first.
What are warning signs that siding needs professional repair?
Watch for water stains inside your home, soft spots when pressing siding panels, large cracks exceeding two inches, widespread warping, or persistent mold despite treatment. These indicate structural issues requiring expert assessment and repair.
Do siding maintenance activities help reduce my energy bills?
Yes, proper maintenance lowers energy bills by up to 15% through maintained insulation integrity. Sealed joints and intact panels prevent air leakage, reducing HVAC workload. Regular upkeep preserves your siding’s thermal barrier properties.
What safety precautions are most important when doing siding maintenance?
Use stable ladders on level ground, wear protective eyewear and gloves, avoid work during storms or high winds, and maintain three points of contact on ladders always. Never work alone at heights, and know when to call professionals for complex or dangerous tasks.