

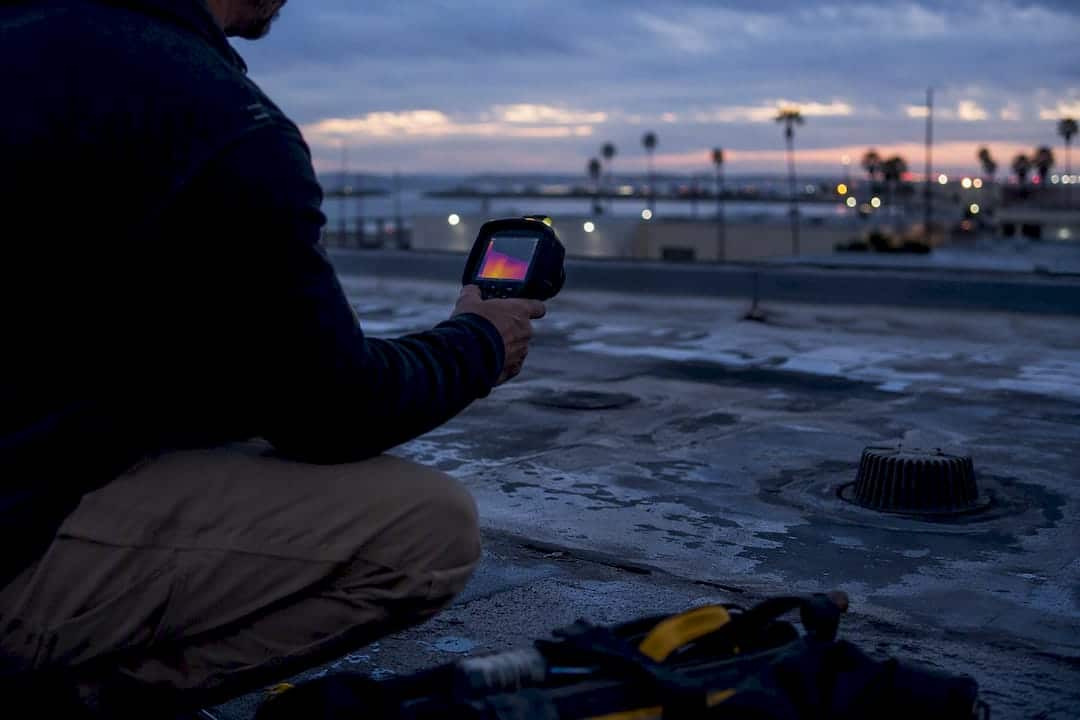
Start with a systematic visual inspection paired with a moisture survey. Escalate to infrared thermography or electronic leak detection (ELD) only when your roof assembly and weather conditions actually support those tests, and always verify any anomaly with a core cut or probe before anyone starts cutting into the membrane. That sequence exists because ASTM C1153 treats infrared results as a starting point, not a diagnosis: it flags temperature differences, not moisture, so skipping verification invites unnecessary tear-offs and missed leaks.
Do this today:
- Photograph every interior stain and note when it appears relative to rain.
- Check nearby HVAC units and plumbing lines to rule out condensate before blaming the roof.
- Call a professional to schedule a moisture survey if stains persist or spread.
Key Takeaways
Accurate flat roof leak detection depends on sequencing the right non-destructive survey to your roof assembly, then confirming any anomaly with invasive verification before repairs begin.
| Point | Details |
|---|---|
| Start with visual plus moisture mapping | Walk the roof, check seams and drains, then map moisture before choosing an advanced method. |
| Infrared needs the right conditions | Nighttime scans per ASTM C1153 detect temperature differences, not moisture, and require invasive verification. |
| ELD needs a conductive substrate | ASTM D7877 and D8231 require a conductive return path; black EPDM complicates readings. |
| Verification is non-negotiable | Core samples or probes confirm any infrared or ELD anomaly before repair scope is set. |
| Match the method to the goal | Buffaloroofingandexteriors matches assembly type and inspection goal to the right test, then documents results in a written report. |
Table of Contents
- Visual Inspection Checklist and Common Flat-Roof Leak Locations
- Non-Destructive Survey Methods at a Glance
- How Does Infrared Thermography Find Roof Leaks?
- Electronic Leak Detection: When Does It Work?
- Smoke Testing and Tracer Gas: How Do They Work?
- Confirming a Leak: Moisture Meters, Probes and Core Sampling
- How Do You Choose the Right Detection Method?
- What Can You Check Yourself Before Calling a Professional?
- Safety, Access and Timing Requirements
- What Does a Professional Leak Survey Cost?
- Why Do Professionals Combine Multiple Detection Methods?
- What Contractors Get Wrong on Flat Roof Inspections
- How Buffaloroofingandexteriors Approaches Flat Roof Diagnostics
- Standards and Guidance Worth Requesting From Any Vendor
- Sources
Visual Inspection Checklist and Common Flat-Roof Leak Locations
Before any equipment gets involved, walk the roof with a checklist. Look at seams and laps first. Most flat-roof failures start at a seam, a flashing detail, or a penetration, rather than in the field of the membrane itself.
- Check flashing around HVAC curbs, pipes, and skylights for cracking or separation.
- Inspect drains and scuppers for standing water or debris blocking flow.
- Note ponding areas that hold water more than 48 hours after rain.
- Look for membrane blistering, wrinkling, or granule loss on modified bitumen.
- Map interior ceiling stains against rooftop features directly above them.
Pro Tip: Take a photo of every suspect area with a tape measure in frame. Technicians can locate anomalies faster when they know exact distances from a roof edge or drain.
Non-Destructive Survey Methods at a Glance
Five tools dominate professional flat roof leak detection work, each suited to a different job:
- Moisture mapping (capacitance/impedance): maps wet zones across a whole roof but won’t pinpoint the breach itself.
- Infrared thermography: finds temperature differentials tied to trapped moisture, best at night.
- Electronic leak detection: precisely locates a membrane breach when the substrate can carry an electrical current.
- Tracer smoke or gas: reveals breach points in assemblies where electrical methods won’t work.
- Acoustic/impedance tools: supplement the above on complex or layered assemblies.
How Does Infrared Thermography Find Roof Leaks?
Infrared cameras read surface temperature, not water content. Wet insulation retains heat differently than dry insulation, so after a warm day it releases that heat more slowly after sunset, creating a thermal signature a trained operator can read on a scanner. ASTM C1153 requires these scans be done at night, typically one to three hours after sunset on clear evenings, and it specifies equipment criteria and weather conditions that affect accuracy, according to Roof Design’s breakdown of the underlying science.
The standard also mandates that any thermal anomaly get verified through invasive means: a core cut or a moisture meter probe. That step exists because infrared imagers detect thermal patterns, not moisture itself, and a handful of conditions can mimic a wet-insulation signature.
Common false-positive sources include:
- Recent rainfall that hasn’t fully evaporated from the surface
- Reflective or low-emissivity membranes that skew readings
- Diurnal heat flow near rooftop equipment or dark HVAC curbs
Pro Tip: Infrared struggles on ballasted or vegetated (green) roofs because the overburden blocks the thermal signal from reaching the surface. If your roof has gravel ballast or a planted system, ask your contractor how they plan to work around that limitation before you pay for a scan.
Electronic Leak Detection: When Does It Work?
ELD comes in two flavors. Low-voltage wet scanning floods a roof section with water and a mild electrical charge, then detects where current escapes through a breach. High-voltage dry scanning uses a charged wand that arcs to any exposed conductive substrate beneath a breach, no water required.
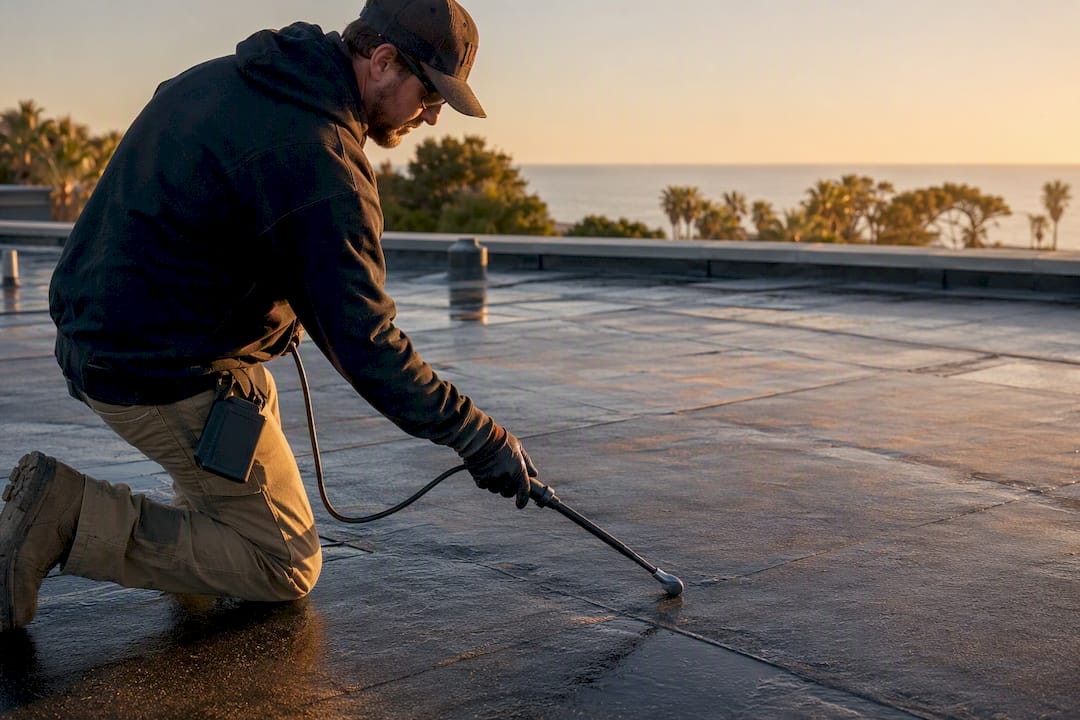
Both depend on the same requirement: ASTM D7877 specifies that electrical conductance testing needs a conductive substrate, or an installed conductive layer, under the membrane to complete the test circuit. Without that return path, the test simply can’t locate anything. Versico’s technical overview of ELD systems notes this is why compatibility gets checked before scheduling, not after.
Black EPDM presents a particular headache: the membrane itself is conductive, which interferes with locating the actual breach, a limitation IIBEC’s Technical Advisory TA-018 calls out directly. Overburden like pavers or ballast, seam configuration, and wet weather during high-voltage testing all affect results too.
Before booking ELD, confirm:
- Your deck and substrate can conduct electricity (or a conductive layer can be added)
- Your membrane isn’t a known problem material like black EPDM
- Ballast or overburden won’t need to be moved first
Pro Tip: Ask the technician about their calibration and training records. IIBEC’s advisory specifically ties reliable ELD results to operator experience, not just equipment quality.
Smoke Testing and Tracer Gas: How Do They Work?
Smoke or an inert tracer gas gets introduced into the roof assembly, often through a drain or a small access point, and pressurized slightly. Wherever the smoke or gas escapes marks a breach. This approach shines on assemblies where ELD can’t work: non-conductive substrates, buried membranes, or layered roofs where electrical methods lose sensitivity.
The tradeoffs are practical ones. Wind disperses smoke fast, so testing usually happens on calm days. Access points for introducing the gas need to exist or be created, and technicians need clear egress paths to spot where smoke surfaces. Property managers usually reach for tracer methods after ELD or infrared come back inconclusive on a tricky assembly.
Confirming a Leak: Moisture Meters, Probes and Core Sampling
Every non-destructive survey needs a reality check. That’s what invasive verification provides. Core sampling cuts a small section from the roof assembly for gravimetric moisture analysis, the most direct way to quantify how wet the insulation actually is. Pin-type moisture meters and nuclear moisture gauges offer faster, less destructive spot checks that professionals use to confirm infrared or ELD anomalies before committing to a larger repair.
A single core is only representative when it’s placed based on survey data, not guesswork. A layered inspection workflow, moving from visual assessment to moisture mapping to targeted verification, reduces unnecessary core cuts and wrong repairs. The verification results then drive the actual repair scope: a small wet pocket might mean a patch, while widespread saturation points toward a full insulation replacement.
How Do You Choose the Right Detection Method?
Match your goal and your roof’s construction to the method before you call anyone.
- Define the goal. Locating one recurring leak needs a different approach than mapping moisture across an entire roof surface.
- Check your assembly. Note membrane type, substrate conductivity, presence of ballast or pavers, and rooftop access.
- Match conditions to method. Infrared needs clear, calm nights; ELD needs a conductive return path; smoke testing needs low wind and accessible entry points.
- Plan for verification. Budget for at least one invasive check regardless of which non-destructive method you use.
A quick decision flow that works for most flat roofs:
- Start with visual inspection plus basic moisture mapping.
- Choose infrared for whole-roof moisture surveys on exposed membranes at night.
- Choose ELD when the substrate is or can be made conductive.
- Choose tracer smoke or gas for buried, layered, or non-conductive assemblies.
What Can You Check Yourself Before Calling a Professional?
A few careful steps at home can save a technician time and narrow down where the leak actually originates.
- Map every interior stain and note the date and weather conditions when it first appeared.
- Rule out HVAC condensate lines and plumbing as the real source, a surprisingly common ghost leak that gets misdiagnosed as a roof failure.
- Check drains and scuppers from the roof for blockages, but avoid walking on fragile or wet membrane surfaces.
- Photograph anything suspicious: cracked flashing, blistered membrane, standing water. Our guide on spotting roof leaks before they cause real damage covers what to look for from inside the building too.
Don’t attempt to cut into the membrane yourself or move heavy ballast without guidance. That’s a job for someone trained to reseal what they open.
Safety, Access and Timing Requirements
Night infrared scans call for a two-person team, adequate lighting, and fall protection, since limited visibility raises the stakes on a flat roof edge. High-voltage ELD testing should only be run by trained technicians, and never in wet conditions, given the obvious electrical risk. Flood testing, where sections of roof get intentionally ponded to check for leaks, requires structural load verification and sometimes an engineer’s sign-off before it’s attempted on older or borderline decks.
What Does a Professional Leak Survey Cost?
Diagnostic pricing depends heavily on method and roof size, but professional investigations typically run $300 to $1,500, with infrared and ELD surveys landing at the higher end of that range compared to a basic visual inspection.
- Visual inspection plus moisture mapping: usually completed in a single daytime visit.
- Infrared scans: require an evening visit, often followed by a separate daytime visit for core verification.
- ELD surveys: typically half a day to a full day, depending on roof size and substrate prep.
- Core sampling: quick on its own, but adds to the total timeline when scheduled after another survey.
Access complexity, roof size, and whether invasive verification is required all push these numbers up or down.
Why Do Professionals Combine Multiple Detection Methods?
Standards exist because single-method diagnosis fails too often. ASTM C1153 for infrared and ASTM D7877 alongside ASTM D8231 for electronic leak detection both build in verification and calibration requirements for a reason: qualitative readings alone lead to misdiagnosis.
When vetting a testing firm, ask for:
- Written confirmation they follow the relevant ASTM standard for the method used
- Equipment calibration records
- A final report that separates raw observations from interpretation and recommended repairs
What Contractors Get Wrong on Flat Roof Inspections
The most common mistake we see is relying on a single tool, an infrared scan with no core verification, or an ELD reading treated as gospel without checking substrate compatibility first. Ghost leaks from HVAC units get misread as roof failures more often than owners expect. When stains keep reappearing after a patch, a full diagnostic survey beats another guess.
How Buffaloroofingandexteriors Approaches Flat Roof Diagnostics
Getting a straight answer on where a flat roof is actually leaking usually means paying for the wrong test once before finding the right one. Buffalo Roofing and Exteriors skips that trial and error: our technicians match the detection method to your specific roof assembly before scheduling anything, so you’re not paying for an infrared scan on a ballasted roof or an ELD survey on an incompatible substrate.

Our flat-roof diagnostic process covers moisture mapping, infrared scans where conditions allow, ELD-compatible surveys, and core sampling to confirm what the non-destructive tests find. Every inspection ends with a written report that separates what we observed from what we recommend, so you know exactly what’s driving repair costs before you approve any work. If a patch will solve the problem, we say so. If the insulation needs replacing, that gets documented too.
If you’re dealing with recurring stains or standing water on a flat roof, visit our flat roof services page to request a diagnostic inspection and get a documented plan for repair.
Standards and Guidance Worth Requesting From Any Vendor
Ask any testing firm to reference these documents in their written report:
- ASTM C1153 covers infrared inspection equipment, timing, and mandatory invasive verification.
- ASTM D7877 details electrical conductance testing procedures and calibration requirements.
- ASTM D8231 addresses additional electronic leak detection method standards.
- IIBEC TA-018 advises on ELD technician qualifications and membrane compatibility issues.
Sources
- Surveying roof moisture by Michael T. Williams | Professional Roofing
- ASTM C1153-23: Practice for…
- IIBEC Technical Advisory No. 018-2019 (Electronic Leak Detection)