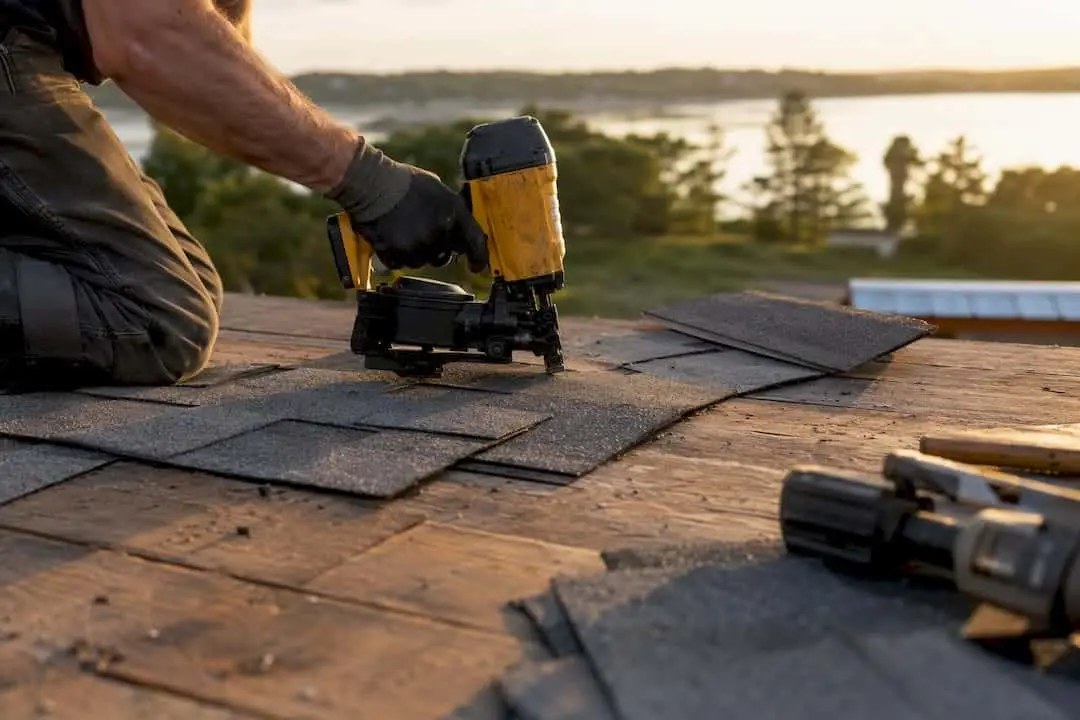
In high-wind locations, use a 6-nail pattern with 11- or 12-gauge corrosion-resistant roofing nails, minimum 3/8-inch heads, driven flush within the marked nailing zone. That’s the baseline unless the shingle manufacturer or your local building code specifies something different. Manufacturer instructions and code adoption govern the final call, and edge securement at eaves, rakes, and ridges matters just as much as the field pattern.
TL;DR:
- Most high-wind areas require a six-nail pattern with 11- or 12-gauge corrosion-resistant nails driven flush within the marked nailing zone, unless otherwise specified by manufacturer or local code.
- Correct nail placement within the nailing zone is critical, as high nailing, overdriving, or underdriving can significantly weaken the roof’s wind resistance.
- For coastal or salt-prone areas, use hot-dip galvanized or stainless steel fasteners to prevent corrosion and maintain holding power over time.
- Follow proper procedure for different roof pitches, ensuring consistent placement, especially on steep slopes where hand-nailing and fall protection are necessary.
- Verifying fastener gauge, placement, and edge securement after installation is crucial, and property owners should conduct quick inspections or hire professionals to ensure compliance with wind load standards.
Table of Contents
- Nailing Patterns for 3-Tab and Architectural Shingles
- Fastener Selection: Gauge, Corrosion Resistance, and Penetration
- Getting Nail Placement Right (and the Mistakes That Ruin It)
- Why Eaves, Rakes, and Ridges Need Extra Securement
- What Do Wind Codes Actually Require?
- A Verification Checklist Before You Sign Off
- When to Bring in a Professional
- Step-by-Step Nailing by Roof Pitch
- How Roof Deck Material Changes Your Fastener Approach
- Safety Gear for High-Wind Nailing Work
- What the Wind-Resistance Data Actually Tells Us
- Get a High-Wind Roof Inspection From Buffaloroofingandexteriors
- Sources
Nailing Patterns for 3-Tab and Architectural Shingles
Most 3-tab shingles ship with a standard 4-nail pattern: one nail about one inch in from each end, and two more centered above each cutout, all sitting inside the manufacturer’s printed nailing zone. That works fine in moderate wind zones on products rated for it. It does not hold up as well once sustained gusts start pulling at tab edges, which is why the Building America Solution Center recommends six nails per strip shingle in high-wind areas.
An enhanced nailing pattern adds nails near each end and spaces the others evenly across the shingle width, all still inside the nail line, never above it. Architectural (dimensional) shingles use a similar logic, though their nailing zone is often a single reinforced strip rather than a printed line, so check the wrapper for the exact placement diagram.
A basic sequence for either pattern:
- Snap horizontal chalk lines to keep courses straight and nailing zones consistent across the roof.
- Set the starter course, then align the first shingle course over it with proper offset.
- Drive nails in the order that keeps the shingle flat: outer nails first, then work toward the center.
- Check that no nail sits above the nailing zone or through the sealant strip.
- Confirm the shingle is seated and unwrinkled before moving to the next course.
Some wind-rated products qualify for a 4-nail pattern under ASTM D3161 Class F testing even in higher wind zones, but that’s a manufacturer-specific exception, not a default. Read the wrapper before assuming fewer nails are allowed.
Fastener Selection: Gauge, Corrosion Resistance, and Penetration
The fastener spec is not negotiable if you want the pattern to actually hold. The Asphalt Roofing Manufacturers Association specifies 11- or 12-gauge roofing nails with a minimum 3/8-inch head, and the nail must penetrate through the deck enough to grip, not just poke through.
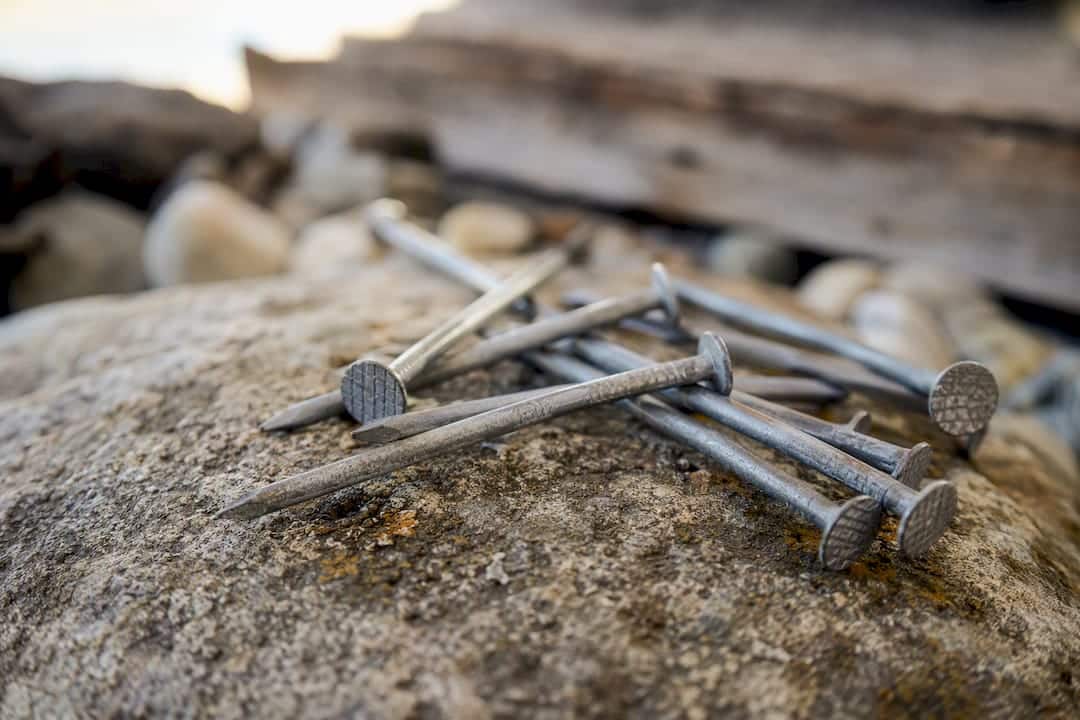
Near salt or brackish water, upgrade to hot-dip galvanized or stainless steel fasteners. Standard electro-galvanized nails corrode faster in coastal air, and a corroded nail shank loses holding power long before the shingle above it shows any visible wear. Staples are a non-starter. Their narrow crown concentrates stress on a smaller area of the shingle and pulls through far more easily under uplift than a properly sized nail.
Get the gauge or head size wrong and you invite pull-through during the first real storm, even if the nail count was correct.
Getting Nail Placement Right (and the Mistakes That Ruin It)
The nailing zone isn’t a suggestion. It’s usually a printed line or reinforced strip, and Owens Corning’s installation guidance treats staying within about half an inch of that line as the acceptable tolerance. Nails need to sit flush: not sunk into the shingle mat, not standing proud of the surface.
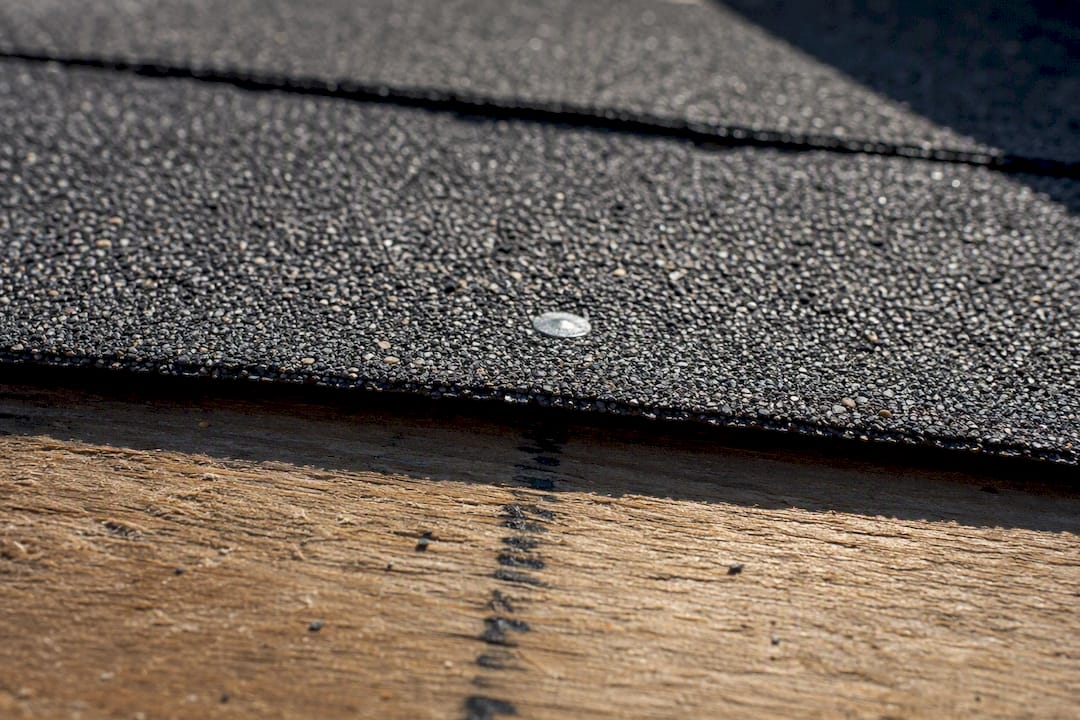
Before you nail a single course, test the gun. Fire a few shots into a scrap shingle on a similar-pitch surface and check the depth. Adjust the compressor pressure until the head sits flat against the shingle without cutting into the granules.
Watch for these four failure points on every roof:
- High nailing — above the nail line, missing the reinforced strip or double-thickness area entirely.
- Nailing through the sealant strip — melts adhesive bond and can crack the shingle.
- Overdriving — the nail head cuts into the mat, creating a weak point that tears loose under uplift.
- Underdriving or angled nails — the head doesn’t seat flush, so wind can work the shingle loose around it.
Pro Tip: Walk a random sample of five shingles per roof plane after installation and check nail count and placement by hand. It takes ten minutes and catches the errors that a quick visual walk-by from the ground never will.
Why Eaves, Rakes, and Ridges Need Extra Securement
Edges take the worst of it. Wind doesn’t peel a roof from the middle outward, it grabs the leading edge first, which is why starter strips and detail work at the perimeter deserve more attention than most DIY guides give them.
The Building America Solution Center also recommends applying asphalt roof cement beneath starter strips and along rakes and eaves for enhanced securement in wind-prone areas.
Ridge and hip caps use their own nailing pattern, longer nails to reach through the extra material layers. Follow the specific product instructions here, since cap shingle requirements vary more between manufacturers than field-shingle patterns do.
What Do Wind Codes Actually Require?
Design wind loads under ASCE 7-22 determine how much uplift pressure a roof assembly has to resist, and that number is what drives whether your jurisdiction requires enhanced attachment. The 2022 edition simplified the roof zone mapping used to calculate those pressures, meaning older rule-of-thumb tables some contractors still use can understate what a coastal or high-exposure site actually needs.
ASTM D7158 and D3161 are the two wind-resistance classifications you’ll see printed on shingle wrappers, and they tell you what nailing pattern qualifies a product for its rated wind speed. Local code adoption varies by jurisdiction, so check with your building department on which edition and wind speed map applies to your address. For a professional-level check, the Roof Wind Designer tool from NRCA calculates design wind loads directly from current ASCE data.
A Verification Checklist Before You Sign Off
You don’t need a contractor’s license to spot a bad nailing job, you just need to know where to look. Bring these tools if you’re inspecting the work yourself: a tape measure, a small pry bar to lift a sample shingle without tearing it, and a flashlight for shaded areas under eaves.
Check for:
- Six nails per strip shingle in wind-prone zones, four only if the product is rated for it.
- Every nail inside the marked nailing zone, not above the line.
- Nail heads flush with the surface, no cuts through the mat, no heads standing proud.
- 11- or 12-gauge fasteners with 3/8-inch heads, hot-dip galvanized or stainless near the coast.
- Starter strip present at all eaves with cement application where the roof plane and edge geometry call for it.
If a contractor can’t answer basic questions about nail gauge or pattern on request, that’s worth pausing on before final payment goes out.
When to Bring in a Professional
Reading a nailing spec is one thing. Executing it correctly across a full roof, on a ladder, in Gulf Coast wind, is another. Buffaloroofingandexteriors installs and repairs roofing systems across Corpus Christi, San Antonio, and Victoria, with storm damage restoration experience specific to coastal wind exposure.
Before any crew starts, ask for documentation covering three things: written confirmation of the fastener gauge and coating being used, the nailing pattern specified for your shingle product, and a statement of code compliance for your jurisdiction’s wind zone. A contractor with nothing to say to those questions is one to keep shopping past.
Buffaloroofingandexteriors backs installations with written estimates and warranty terms, and documents storm damage thoroughly enough to support insurance claims when a roof does take a hit. That documentation habit is worth as much as the installation itself when a warranty question comes up two years later.
Step-by-Step Nailing by Roof Pitch
Pitch changes how a nail sits and how easily a shingle slides before the adhesive strip sets, so the procedure shifts slightly as slope increases.
Low slope (2:12 to 4:12). Shingles lie nearly flat, so nail placement is forgiving, but water sits longer against the surface. Follow the standard 6-nail high-wind pattern, and confirm the manufacturer allows standard shingle application at this pitch. Below 4:12, many products require an underlayment upgrade regardless of nailing.
Standard slope (4:12 to 8:12). This is the range most nailing diagrams are written for. Work from the center of the roof outward on each course, or start at one rake and move across, keeping consistent shingle exposure. Drive nails with the shingle held flat against the deck. Gravity does most of the alignment work here, so focus effort on keeping the nail gun pressure consistent shot to shot.
Steep slope (8:12 and above). Shingles want to slide before the nail catches, so hand-press each shingle into position before firing the nailer, and consider hand nailing sections where footing is unstable. Fall protection becomes mandatory territory here, not optional, and a nail gun’s recoil is harder to control one-handed on a steep pitch. Slow down and drive nails one at a time rather than relying on rapid-fire mode.
Across every pitch, the nail count and gauge specs don’t change. What changes is how carefully you have to control the tool to hit that flush, in-zone placement consistently.
How Roof Deck Material Changes Your Fastener Approach
Most residential roofs in South Texas use 7/16-inch or 15/32-inch OSB (oriented strand board) decking, and it holds nails well as long as the fastener penetrates deep enough. Thinner or older plywood decking, common on homes built before more current code cycles, sometimes needs a nail penetration check since it can affect how much shank actually engages the wood.
Nail penetration through the deck matters more than most homeowners realize. A nail that barely breaks through the underside of thin sheathing has far less pull-out resistance than one seated with proper depth, even if the visible nailing pattern on top looks identical. This is one reason a pull test on a sample area, checking from the attic or from below if the roof deck is exposed, tells you more than a visual inspection from the ground ever will.
Older homes with skip sheathing (spaced wood boards rather than continuous decking) present a different problem: nails have to land on the board, not in the gap between boards, or they won’t hold at all. This isn’t common in newer construction, but it shows up often enough in older coastal homes to be worth checking before a full tear-off begins.
Concrete or lightweight structural decks, seen occasionally on commercial or mixed-use buildings, require different fastening systems entirely, often screws or specialized fasteners rated for that substrate rather than standard roofing nails. If your property has a deck type other than wood-based sheathing, that changes the fastener conversation before nail gauge even comes up.
Safety Gear for High-Wind Nailing Work
Nailing shingles is already a fall-risk job. Add wind gusts and the margin for error narrows fast. Anyone working a roof plane above a few feet off the ground should wear a properly anchored harness and rope system, not just rely on shoe grip and good balance.
Wind adds a specific hazard beyond footing: it can catch a loose shingle bundle or a piece of underlayment and turn it into a projectile, or shift your balance mid-swing with a nail gun. Most roofing crews stop work altogether once sustained wind crosses into the 20 to 25 mph range, well before it becomes dangerous to stand upright on a pitched surface.
Beyond fall protection, standard PPE for this work includes safety glasses (nail guns kick back debris more than people expect), work gloves that still allow enough dexterity to place a shingle by hand, and slip-resistant footwear rated for roof work rather than general work boots. Hearing protection matters too if you’re running a compressor and nailer for hours at a stretch.
If you’re a property manager overseeing a contractor rather than doing the work yourself, ask about their fall protection plan and wind-hold policy before the crew shows up. A contractor who can’t describe when they’ll pause work for weather is a contractor who hasn’t thought this through.
What the Wind-Resistance Data Actually Tells Us
The evidence on shingle blow-offs points to one conclusion more than any other: installation quality beats product rating almost every time. A correctly nailed standard shingle consistently outperforms a premium wind-rated product installed with high nails, missed nailing zones, or the wrong fastener gauge. That’s not a popular thing to say when so much marketing centers on the shingle itself, but the historical failure data backs it up.
Conventional advice tends to stop at “use enough nails,” which isn’t specific enough to verify anything. The real gap is between vague guidance and a checklist you can actually hold a contractor to: exact nail count, gauge, placement tolerance, and edge treatment. Homeowners who ask about ASTM classification or request written confirmation of fastener spec get better installations, full stop, because they’ve signaled they know what to check.
If you take one thing from this, prioritize verification over research. You don’t need to become a roofing expert. You need five minutes with a pry bar checking a sample of shingles before final payment clears.
— Results
Get a High-Wind Roof Inspection From Buffaloroofingandexteriors
If you’ve read this far wondering whether your own roof would pass the checklist above, that’s worth answering before the next storm season, not after. Buffaloroofingandexteriors installs and repairs roofing across Corpus Christi, San Antonio, and Victoria, and every high-wind job follows the fastener gauge, nail count, and edge securement standards covered in this guide.

A quote or inspection from Buffaloroofingandexteriors covers the details that actually determine wind performance: current nailing pattern, fastener condition, starter strip and ridge detailing, and whether your roof’s attachment method matches what your local wind zone requires. For storm-damaged roofs, that same inspection doubles as documentation you can hand to an insurance adjuster.
Request a free storm damage inspection and find out exactly where your roof stands before wind season tests it for you.
Sources
- Nail application of asphalt strip shingles for new and recover roofing — Asphalt Roofing Manufacturers Association
- Asphalt shingle roofs — Building America Solution Center (PNNL)
- How to nail roofing shingles — Owens Corning