

Getting a roof insurance claim denied doesn’t mean the decision is final. The single most important action you can take right now: request the denial in writing and read every policy section the insurer cited. That document is your roadmap. Most roof claim denied reasons fall into a handful of categories, and each one has a specific counter-strategy.
The most common denial categories:
- Wear and tear or preexisting damage (adjuster argues deterioration, not a sudden event)
- Excluded peril (flood, earthquake, or pest damage not covered under standard HO-3 policies)
- Insufficient documentation (no time-stamped photos, no contractor scope, no weather verification)
- Missed reporting deadline or late notice
- Cosmetic-only finding (insurer classifies damage as aesthetic, not functional)
- Claim falls below the deductible
Immediate action checklist (do these within 48 hours):
- Request the written denial letter with every policy section cited by the insurer.
- Request the adjuster’s inspection report and all photos taken during the visit.
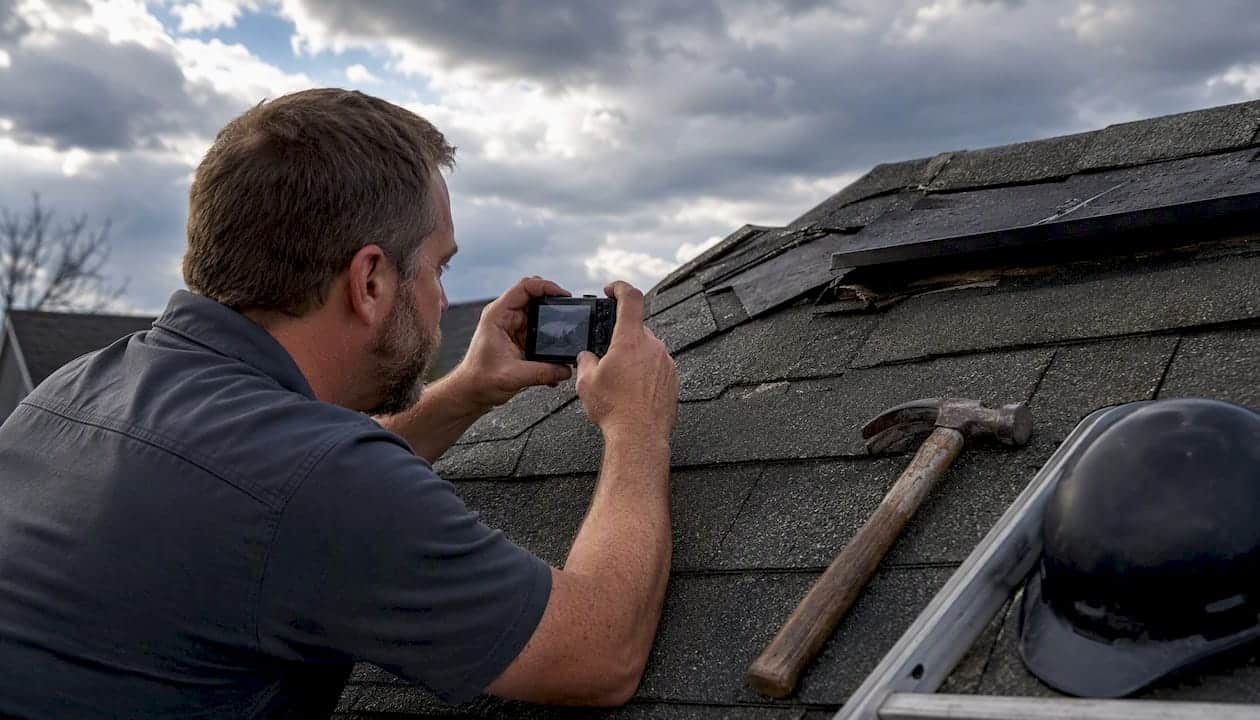
- Photograph the damage yourself with time-stamped images before any temporary repairs.
- Secure a licensed contractor inspection or drone imaging to document cause and scope.
What comes next depends on the denial type:
- Valuation dispute (insurer agrees coverage applies but underpays): supplement, then appraisal if unresolved.
- Coverage denial (insurer says the event or damage type isn’t covered): formal appeal, then state Department of Insurance (DOI) complaint, then legal action if warranted.
- Documentation gap: gather evidence and request a reinspection.
Key Takeaways
A denied roof claim is not a final answer: the right evidence, submitted through the right escalation path, reverses denials far more often than most homeowners expect.
| Point | Details |
|---|---|
| Get the denial in writing | Request the letter with every cited policy section before taking any other step. |
| Match evidence to the denial reason | Wear and tear denials need storm-event documentation; scope disputes need line-item contractor estimates. |
| Appraisal resolves value, not coverage | Use the appraisal clause for cost disputes only; coverage denials require appeal, DOI complaint, or legal action. |
| Hire a pro based on gap size | Gaps under $2,000 often resolve with a supplement; gaps over $10,000 or coverage denials warrant an attorney. |
| Buffaloroofingandexteriors provides free inspections | The team offers drone imaging, thermal scans, and itemized estimates to support denied-claim appeals across South Texas. |
Table of Contents
- What are the most common reasons insurers deny roof claims?
- How do you read a denial letter and extract the exact policy language?
- What’s the step-by-step plan to challenge a denied roof claim?
- When should you hire a public adjuster, contractor, or attorney?
- How do you file a complaint with your state Department of Insurance?
- What mistakes do homeowners make that weaken their appeal?
- How long does a roof claim appeal actually take?
- What contractors actually see in denied claims
- Buffaloroofingandexteriors can help you fight a denied roof claim
- Sources
What are the most common reasons insurers deny roof claims?
The Ohio Department of Insurance identifies the most frequent denial triggers as excluded events, wear and tear, insufficient documentation, and losses below the deductible. Understanding what each one actually means in practice is the first step toward building a rebuttal.
Wear and tear and preexisting damage
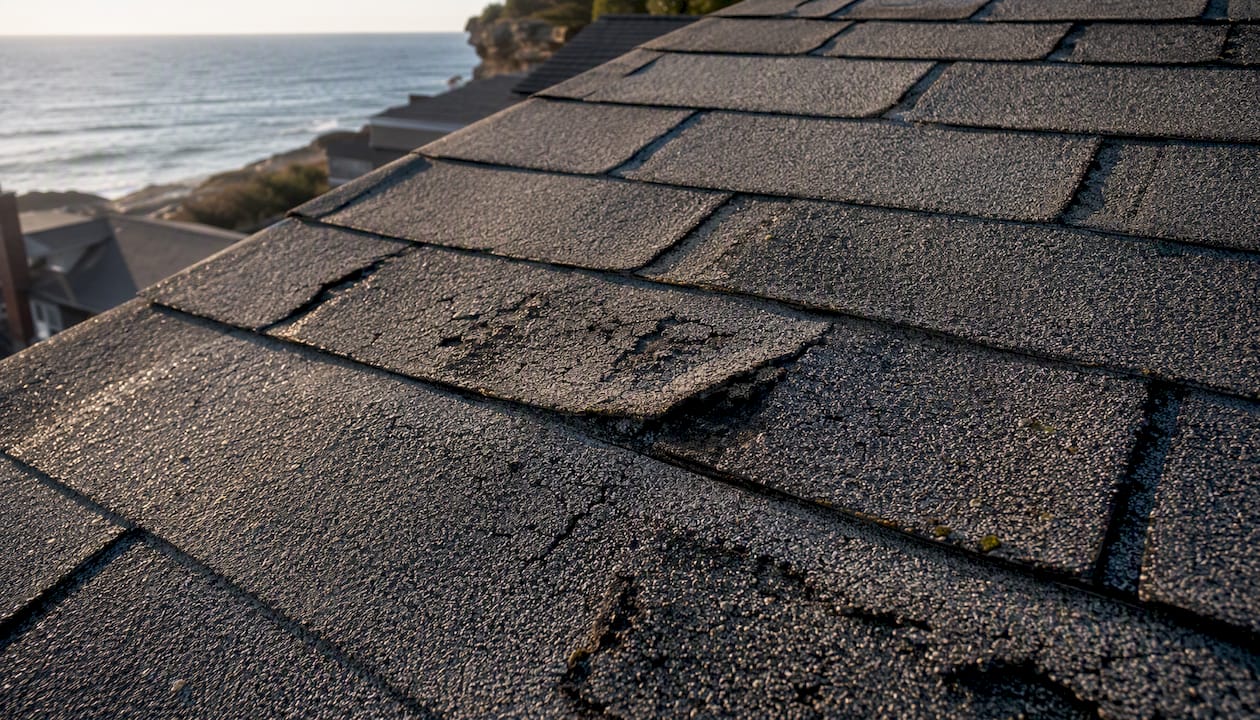
Adjusters are trained to distinguish gradual deterioration from sudden, accidental damage. Cracked caulking, granule loss from aging shingles, and sagging decking are all signs they’ll flag as preexisting. The counter: maintenance records showing the roof was in good condition before the storm, plus a contractor’s written opinion tying specific damage patterns (bruising, cracked tabs, lifted flashing) to a dated weather event. Learning to identify storm damage versus normal aging is the technical foundation of any successful rebuttal.
Policy exclusions and named-peril gaps
Standard HO-3 policies cover sudden and accidental damage from named perils but exclude flood, earthquake, and pest damage. If your insurer mischaracterized a wind-driven water intrusion as flood damage, that’s a classification dispute worth fighting. Read the exclusion language precisely: “flood” has a specific legal definition under NFIP policies, and wind-driven rain entering through a storm-created opening is typically a covered peril, not a flood.
Cosmetic versus functional damage
Some insurers classify dented metal flashing, scuffed ridge caps, or surface granule loss as “cosmetic” and deny payment on the grounds that the roof still performs its waterproofing function. This classification matters because it directly affects whether the insurer owes anything. A licensed contractor can document functional impairment, such as compromised waterproofing integrity or accelerated aging from hail impact, that contradicts a cosmetic-only finding.
Roof age and endorsements
Policies sometimes include endorsements that cap or exclude payouts for roofs beyond a certain age. Depreciation on older roofs can substantially reduce replacement payouts depending on policy terms. Check your declarations page for an “actual cash value” (ACV) endorsement on the roof specifically; ACV policies deduct depreciation, while replacement cost value (RCV) policies pay the full replacement amount minus your deductible.
Insufficient documentation
Adjusters work from what’s in the file. No time-stamped photos, no contractor scope, no weather report tying the event to your address? The file looks thin, and thin files get denied. The types of evidence adjusters expect:
- Time-stamped photos taken within 24–48 hours of the event
- A licensed contractor’s written scope of work with line-item pricing
- A weather verification report from a service like CoreLogic or NOAA data
- Prior maintenance records (receipts, inspection reports, warranties)
Missed deadlines and late reporting
Most policies require “prompt notice” of a loss. What counts as prompt varies by policy and state, but waiting months to report storm damage gives the insurer grounds to argue prejudice. File as soon as you discover damage, even if you’re not sure of the full scope.
Disagreement on scope versus a full denial
This distinction matters more than most homeowners realize. A scope disagreement means the insurer accepted coverage but disputes the cost or extent of repairs. That’s an underpayment, not a denial, and the remedy is a supplement or appraisal, not an appeal. A coverage denial means the insurer says the event or damage type isn’t covered at all. Mixing up the two leads homeowners down the wrong escalation path.
| Denial type | What it means | Primary remedy |
|---|---|---|
| Wear and tear / preexisting | Adjuster says damage predates the event | Contractor report tying damage to storm event |
| Excluded peril | Policy doesn’t cover that type of event | Appeal with policy language analysis; DOI complaint if misclassified |
| Cosmetic only | Insurer says roof still functions | Contractor documentation of functional impairment |
| Insufficient documentation | File lacks supporting evidence | Gather evidence, request reinspection |
| Below deductible | Loss amount doesn’t exceed deductible | Verify insurer’s scope; supplement if scope is wrong |
| Scope / cost dispute | Coverage accepted, amount disputed | Supplement, then appraisal |
How do you read a denial letter and extract the exact policy language?
The denial letter is a legal checklist, not a form letter. Every cited policy section is a target for your rebuttal. LegalClarity notes that appeals succeed when they address each cited reason with matching policy citations and targeted evidence.
Step-by-step document request checklist:
- Request the written denial letter if you received only a verbal or phone denial.
- Request the adjuster’s full inspection report, including all photos taken on-site.
- Ask for any internal notes or file documentation the insurer used to reach its decision (some states require disclosure).
- Pull your complete policy: declarations page, coverage form, exclusions, conditions, and all endorsements.
Policy sections to scan and mark up:
- Declarations page: confirms coverage type (ACV vs. RCV), deductible amount, and any roof-specific endorsements.
- Covered perils section: lists what events trigger coverage; compare against the insurer’s stated denial reason.
- Exclusions section: find the exact exclusion cited; read the full text, not just the heading.
- Conditions section: look for notice requirements, mitigation duties, and cooperation clauses.
- Endorsements: roof age limits, cosmetic damage exclusions, and wind/hail deductibles often live here.
- Appraisal clause: describes the process for resolving valuation disputes (not coverage disputes).
How to mark up the denial letter:
Highlight every policy section the insurer cited. Next to each one, write a short note: what evidence would contradict this finding? For example, if the insurer cited a wear-and-tear exclusion, your note might read: “Counter: contractor report + storm date + NOAA weather data.” That annotation becomes your appeal outline.
Pro Tip: NerdWallet’s consumer guidance points out that ambiguous policy language often favors the policyholder. If a term in the exclusion is undefined or vague, note it. Courts and regulators frequently interpret ambiguity against the insurer.
What’s the step-by-step plan to challenge a denied roof claim?
The escalation sequence runs: appeal → reinspection/supplement → appraisal (valuation disputes only) → DOI complaint → public adjuster or attorney. Use the earliest step that fits your denial type; don’t skip straight to litigation when a reinspection would do the job.
The escalation sequence:
- Submit a formal written appeal addressing each denial reason with policy citations and evidence.
- Request a reinspection with your licensed contractor present to walk the adjuster through the damage.
- Submit a supplement if the insurer accepted coverage but the scope is incomplete.
- Invoke the appraisal clause if the dispute is purely about value or repair cost (not coverage).
- File a DOI complaint if the insurer fails to provide a written basis, delays unreasonably, or mishandles the claim.
- Hire a public adjuster or attorney for large gaps or coverage denials that don’t resolve through the above steps.
What to include in your appeal letter
Your appeal letter should be structured, not emotional. Include:
- Policy number, claim number, and denial letter reference date
- A point-by-point rebuttal: quote the insurer’s stated reason, then cite the policy language and evidence that contradicts it
- An attached evidence list: photos (with dates), contractor scope, weather report, maintenance records, adjuster report
- A clear request for a written response within a specific timeframe (14–21 days is reasonable)
A roof insurance claim checklist tailored to Texas storms can help you organize the evidence package before you send it.
Documentation checklist
- Time-stamped photos (taken immediately after the event, before any repairs)
- Licensed contractor’s written scope with line-item pricing, ideally at Xactimate-level detail
- Weather verification report tied to your address and the event date
- Prior maintenance records (receipts, inspection reports, manufacturer warranties)
- Adjuster’s inspection report and all photos from the insurer’s file
- Any correspondence with the insurer (dates, names, summaries of calls)
Reinspection preparation
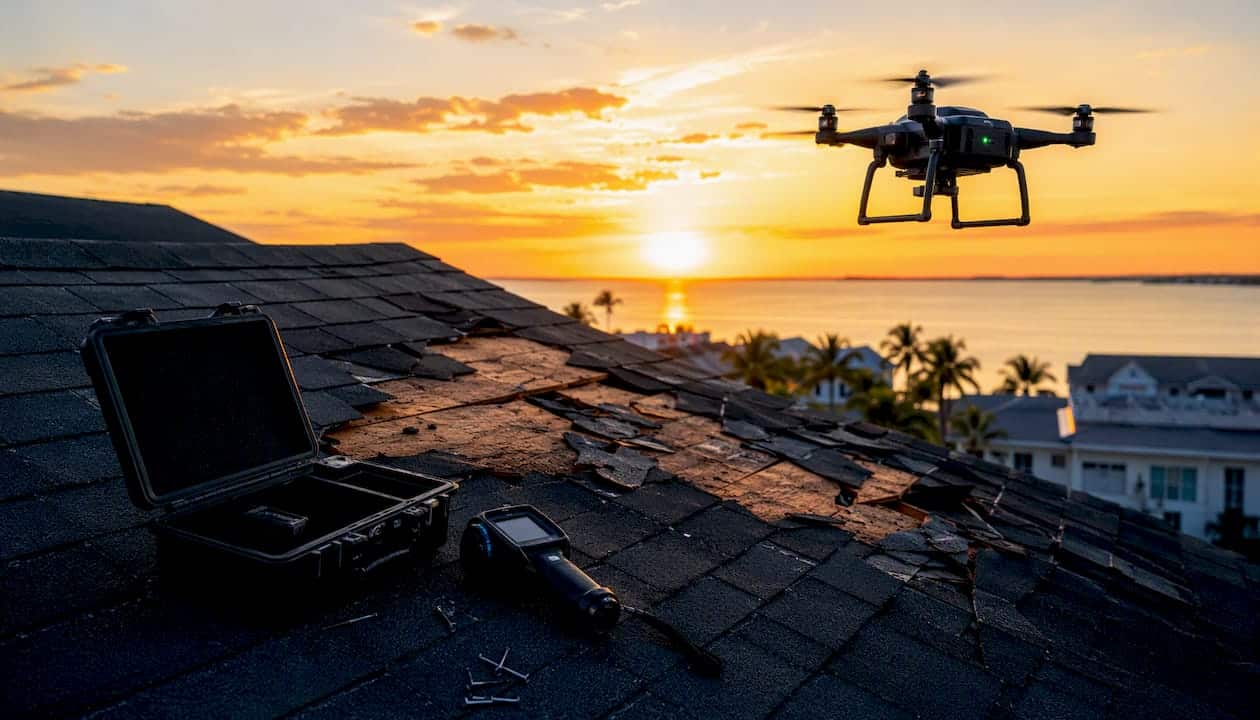
Have your contractor on-site during the reinspection. Contractors can point out subtle wind or hail indicators, such as directional granule loss, bruising patterns, and lifted flashing, that an adjuster may miss or misattribute. Drone imaging and thermal scans can document moisture intrusion and hidden damage that standard visual inspections overlook. A step-by-step storm damage inspection guide walks through exactly what contractors look for at this stage.
Appraisal clause limits
The appraisal clause resolves disputes about the amount of loss, not whether coverage applies. If the insurer says your roof isn’t covered at all, appraisal won’t help. It’s the right tool when both sides agree coverage applies but disagree on repair costs or scope.
Pro Tip: Keep every communication professional and evidence-based. Adjusters evaluate documentation, not frustration. Send key correspondence by certified mail or recorded digital delivery so you have proof of receipt and dates.
When should you hire a public adjuster, contractor, or attorney?
Choose by the problem type and the size of the gap between what the insurer offered and what repairs actually cost.
Quick decision guide:
- Gap under $2,000: A licensed contractor’s itemized estimate and a supplement request usually resolve this without additional professional fees.
- Gap $2,000–$10,000: Consider a public adjuster or invoke the appraisal clause. The cost of a public adjuster (typically 10–15% of the recovery) is often worth it at this range.
- Gap over $10,000 or a coverage denial: An attorney becomes worth the cost. Many work on contingency for bad-faith or large coverage disputes.
Who does what
Licensed roofing contractor: Provides the technical foundation. They document damage cause, write line-item scopes, attend reinspections, and give you the evidence package an appeal needs. Their fee is the repair estimate itself; they don’t charge separately for claim support in most cases.
Public adjuster: Manages the claim on your behalf, handles insurer negotiations, and prepares supplements. Licensed by your state. Best suited for mid-size valuation disputes where the documentation gap is the main problem. Escalation guides consistently show public adjusters deliver the most value in the $2,000–$10,000 gap range.
Attorney: Handles coverage denials, bad-faith claims, and large disputes where the insurer’s conduct warrants legal pressure. Many work on contingency (no fee unless you recover), though some charge hourly for smaller matters. The Lawrence & Associates blog outlines when legal escalation makes financial sense relative to the gap size.
Questions to ask before hiring any pro:
- Are you licensed in my state for this type of work?
- Can you provide references from similar roof claim disputes?
- What is your fee structure, and when does it apply?
- Can you show me examples of supplements or appeals you’ve prepared?
- What’s your realistic assessment of my claim’s strength?
How do you file a complaint with your state Department of Insurance?
File a DOI complaint when you suspect improper claim handling: the insurer won’t provide a written denial basis, delays are unreasonable, or the denial appears to misapply your policy. A DOI complaint can force a formal carrier response and regulatory review. It won’t produce a quick payout, but it creates accountability and a paper trail.
Step-by-step DOI complaint process:
- Gather your denial letter, policy, adjuster report, photos, and any correspondence with the insurer.
- Locate your state DOI’s online complaint portal (most states have one; Texas homeowners use the Texas Department of Insurance consumer complaint system).
- Complete the complaint form with your policy number, claim number, denial date, and a clear description of the issue.
- Attach all supporting documents.
- Note the statutory response window in your state and follow up if the insurer doesn’t respond within that period.
- Request regulator mediation if your state offers it (Texas and several others do).
DOI lookup tip: Search “your state] Department of Insurance consumer complaint” to find the direct portal. The [Illinois DOI consumer complaint process is a useful model for understanding what regulators expect from insurers in terms of response timelines and written grounds for denial.
What to expect: The DOI will forward your complaint to the insurer and require a formal written response. Regulators can cite carriers for improper claim handling, which creates leverage even when they can’t directly order a payout. If the insurer failed to cite specific policy language in the denial, that alone may draw regulatory scrutiny.
What mistakes do homeowners make that weaken their appeal?
Most failed appeals share the same avoidable errors. Fixing them before you submit can change the outcome.
- Arguing without evidence. Emotional appeals don’t move adjusters. Every claim you make in an appeal needs a document behind it: a photo, a contractor report, a weather record. If you don’t have it yet, get it before you send the letter.
- Missing the cited policy language. If the insurer cited a specific exclusion and your appeal doesn’t address that exact language, you’ve left the insurer’s strongest argument unanswered. Read the denial letter word for word and respond to each cited section.
- Letting repairs proceed before documentation. Temporary repairs to prevent further damage are fine and often required by your policy. Full repairs before the insurer has reinspected? That destroys evidence and gives the carrier grounds to deny on cooperation grounds.
- Being too adversarial too early. Threatening litigation in your first appeal letter signals you’re not interested in resolution. Start professional and escalate only when the process stalls.
- Confusing underpayment with denial. If the insurer accepted coverage but paid less than the repair cost, that’s an underpayment. The remedy is a supplement or appraisal, not an appeal of a coverage decision. Check whether the insurer’s letter says coverage is denied or just that the payment amount is final.
Document every interaction: date, time, name of the person you spoke with, and a summary of what was said. Send key correspondence by certified mail or recorded digital delivery.
How long does a roof claim appeal actually take?
Timelines vary by state and insurer, but here are realistic ranges for each step:
- Internal appeal: 2–8 weeks. Most insurers have a formal appeal process with a written response window; some states mandate it by statute.
- Reinspection and supplement: 2–6 weeks from request to revised scope.
- Appraisal: 1–3 months. Each side appoints an appraiser, they select an umpire, and the panel issues an award.
- DOI complaint review: Initial acknowledgment often comes within 5–15 business days; full regulatory review typically runs 21–90 days depending on the state and complexity.
State-specific examples:
The Texas DOI instructs homeowners to file complaints when claims are mishandled and provides guidance on why claims get denied and what to do next. The Illinois DOI’s consumer complaint process documentation describes the regulatory review timeline and what insurers must provide in response.
Timeline callout: DOI complaint reviews in most states run 21–90 days for an initial regulatory response, with complex cases taking longer. Filing early in the process preserves your options and creates a formal record even if you’re still in the appeal stage.
If the insurer misses a response deadline, document it and note it in any subsequent DOI complaint. Unreasonable delay is itself a potential bad-faith trigger in many states. Filing roofing claims promptly after Texas storms is one of the most effective ways to keep the timeline in your favor from the start.
What contractors actually see in denied claims
Contractors reverse denials more often than homeowners expect, and the reason is almost always the same: technical documentation that ties specific damage patterns to a specific weather event.
At a reinspection, a licensed contractor brings tools and knowledge an adjuster typically doesn’t have on-site. Drone photos capture directional granule loss and lifted flashing at angles a ladder inspection misses. Thermal imaging reveals moisture intrusion behind fascia and in decking that looks dry from the surface. Component-level damage notes, such as bruising on individual shingles consistent with hail of a specific diameter, give the insurer’s file something concrete to respond to rather than a general disagreement.
The line-item scope matters just as much as the photos. When a contractor produces an Xactimate-level estimate with specific material quantities, labor rates, and damage descriptions tied to the storm date, it’s much harder for an adjuster to dismiss the scope as inflated or unrelated to the event.
One practical note: always have a licensed contractor present for the reinspection, not just for technical expertise but for safety. Roof inspections involve real fall hazards, and a licensed contractor carries the proper insurance and equipment.
Buffaloroofingandexteriors can help you fight a denied roof claim
When your insurer says no, the gap between their scope and your actual repair cost is where Buffalo Roofing and Exteriors goes to work. The team offers free storm inspections specifically designed to build the evidence package homeowners need to challenge denials: drone imaging, thermal scans, component-level damage documentation, and itemized repair estimates at the detail level insurers respond to.

Buffaloroofingandexteriors serves homeowners across South Texas, from Corpus Christi and San Antonio to Victoria, in a region where coastal storms produce exactly the kind of wind and hail damage that adjusters routinely misclassify. The team attends reinspections alongside adjusters, prepares supplement documentation, and handles storm damage restoration from the first inspection through completed repairs.
If your claim was denied or underpaid, start with a free inspection. Have your denial letter and adjuster report ready. Request your free inspection and claim-support consultation through the insurance claims page and get a clear picture of what your roof actually needs before your next conversation with the insurer.
Sources
The following sources are vetted regulator guidance and consumer-facing explainers. Use them to verify policy-language interpretations, understand your state’s complaint process, and prepare documentation.
Regulator guidance (primary sources):
- Does home insurance cover roof replacement? – Quotejoy
- What To Do When Your Home Insurance Claim is Denied – NerdWallet
- Why would my home insurance claim be denied or not paid? – Texas Department of Insurance
- How to Appeal a Homeowners Insurance Claim Denial – LegalClarity
- Roof insurance repair & replacement – Ohio Department of Insurance
Consumer and legal explainers:
Practical documentation resources:
This article is general information, not a substitute for advice from a qualified financial advisor. Consult a qualified financial professional about your own circumstances before acting on anything here.