

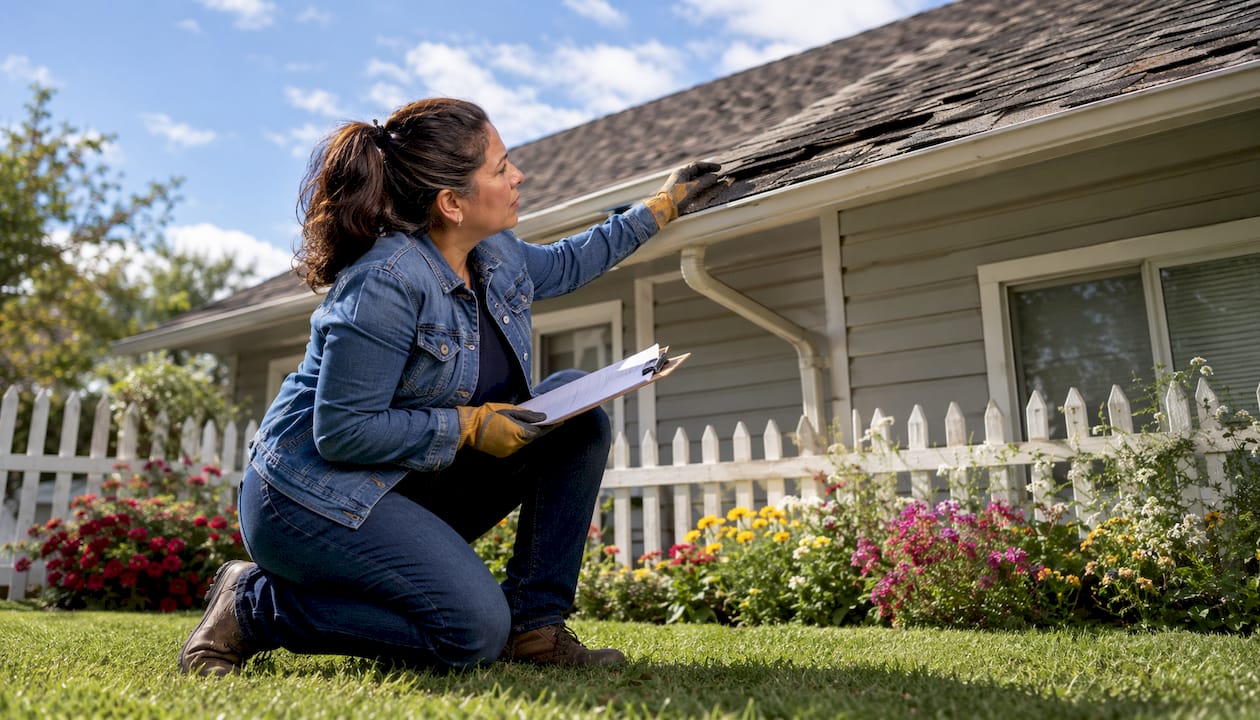
How to spot wind damage on your shingle roof
Shingle wind damage is physical harm to asphalt shingles caused by storm winds, and it shows up in specific, identifiable ways: creases across the shingle face, torn tabs, lifted edges, or shingles missing entirely. That distinction matters because not every shingle problem you see after a storm is wind damage, and calling the wrong thing damage can sink an insurance claim before it starts.
Start your assessment from the ground. Walk the perimeter of your home and look for shingles lying in the yard or in gutters. Then scan the roofline for lifted or curled edges, particularly at the corners and along the eaves where wind turbulence hits hardest. Haag Engineering’s research confirms that wind uplift damage most often starts at edges, ridges, and corners precisely because those zones experience the greatest aerodynamic pressure.
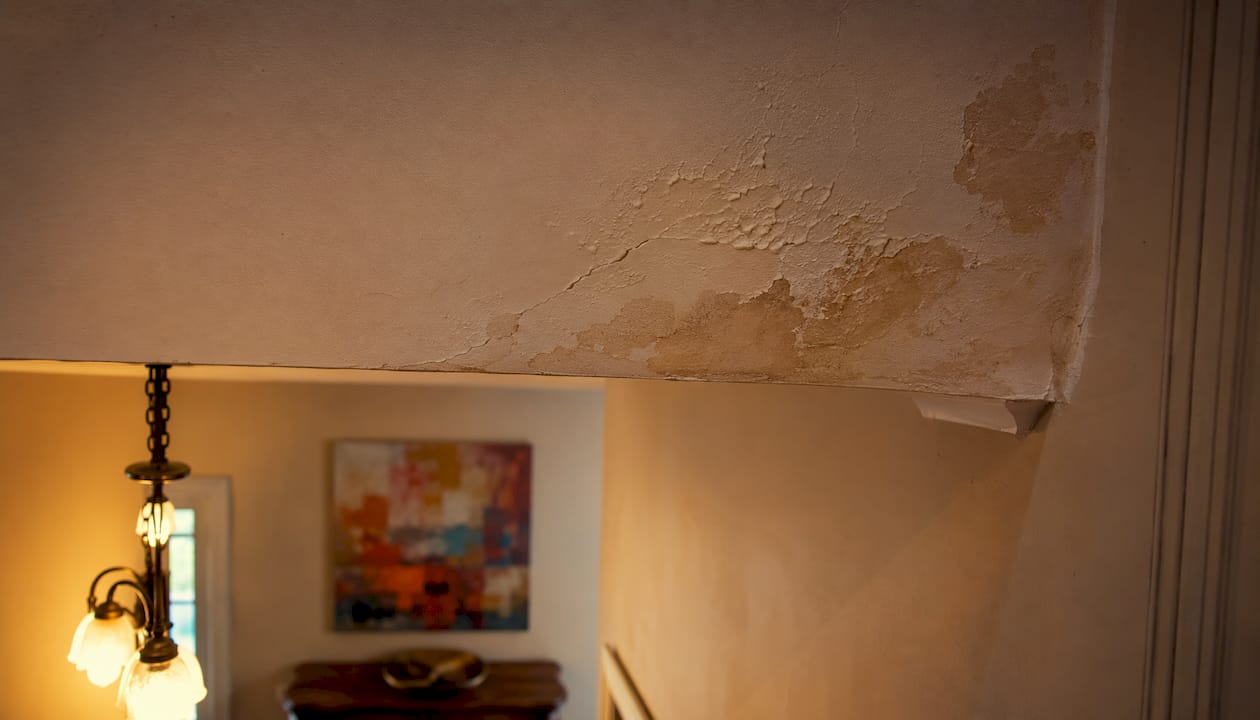
Inside the house, check ceilings for water stains or soft spots in drywall. A breach in the shingle layer lets water in fast, and the ceiling is often where you see it first. If you spot staining in a room that sits directly below a roof edge or ridge, that’s a strong indicator something above it has failed.
Pro Tip: Inspect within 24 hours of a storm if conditions are safe, but stay on the ground. Wet roofs and storm-weakened decking are a serious fall hazard. Use binoculars for a closer look at the field of the roof without climbing.
Quick signs to look for from the ground:
- Shingles on the ground, in gutters, or against fences
- Lifted or curled shingle edges, especially at corners and eaves
- Exposed dark underlayment where shingles have blown off
- Granule piles in gutters or at downspout outlets
- Ceiling water stains directly below roof edges or ridges
- Visible creases or folds in shingles still on the roof
Common signs of wind damage and the misconceptions that trip homeowners up
The physical signs of true wind damage follow a pattern. Shingles crease when wind forces them to flex beyond their design limit. Tabs flip or tear when uplift overcomes the adhesive seal strip. Missing shingles cluster near ridges, valleys, and roof edges because those areas see the most turbulence. Fastening quality plays a direct role too: proper nail placement and sealant application can nearly double wind uplift resistance compared to poorly fastened shingles.
That point trips up a lot of homeowners. If you can slide a finger under a shingle tab and lift it, that does not automatically mean wind did it. Unsealed shingles require accompanying delamination of the asphalt mat layers under the seal strip to confirm wind damage technically and legally. Without that delamination, an adjuster will likely classify it as a pre-existing installation issue, not a covered loss.
Thermal expansion and contraction cycles cause shingle cupping and clawing that can look alarming after a storm but have nothing to do with wind. These are natural aging phenomena. The same goes for shingle splitting from UV degradation or granule loss from normal wear. Confusing these conditions with storm damage is one of the most common reasons insurance claims get denied.
ASTM D7158 is the laboratory wind resistance standard for asphalt shingles, but passing that test does not guarantee a shingle survives every real storm. Localized turbulence, roof geometry, and installation quality all affect real-world performance in ways a controlled lab environment cannot fully replicate.
| Condition | Likely cause | Qualifies as wind damage? |
|---|---|---|
| Creased or folded shingle face | Wind uplift forcing flex | Yes, if crease is fresh |
| Missing shingle tabs at edges | Wind tear-off | Yes |
| Lifted tab, no crease or tear | Poor installation or heat | Not without delamination |
| Cupped or clawed shingles | Thermal cycling, aging | No |
| Granule loss in patches | UV wear or foot traffic | No |
| Torn shingle with delamination | Wind uplift confirmed | Yes |
How to inspect and repair wind-damaged shingles safely
Safety comes first, and that means staying off the roof until conditions are clearly safe. Ready.gov advises documenting all damage with photos and keeping all repair receipts before you do anything else. In heavily impacted communities, a detailed building assessment can take at least three days after a storm event.
Step-by-step inspection checklist:
- Wait for official clearance before accessing your property if authorities have restricted entry.
- Walk the full perimeter from the ground and photograph every area of concern.
- Use binoculars to examine the ridge, valleys, eaves, and any roof penetrations like vents and chimneys.
- Look specifically for creases, tears, missing tabs, exposed underlayment, and lifted edges.
- Check gutters for granule accumulation, which signals shingle surface erosion.
- Go inside and inspect attic spaces for daylight coming through the decking or wet insulation.
- Document every finding with timestamped photos before any cleanup or temporary repairs.
For documenting roof damage effectively, photograph each damaged area from multiple angles and include a wide shot that establishes location on the roof. Write a written description alongside each photo. Save every receipt from tarping, emergency repairs, or debris removal.
Repair options depend on the extent of damage:
- Minor damage (one to a few shingles): A roofing professional can replace individual shingles or re-nail lifted ones with appropriate adhesive. This is a targeted fix that restores the water barrier quickly.
- Moderate damage (multiple sections): Partial re-roofing of affected sections, with careful attention to matching shingle type and color to the existing field.
- Severe or widespread damage: Full roof replacement, especially when the decking underneath has been compromised by water intrusion.
- Emergency tarping: When repairs cannot happen immediately, a properly secured tarp over the damaged area prevents further water intrusion until a contractor can assess and fix the roof.
Delaying repairs after a storm is one of the costlier mistakes a homeowner can make. Interior water stains and failing shingles worsen quickly when left unaddressed, and what starts as a shingle repair can become a decking replacement or mold remediation job. A professional assessment within days of the storm, not weeks, keeps the scope of repairs manageable.
Pro Tip: Never attempt roof repairs during or immediately after a storm. Even if the wind has stopped, the decking may be wet and slippery, and structural damage may not be visible from the surface. A step-by-step storm inspection by a qualified roofer is the safest first move.
How you can reduce future wind damage to your shingle roof
The best time to strengthen a roof against wind is before the next storm, not after. FEMA’s guidance on continuous load paths makes clear that shingle type alone does not determine wind resilience. The connection between roof decking, framing, and walls carries as much weight as the shingles themselves. A roof with premium shingles but weak fastening at the decking level will still fail in high winds.
FEMA also recommends adhesive dollops along eaves and ridges during installation to improve shingle hold in high-wind conditions. For coastal areas like Corpus Christi and the Texas Gulf Coast, where design wind speeds regularly exceed 90 mph, the FEMA high-wind installation guide recommends fiberglass-reinforced shingles with a minimum fastener pull-through resistance of 25 lb at 73°F for winds between 90 and 120 mph. Shingles should carry a UL 2390 Class G (120 mph) or Class H (150 mph) rating when the building code requires it.
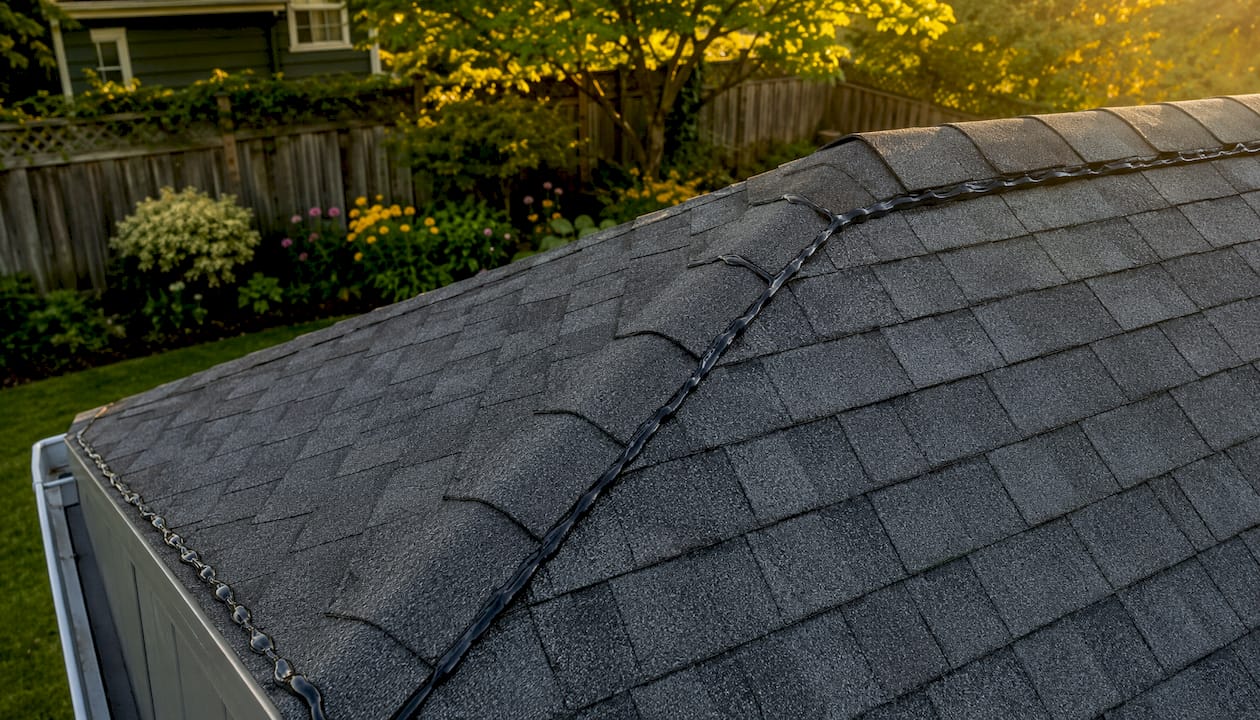
Roofs installed to post-2002 International Building Code standards showed significantly less damage during Hurricane Ike compared to older roofs, which underscores how much installation standards and materials have improved. If your roof predates 2002, a professional inspection to assess fastening and underlayment quality is worth scheduling before storm season.
A routine roof inspection catches early problems before they become expensive ones, particularly at the edges and penetrations where wind damage concentrates.
Preventive maintenance checklist:
- Clear debris from gutters and valleys after every major storm to prevent water backup under shingles.
- Check sealant adhesion along ridge caps, flashing, and eave edges at least once a year.
- Inspect and re-nail any loose or raised shingles before storm season begins.
- Replace any shingles showing cupping, clawing, or granule loss before they fail under wind load.
- Verify that attic ventilation is adequate, since heat buildup accelerates sealant degradation.
- Confirm that flashing around chimneys, vents, and skylights is sealed and properly fastened.
- Ask a roofing professional to check the roof-to-wall connection and decking fastening if the roof is more than 15 years old.
Navigating insurance claims for wind-damaged shingles
Filing a wind damage claim successfully comes down to documentation and understanding exactly what your policy covers. The gap between what homeowners expect and what insurers pay often traces back to two policy structures: Actual Cash Value (ACV) and Replacement Cost Value (RCV). An ACV policy depreciates the roof based on age, so an older roof may receive a payout that covers only a fraction of actual replacement costs. An RCV policy pays the full cost to replace with like materials, minus your deductible.
Insurance policies increasingly apply Roof Surfacing Loss Percentage tables that calculate depreciation based on roof age and material. Older roofs often receive significantly lower payouts even when the wind damage is genuine and well-documented. Knowing which policy type you hold before a storm hits lets you plan financially for the gap.
Professional adjusters distinguish covered wind damage from installation defects and natural wear. Not all visible shingle issues are caused by wind, and many arise from installation problems or product defects, which are common reasons for denied claims. Presenting your claim with clear physical evidence of wind-specific damage, such as creasing, tearing, and delamination, gives adjusters the documentation they need to approve it.
Best practices for filing a wind damage insurance claim:
- Photograph all damage before any cleanup or temporary repairs, with timestamps active on your camera.
- Write a detailed written inventory of every damaged area, including location on the roof and type of damage observed.
- Save all receipts for emergency tarping, debris removal, and any temporary repairs.
- Request a written estimate from a licensed roofing contractor to submit alongside your claim.
- Ask your insurer specifically whether your policy uses ACV or RCV for roof claims.
- If your claim is denied, request the specific technical reason in writing and consult a public adjuster or roofing professional who can provide a second assessment.
- Reference professional field standards such as those from the IIAT or TWIA when presenting evidence of wind-specific physical damage.
Buffaloroofingandexteriors works directly with homeowners throughout the Corpus Christi, San Antonio, and Victoria areas on storm damage restoration, including helping document damage accurately and coordinate with insurance adjusters. Getting a professional assessment on record early strengthens your claim and shortens the time between storm and repair.
When wind damage hits your roof, the clock starts immediately. Contact Buffalo Roofing and Exteriors for a free estimate and let a licensed roofing professional assess the damage, document it properly, and get your home protected before the next storm rolls in.
Key Takeaways
Wind damage to asphalt shingles requires physical evidence of creasing, tearing, or missing shingles to qualify as a covered loss, and timely documentation is the single most important step after any storm.
| Point | Details |
|---|---|
| Physical evidence is required | Lifted or unsealed shingles alone do not confirm wind damage without creasing, tearing, or delamination. |
| Damage concentrates at edges and ridges | Wind uplift hits hardest at corners, eaves, and ridges, so inspect those areas first. |
| Delay worsens the damage | Interior water stains and structural deterioration worsen quickly when storm damage goes unaddressed. |
| Policy type determines your payout | ACV policies depreciate older roofs heavily; RCV policies cover full replacement cost minus your deductible. |
| Installation quality drives resilience | Proper nail placement and sealant application can nearly double wind uplift resistance in asphalt shingles. |