
Powerful storms can leave roofs in coastal Texas cities like Corpus Christi and San Antonio with hidden dangers that threaten your home’s safety and value. When wind and rain pass through, even small roof issues can quickly become major headaches if not addressed right away. This guide gives you a clear, safe path to DIY roof repairs, helping you spot and fix every sign of damage with confidence and the right approach for coastal climates.
Table of Contents
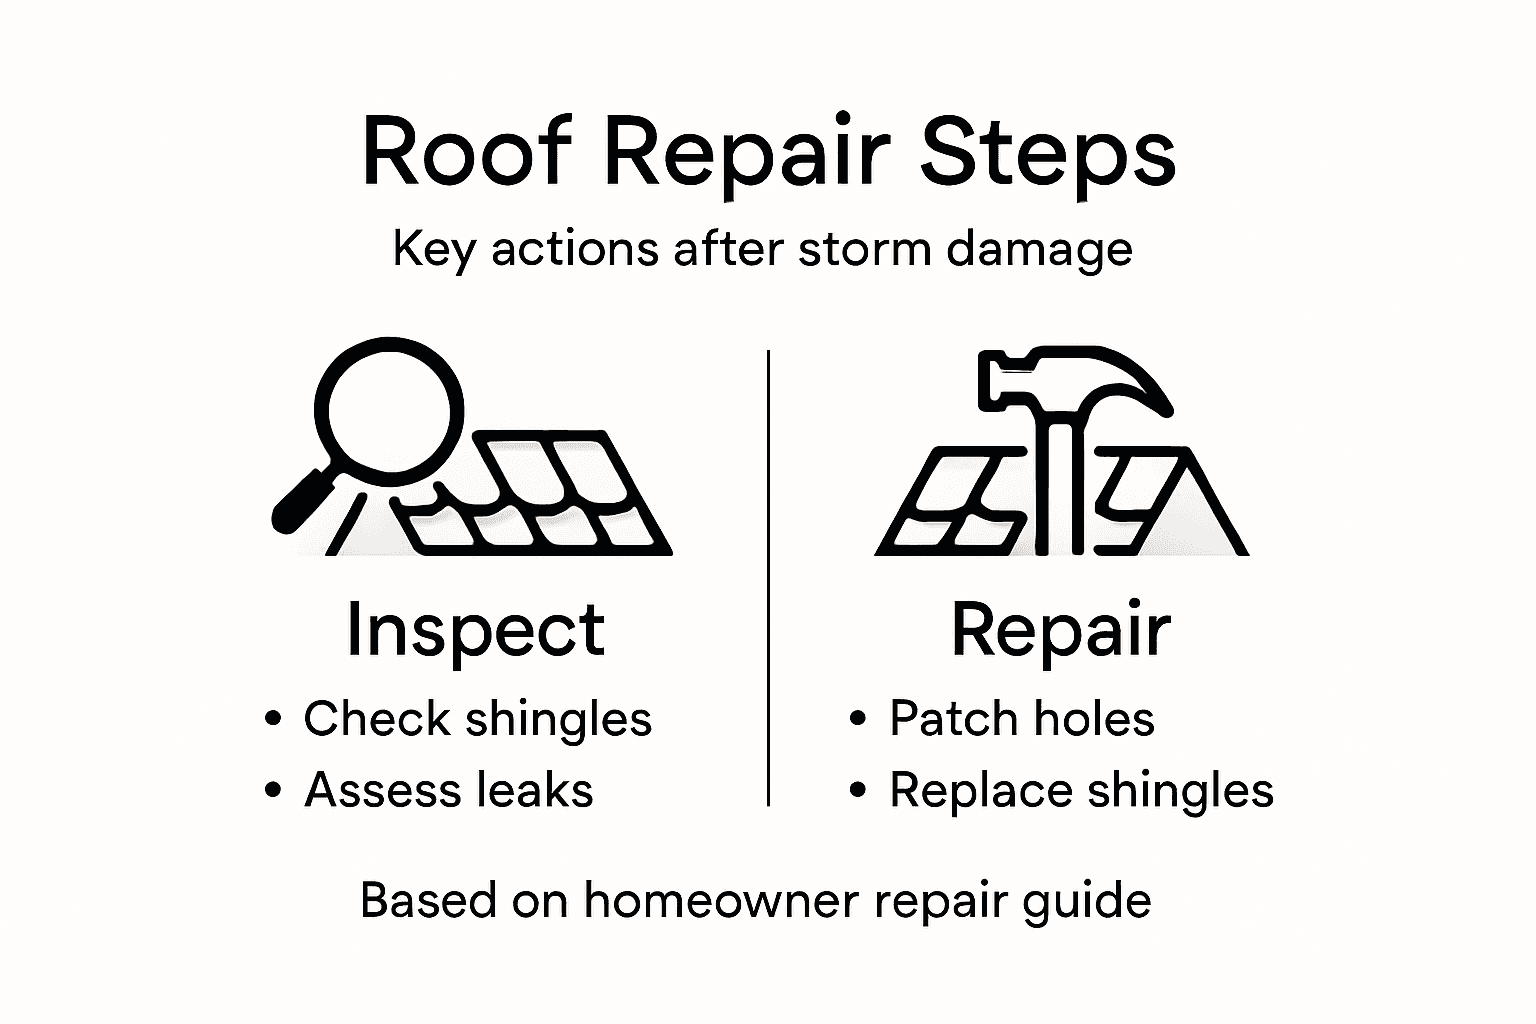
- Step 1: Inspect And Identify Roof Damage
- Step 2: Gather Tools And Materials For Repair
- Step 3: Remove Debris And Prepare Repair Area
- Step 4: Apply Patches And Replace Damaged Shingles
- Step 5: Seal And Waterproof Repaired Sections
- Step 6: Verify Quality And Safety Of Repairs
Quick Summary
| Essential Insight | Clarification |
|---|---|
| 1. Inspect roof for damage | Begin with a thorough exterior and interior inspection to identify any signs of storm damage. |
| 2. Gather necessary tools | Collect safety gear and repair materials before starting any work to ensure a safe repair process. |
| 3. Remove debris carefully | Systematically clear debris from the roof to prevent further damage and ensure a safe workspace. |
| 4. Seal and waterproof repairs | Use high-quality waterproofing materials to protect repaired areas from future water intrusion. |
| 5. Verify repair quality | Conduct a comprehensive inspection of repairs to ensure safety and effectiveness before completion. |
Step 1: Inspect and Identify Roof Damage
Your first critical task after a storm is thoroughly assessing potential roof damage. Knowing exactly what to look for can prevent minor issues from becoming expensive repairs. Storm damage identification methods require a systematic and careful approach that protects both your property and personal safety.
Begin your roof inspection by safely examining your property from the ground first. Look for obvious signs of damage like missing shingles, visible debris, or fallen branches. Use binoculars to get a closer view without risking personal injury. Key indicators of storm damage include:
- Cracked or curling shingles
- Dark spots or areas where granules have worn away
- Dents in metal flashings
- Exposed roof decking
- Debris accumulation in specific areas
Next, conduct an interior inspection by checking your attic and ceiling for water stains, moisture spots, or daylight penetrating through roof boards. These signs often indicate significant roof compromise that requires immediate attention. The LeakFREE® inspection protocol recommends examining five specific zones to comprehensively assess potential storm damage.
Here’s a quick summary of what to inspect during a roof damage assessment:
| Inspection Area | What to Check For | Why It Matters |
|---|---|---|
| Roof Exterior | Missing or damaged shingles | Detects primary weather exposure |
| Roof Interior (Attic) | Water stains, moisture | Identifies hidden leaks and damage |
| Metal Flashings | Dents or movement | Reveals wind or hail impact |
| Roof Decking | Exposed or damaged areas | Signals structural compromise |
Critical damage can be subtle – what seems minor could signal major structural issues.
Pro tip: Take clear, dated photographs of all damage for insurance documentation and future repair references.
Step 2: Gather Tools and Materials for Repair
Before attempting any roof repair, you’ll need to collect the right tools and materials to ensure a safe and effective restoration process. Disaster recovery preparation requires careful planning and appropriate equipment to protect both yourself and your property.
Your essential toolkit should include the following protective gear and repair equipment:
- Safety equipment
- Sturdy work boots with non-slip soles
- Safety glasses or protective eyewear
- Work gloves (preferably waterproof)
- Dust mask or respirator
- Roofing tools
- Hammer
- Pry bar
- Roofing nails
- Utility knife
- Ladder with stabilizers
- Tape measure
- Repair materials
- Wind-resistant roofing shingles
- Roofing sealant
- Replacement flashing
- Roofing underlayment
- Tarps for temporary coverage
Prioritize using high-quality, rated materials that can withstand future storm conditions. Choose items specifically designed for your roof type and local weather patterns. Organize your materials before climbing onto the roof to ensure efficient and safe repairs.
Proper preparation prevents poor performance – having the right tools makes all the difference.
Pro tip: Invest in a sturdy tool belt to keep essential items accessible while working on the roof, reducing the risk of dropping tools or losing balance.

Step 3: Remove Debris and Prepare Repair Area
Preparing your roof for repair requires a systematic approach to safely removing storm debris and creating a clean work surface. Post-storm cleanup strategies are critical for preventing additional damage and ensuring a successful repair process.
Begin by carefully removing debris from your roof using the following systematic approach:
- Safety first
- Wear protective gloves and safety glasses
- Use a sturdy ladder with stabilizers
- Work with a partner for added safety
- Debris removal techniques
- Start with large branches and fallen tree limbs
- Use a roof rake or soft-bristled broom
- Gently sweep away smaller debris
- Avoid dragging tools that might cause additional roof damage
- Inspection during cleanup
- Check for damaged shingles
- Look for punctures or tears in roofing material
- Note areas requiring immediate attention
As you clear the area, document all visible damage with clear photographs. Comprehensive debris removal is crucial not just for repair preparation, but also for potential insurance claims and federal assistance documentation.
Careful and methodical debris removal prevents further roof damage and sets the stage for effective repairs.
Pro tip: Use a tarp on the ground to collect debris and make cleanup easier, preventing additional mess around your property.
Step 4: Apply Patches and Replace Damaged Shingles
Repairing storm-damaged roof shingles requires precision and careful technique to ensure long-lasting protection for your home. High-wind shingle replacement demands a systematic approach that maintains your roof’s structural integrity and weatherproofing.
Follow these critical steps for effective shingle repair:
- Preparation
- Remove damaged shingles carefully
- Clean the exposed roof deck thoroughly
- Check underlying wood for additional damage
- Shingle replacement process
- Cut replacement shingles to match existing size
- Apply roofing cement under each shingle edge
- Nail replacement shingles securely
- Ensure proper overlap with surrounding shingles
- Sealing and protection
- Apply roofing sealant along nail lines
- Use additional roofing cement for extra water protection
- Smooth out any raised edges
Each replacement shingle should be carefully matched to the existing roof pattern to prevent water intrusion and maintain a uniform appearance. Precise installation prevents future leaks and ensures your roof remains sturdy against upcoming storms.
Proper shingle replacement is not just about covering damage – it’s about restoring your roof’s complete protective function.
Pro tip: Keep extra matching shingles from your original roof installation for future repairs, ensuring a perfect color and style match.
Step 5: Seal and Waterproof Repaired Sections
After repairing storm damage, creating an impenetrable barrier against future water intrusion is crucial for your roof’s long-term protection. Waterproofing roof sections requires precision and the right materials to ensure your home remains dry and structurally sound.
Use these critical steps to seal and waterproof your roof repair areas:
- Preparation
- Clean the repaired section thoroughly
- Ensure surface is completely dry
- Remove any dust or debris
- Waterproofing materials
- Select polymer-modified bitumen membranes
- Choose liquid waterproofing coatings
- Use professional-grade roofing sealants
- Application techniques
- Apply sealant in thin, even layers
- Cover all nail holes and seams
- Extend waterproofing slightly beyond repair area
Carefully apply waterproofing membranes to create a seamless protective layer that prevents moisture penetration. Comprehensive sealing prevents future leaks and protects your home’s structural integrity against potential water damage.
The table below highlights waterproofing options and their benefits for lasting roof protection:
| Waterproofing Material | Durability | Best Use Case |
|---|---|---|
| Polymer-modified bitumen | Very high | Seams and entire repair zones |
| Liquid waterproof coating | Flexible | Complex or uneven surfaces |
| Roofing sealant (professional-grade) | High | Nail holes and small gaps |
Proper waterproofing transforms a temporary patch into a permanent solution.
Pro tip: Wait for a dry, mild day with temperatures between 50-80 degrees Fahrenheit to apply waterproofing materials for optimal adhesion and curing.
Step 6: Verify Quality and Safety of Repairs
Completely verifying your roof repair requires a thorough and systematic approach to ensure every aspect meets safety and quality standards. Professional repair verification is crucial to confirm that your storm damage restoration will protect your home effectively.
Use these comprehensive verification steps:
- Visual inspection
- Check for uniform shingle alignment
- Verify no exposed nail heads
- Confirm no gaps between repair sections
- Structural assessment
- Test repair areas for solid attachment
- Check for smooth surface transitions
- Ensure no soft or spongy sections
- Documentation verification
- Photograph all repaired sections
- Record materials and installation methods
- Retain warranty and repair documentation
Professional roof inspection methods provide an additional layer of confidence in your repair work. Systematic verification prevents future problems and ensures your roof can withstand upcoming storm seasons.
Quality repairs are not just about fixing damage – they’re about creating lasting protection for your home.
Pro tip: Consider scheduling a professional inspection within 30 days of completing repairs to validate the quality of your work and identify any potential issues early.
Protect Your Home with Expert Storm Damage Roof Repairs
Dealing with storm damage to your roof can be overwhelming and stressful. This article highlights the challenges of identifying hidden damage, gathering the right tools, and performing precise repairs that prevent future leaks and structural issues. At Buffalo Roofing & Exteriors, we understand these concerns and offer professional roofing solutions tailored to weather the unpredictable coastal climate. We use high-quality materials and proven repair methods to restore your roof’s integrity and keep your home safe.

Don’t let storm damage compromise your property’s value or safety. Explore our Repairs Archives for trusted repair services and visit our Roofing Archives to learn more about durable roof installations. Contact us today at Buffalo Roofing & Exteriors for a free estimate and fast response. Protect your investment now before minor damage becomes a costly problem.
Frequently Asked Questions
How can I identify storm damage on my roof?
To identify storm damage, start by inspecting the roof exterior for missing or damaged shingles, dark spots, or visible debris. Utilize binoculars to safely get a closer look and document any damage with clear photographs for insurance purposes.
What tools and materials do I need for roof repairs after a storm?
Essential tools for roof repairs include a sturdy ladder, hammer, pry bar, roofing nails, and safety equipment such as gloves and protective eyewear. Gather high-quality roofing materials like wind-resistant shingles and roofing sealant to ensure your repairs withstand future storms.
What steps should I take to prepare for roof repair?
Begin by safely removing debris from the roof using a roof rake or broom while wearing proper safety gear. Ensure you check for damaged shingles and other issues during the cleanup to create a clean work surface for repairs.
How do I replace damaged shingles on my roof?
To replace damaged shingles, carefully remove the old shingles and clean the exposed roof deck. Cut new shingles to size, apply roofing cement, and secure them with nails, ensuring they overlap with surrounding shingles to prevent leaks.
What waterproofing measures should I take after repairs?
After completing roof repairs, apply a waterproofing sealant over the repair area to create a barrier against moisture. Use quality waterproofing materials and ensure you cover all seams and nail holes for comprehensive protection against future water damage.
How can I verify the quality and safety of my roof repairs?
Verify repair quality by visually inspecting for uniform shingle alignment and checking for no exposed nail heads or gaps. Document all repairs with photographs and consider scheduling a follow-up inspection to ensure everything meets safety standards.
Recommended
- Step by Step Roof Repair Guide for Homeowners
- What to Do After a Storm Damages Your Roof | Buffalo Roofing & Exteriors | San Antonio to Corpus Christi, TX
- Effective Workflow for Emergency Roof Repair Success
- Storm Damage Restoration Explained: Texas Essentials
- 7 effektive Tipps zur Dachpflege 2026 für Hausbesitzer » Top-Dachreinigung
- Roofing Company Corpus Christi TX