

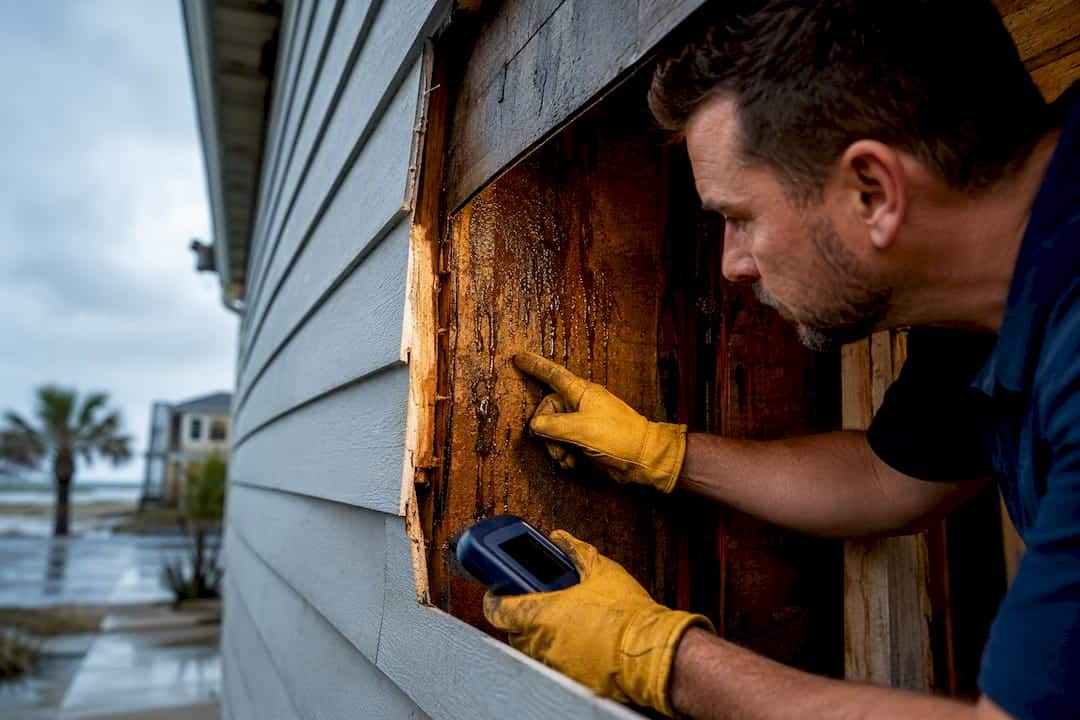
Water behind siding almost always means a drainage failure, not a siding failure: a gap in the flashing, a torn weather-resistive barrier, or a blocked weep hole is letting water in and trapping it there. Left alone, that trapped moisture rots sheathing and breeds mold within weeks of a wet spell. Before you caulk anything, look for active drips, photograph what you see, clear the obvious weep gaps and gutters, and hold off on cosmetic patches until you know the actual source.
TL;DR:
- Proper inspection involves checking for flashing gaps, weep-hole blockages, and signs of soft or buckled siding to locate water intrusion sources accurately.
- Water behind siding is typically caused by failed flashing, sealed weep paths, improper fastening, or unflashed penetrations, not the vinyl panels themselves.
- Using moisture meters and panel removal helps identify the extent and location of water damage without unnecessary wall removal or guesswork.
- Repairing the actual failure, including restoring flashing and damaged sheathing, is essential to prevent recurring stains and mold growth, rather than just cosmetic fixes.
- Conducting seasonal upkeep like gutter cleaning and clearing weep gaps can prevent most water intrusion issues and extend the siding’s lifespan.
Table of Contents
- Signs of Water Behind Siding You Shouldn’t Ignore
- What Causes Water to Get Trapped Behind Siding
- How to Check Siding Moisture Without Guessing
- Fixing the Cause Before Fixing the Look
- When to Call a Pro and What Insurance Will Actually Cover
- Keeping the Drainage Plane Working: A Seasonal Checklist
- Publisher perspective: scoping siding moisture repairs honestly
- How Buffalo Roofing & Exteriors Handles Siding Water Damage
- Sources
Signs of Water Behind Siding You Shouldn’t Ignore
Vinyl siding is a rainscreen, not a waterproof shell. It’s designed to shed most rain while a weather-resistive barrier underneath handles whatever slips through. When that barrier or its flashing fails, water finds its way behind the panels and stays there instead of draining back out.
Start outside. Check the areas that take the most water exposure and the most physical stress:
- Discoloration or dark streaking below window sills and at panel seams
- Panels that look wavy, buckled, or pulled away from the wall
- Soft or spongy trim boards around windows, doors, and corner posts
- Mildew or black speckling concentrated below roof-to-wall intersections
Inside, the same problem shows up differently. Brown or yellow stains creeping across drywall near exterior walls, a musty smell that won’t clear with ventilation, or drywall that gives slightly when you press it, all point back to an exterior entry point on that same wall. Check these spots a day or two after a hard rain, not during it. Water that’s actively running is obvious; water that’s already soaked into sheathing takes time to show up as a stain or a smell. If you find both an exterior clue and a matching interior symptom on the same wall section, start your inspection there. That overlap is the single strongest lead you’ll get without opening anything up.
What Causes Water to Get Trapped Behind Siding
Most intrusion traces back to one of four mechanical failures, and rarely to the vinyl panels themselves.
- Flashing and WRB gaps. Missing sill pans under windows, flashing laps installed backward (so water runs behind the layer above instead of over it), or seams in the weather barrier that were never taped let water past the first line of defense. Contractors who investigate these leaks consistently find the flashing or barrier at fault, not the siding.
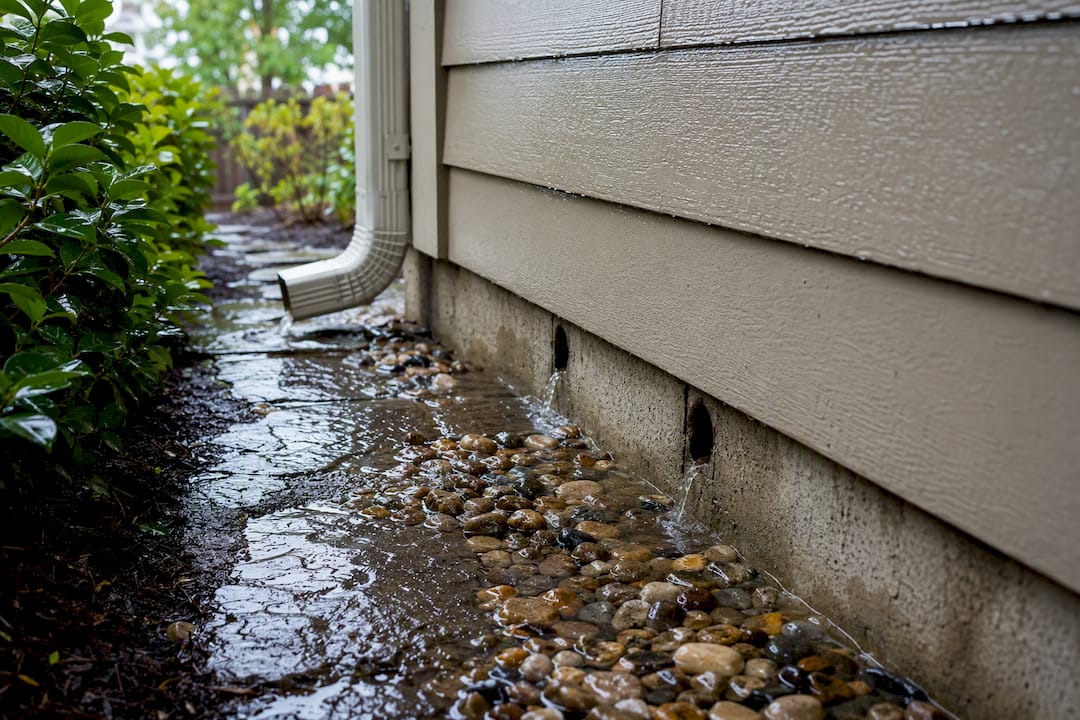
- Blocked or sealed weep paths. J-channels and the bottom of every siding course are supposed to drain. Caulking them shut, a common but well-meaning DIY move, traps water instead of releasing it.
- Bad fastening. Nails driven too tight, or through the face of the panel instead of the slot, stop siding from expanding and contracting with temperature. Panels buckle, gaps open at the laps, and water gets a straight path inward.
- Unflashed penetrations and surface-mounted fixtures. Light fixtures, hose bibs, and vent pipes installed without their own flashing create small, steady entry points. Wind-driven rain and condensation inside the wall cavity make an already marginal detail fail faster.
The mechanics matter because they tell you where to look first. A shingle-lapped, taped WRB with correctly flashed windows is the standard the failures above are measured against, and it’s worth knowing what “correct” looks like before you go hunting for what’s wrong.
How to Check Siding Moisture Without Guessing
You don’t need to tear off a wall to find the source. Work through this sequence before calling anyone.
- Walk the exterior first. Check gutter and downspout function during a real rain if you can, confirm there’s at least six inches of clearance between the siding bottom and the ground or mulch, look for open or caulked-shut J-channel ends, and inspect caulk lines around trim for cracking or gaps.
- Take interior readings. A pin-type or pinless moisture meter (sold at most hardware stores for $30 to $80) gives you real numbers instead of a guess. Test near windows, at the bottom wall plate, and behind any suspect trim. Readings above 20% in wood framing mean sustained moisture, not just yesterday’s humidity.
- Open one panel. Using a zip tool (a cheap siding removal tool made for this exact job), unlock the panel above your suspect area and lift it off its lock. Look at the WRB, the flashing laps, and the sheathing behind it for staining, soft spots, or a visible water trail.
- Trace the path and stop if it’s bigger than expected. If the sheathing flexes under light pressure, if you find soft framing, or if the moisture trail runs across more than one panel section, stop there. That’s the point to call a professional rather than keep opening panels yourself.
Pro Tip: Photograph every moisture reading with the meter still touching the wall, and note the date and whether it had rained recently. That documentation becomes the backbone of any repair estimate or insurance claim later.
Fixing the Cause Before Fixing the Look
Repair order matters more than repair speed. Painting or recaulking over a stain without finding what caused it almost always costs more in the long run than doing it right the first time, because the water keeps working behind the new finish.
The correct sequence looks like this:
- Trace the water path from the entry point to wherever it’s pooling or draining
- Open the wall to sound, dry material, not just to the edge of the visible stain
- Correct the actual failure: reset flashing, add or repair a sill pan, retape the WRB, or restore drainage clearance at grade
- Replace any sheathing or framing that’s soft, delaminated, or shows fungal growth
- Reinstall siding and trim last, with proper nailing and open weep paths
Skipping straight to that last step is the single most common mistake homeowners make, and it’s why the same stain reappears a year later.
Whether you need a localized patch or a broader re-siding job depends on how far the damage has spread. A single panel section with isolated flashing failure is usually a contained repair. But when the same failure shows up across multiple elevations of the house, it’s often a sign the original installation had systemic gaps, and full re-siding ends up more cost-effective than chasing leaks one section at a time.
Mold is the variable that changes the math fastest. Moisture that sits behind a wall for even a few days can support mold growth, and once that starts, the job shifts from a siding repair to a remediation project with its own cost and timeline. Catching the leak early is what keeps it a small job.
When to Call a Pro and What Insurance Will Actually Cover
Some findings are DIY territory. Others aren’t. Call a professional when you find any of these:
- Sheathing that feels soft, spongy, or crumbles when pressed
- The same staining or moisture pattern on more than one wall or elevation
- Visible mold beyond a small, surface-level patch
- Any sign framing has shifted, sagged, or lost structural integrity
For insurance purposes, bring documentation, not just a description of the problem. Photos of the exterior damage, your moisture meter readings with dates, a timeline of recent storms or heavy rain, and any prior repair records all strengthen a claim or a contractor’s estimate.
Coverage itself depends on cause. Homeowners insurance typically covers siding damage from a covered peril, like wind-driven storm damage or a fallen tree limb, but damage from ordinary wear, deferred maintenance, or a slow, unaddressed leak usually falls outside the policy. That’s a real gap for homeowners who assume a leak they’ve known about for a year will be treated the same as sudden storm damage.
Keeping the Drainage Plane Working: A Seasonal Checklist
Prevention here is mostly mechanical upkeep, not major work, and it’s cheap compared to what a rotted wall costs to fix.
- Clean gutters and confirm downspouts direct water away from the foundation, twice a year at minimum
- Re-check that six-inch clearance between siding and grade or mulch, since landscaping settles and raises soil level over time
- Clear J-channel weep gaps of debris and old caulk every spring
- Replace cracked or shrunken caulk around windows, doors, and penetrations before it fails completely
If you’re replacing siding rather than patching it, specify a taped WRB and proper flashing details up front. In consistently wet or coastal climates, a rainscreen gap behind the siding gives trapped water somewhere to drain and dry instead of sitting against the sheathing.
Pro Tip: Walk the exterior after the first hard rain each spring and fall. Five minutes of looking at gutters and weep paths catches problems while they’re still a caulk tube fix, not a sheathing replacement.
Publisher perspective: scoping siding moisture repairs honestly
Most calls we get about staining or soft trim trace back to flashing or the weather barrier, not the vinyl itself. That’s why we open a panel and take moisture readings before quoting anything. Guessing at scope either underbids a rotted stud bay or overcharges for a simple flashing fix. A written scope, backed by an exploratory opening and real numbers, is what keeps a repair honest.
— Results
How Buffalo Roofing & Exteriors Handles Siding Water Damage
Buffalo Roofing & Exteriors is the option for South Texas homeowners who want the cause found before anyone talks repair cost. We open panels, take moisture readings, and write a scope based on what’s actually behind the wall, not a guess from the driveway.

Our siding repair and replacement work covers flashing and WRB corrections, sheathing replacement where rot has set in, and full re-siding when damage has spread across multiple elevations. We also handle storm damage restoration for homeowners dealing with wind-driven intrusion after a storm, with the same diagnose-first approach.
Before your estimate, pull together your moisture readings, photos, and the date of your last heavy rain. We’ll build a written scope from that, walk you through financing options, and back the completed work with a warranty. Schedule a free inspection and get a real number, not a guess, for what it takes to fix the wall for good.
Sources
- Why is mold growing in my home? | US EPA
- Does homeowners insurance cover siding? | Progressive
- Why water leaks behind vinyl siding and how to fix it | Build-Construct
- Water intrusion behind siding — Sierra Siding