

If you’ve discovered an emergency roof leak, protect people first, then stop the water. Move valuables, catch the drip in a bucket, and call for help immediately if the ceiling is sagging, water is touching electrical fixtures, or the leak followed structural damage. Temporary fixes can buy hours to weeks, but they never replace a real repair.
TL;DR:
- Immediate containment measures like buckets or tarps can buy 30 to 90 days of protection but do not replace permanent repairs.
- Insurers require timestamped photos or videos of the leak and damage, especially during the storm, to support insurance claims.
- Do not attempt to climb onto a wet or steep roof during a storm; call a licensed roofer for safe, professional emergency repair and tarping.
- Active leaks involving structural damage, exposed decking, or electrical hazards demand immediate evacuation and emergency services.
- Regular maintenance such as checking flashing, gutters, and sealing around vents significantly reduces the risk of sudden roof leaks.
Table of Contents
- First 15 Minutes of an Emergency Roof Leak: What to Do
- When Is a Roof Leak Dangerous Enough to Evacuate?
- Temporary Roof Leak Fixes That Actually Buy Time
- How to Find Where a Roof Is Leaking From
- When Should You Call an Emergency Roofer?
- Does Homeowners Insurance Cover Emergency Roof Leaks?
- How to Prevent the Next Emergency Roof Leak
- Why a Licensed Roofer Handles Emergency Leaks Differently
- What Emergency Roof Calls Actually Teach You
- Get Emergency Roof Help From Buffalo Roofing & Exteriors
- Sources
First 15 Minutes of an Emergency Roof Leak: What to Do
Once you know water is coming in, speed matters more than perfection. Every minute a leak runs unchecked, the odds of drywall failure, warped flooring, and mold climb, and mold can begin to establish itself within 24 to 48 hours in humid conditions. Work through these steps in order.
- Clear the area. Move furniture, electronics, and anything irreplaceable away from the drip zone or cover it with plastic sheeting.
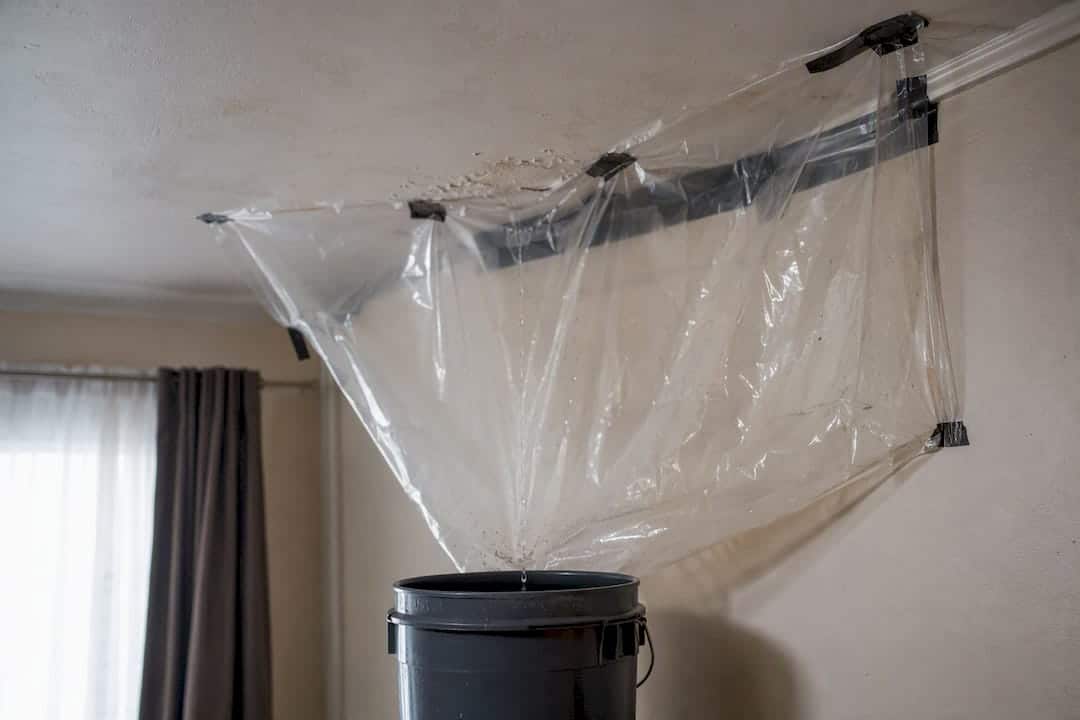
- Contain the water. Set buckets, trash cans, or plastic tubs under the leak, and line the floor with towels or a tarp to catch overflow.
- Relieve a bulging ceiling. If drywall is sagging with trapped water, carefully poke a small hole at the lowest point of the bulge with a screwdriver, directly over a bucket. This controls where the water goes instead of letting a section of ceiling collapse on its own schedule.
- Cut power to affected circuits, but only if you can reach the breaker safely. Never step into standing water to reach an electrical panel.
- Document everything. Take photos and video of the leak, the ceiling damage, and any pooling water, and note the time and the weather conditions outside.
That last step matters more than most homeowners realize. Insurers ask for timestamps and weather context when they evaluate an emergency roof leak claim, and a phone video shot while the rain is still falling is far more persuasive than a dry-day photo taken the next morning.
Pro Tip: Shoot a quick video narrating what you see and hear, including rain hitting the roof or wind noise. Insurance adjusters weigh timestamped audio and video far more heavily than still photos taken after the storm has passed.
When Is a Roof Leak Dangerous Enough to Evacuate?
Most leaks are messy, not life threatening. Some are both. Know the difference before you decide to grab a ladder or stay put.
Leave the house and call 911 or your utility company if you see any of the following:
- A downed power line or tree branch resting on the roof or touching the house.
- Water actively dripping near an outlet, light fixture, or breaker panel.
- A ceiling that is visibly sagging, cracking, or bowing under the weight of trapped water.
- The smell of gas, which can indicate a broken line from storm impact.
- Any sign of active structural movement, like new cracks spreading across walls or ceilings.
Do not climb onto the roof yourself if it’s raining, the surface is steep, the house has more than one story, or a storm is still active. Wet shingles are dangerously slick, and a fall from a two-story roof causes far more damage than any leak ever will. If the leak is bad enough that you’re tempted to go up there, that’s usually the exact situation where you should call a licensed roofer instead.
Temporary Roof Leak Fixes That Actually Buy Time
Not every leak needs a professional at 2 a.m. Small, localized problems on a dry, low-slope, single-story roof can sometimes hold with basic materials until daylight or better weather. Bigger leaks need bigger measures, and knowing which category you’re in keeps you from either overreacting or underreacting.

Interior containment is your first move on any active leak, and it’s often enough to protect the house for hours or even days while you wait out a storm or arrange a repair. Buckets, plastic sheeting, and a controlled drip point through a small ceiling puncture will hold water back without stopping the actual source.
Small exterior patches work only under narrow conditions. If a leak traces to a cracked vent boot or a small gap around a pipe, a retrofit collar or a bead of roofing sealant can slow the intrusion. These materials typically run under $50 and are genuinely temporary, appropriate only when the roof is dry, low-pitch, and safely accessible from a ladder rather than the roof surface itself, according to cost data on DIY roof repairs. Butyl tape and roofing cement fall into the same category: fine for a pinhole, useless against a torn shingle field or exposed decking.
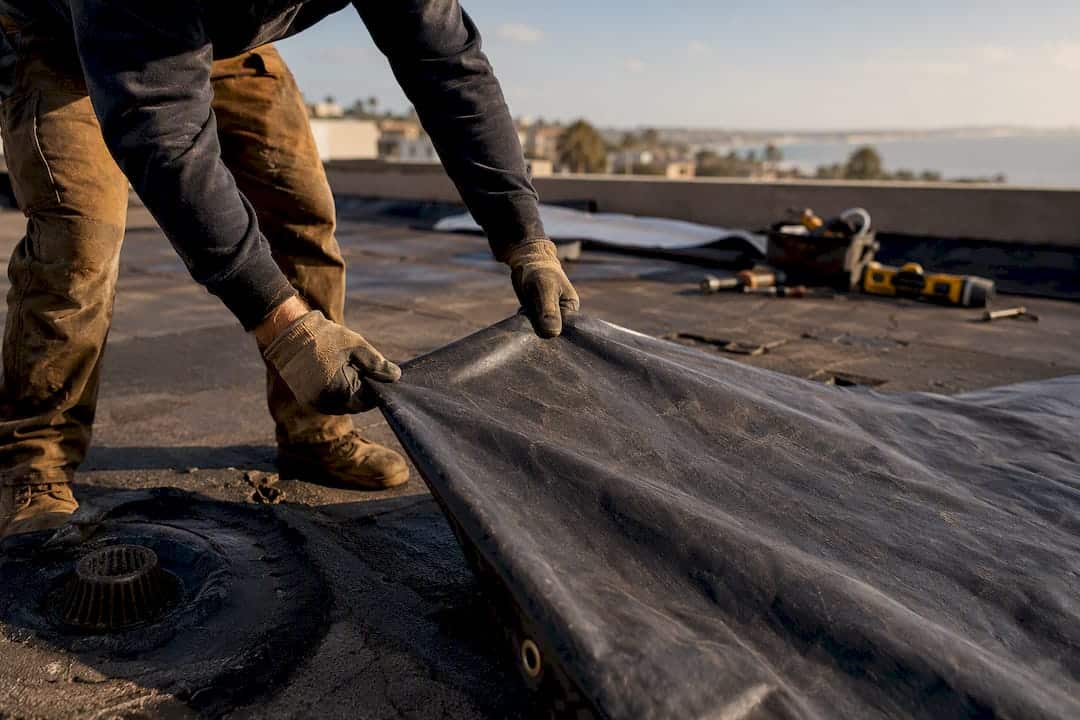
Tarping is the real workhorse for anything beyond a minor drip. A properly anchored tarp, secured with furring strips or 2x4s screwed into the roof deck at the downslope edge, tucks under the upslope shingle course so water can’t migrate underneath it. Done correctly, this setup protects the roof for 30 to 90 days, which is often enough runway to schedule a full repair without rushing a decision in the middle of a crisis.
- DIY tarp materials: roughly $40 to $150.
- Professional tarp installation: roughly $300 to $800.
- Full emergency roof leak repair once a pro is involved: commonly $300 to $1,800 depending on the extent of the damage.
A DIY tarp job on a steep or multi-story roof is a fall risk most homeowners shouldn’t take. Professional tarping isn’t just safer; it’s also documented with photos and a written invoice, which becomes part of your insurance paper trail.
How to Find Where a Roof Is Leaking From
Water rarely drips straight down from where it entered. It travels along rafters, follows insulation, and shows up on the ceiling ten feet from the actual hole. Tracing the source correctly saves you from patching the wrong spot.
- Start in the attic with a flashlight, if it’s safe and dry to go up there. Look for dark water stains, wet insulation, or a visible drip trail along a rafter.
- Follow the stain uphill. Water travels downhill along the underside of the decking, so the actual entry point is almost always higher on the roof than where you see damage inside.
- Check the usual failure points from outside, if conditions allow a safe look: flashing around chimneys, valleys where two roof planes meet, vent boots, and skylight edges. Flashing failures alone account for an estimated 40 to 50 percent of residential roof leaks, more than any other single cause. A partner resource on what roof valley flashing actually does is a useful primer if you’ve never inspected one before.
- Look for missing or lifted shingles near the stain’s uphill path, particularly after high wind.
- Stop and call a professional if you see daylight through the decking, sagging plywood, or more than one distinct leak point. Multiple active leaks usually mean widespread damage, not an isolated failure.
When Should You Call an Emergency Roofer?
Some leaks wait until morning. Others don’t. Call a 24/7 emergency roofing service immediately if water is pouring rather than dripping, if you can see exposed roof decking or sky from inside the attic, if a tree limb has punctured the roof, or if the damage followed a hailstorm or high wind event. Waiting overnight in those situations usually multiplies the interior damage and the eventual repair bill.
When you get a roofer on the phone, ask these questions before anyone shows up:
- Are you licensed and insured, and can you provide proof?
- Do you offer emergency tarping tonight, or only scheduled repairs?
- What’s your realistic response time given current conditions?
- Will I get a written estimate before any work begins?
- Do you document damage for insurance purposes as part of the visit?
Watch for red flags that signal a storm chaser rather than a legitimate contractor: unsolicited door knocking right after a storm, demands for cash payment upfront, pressure to sign before you’ve seen a written estimate, or no verifiable local address. A legitimate emergency crew will tarp first, document second, and put a real estimate in writing before asking for a dime.
Does Homeowners Insurance Cover Emergency Roof Leaks?
Most homeowners policies cover emergency mitigation, like tarping and temporary patching, when the damage stems from a covered peril such as wind or hail. What they typically don’t cover is gradual wear and tear, so a 20-year-old roof that finally gives out in a storm may raise questions an adjuster will want answered.
To keep your claim strong:
- Notify your insurer within 24 to 48 hours of discovering the leak. Delays can complicate the claim.
- Photograph and video the damage before and after any temporary fix, with timestamps.
- Keep every receipt for tarping, buckets, or emergency repair work; mitigation costs are commonly reimbursed.
- Save the contractor’s written estimate and any invoice for mitigation work as part of your claim file.
Skipping mitigation entirely, on the theory that the insurer will just pay for everything, can actually work against you. Most policies expect you to take reasonable steps to limit further damage once you know about a leak.
How to Prevent the Next Emergency Roof Leak
A few cheap habits do more to prevent emergency leaks than any single repair. Clean gutters twice a year so water doesn’t back up under shingles, and trim branches that hang over the roofline before a storm turns them into projectiles.
- Inspect flashing around chimneys and vent boots annually for cracking or lifted seals.
- Schedule a professional roof inspection once or twice a year, especially before and after storm season.
- Replace cracked pipe boots and worn sealant as soon as you spot them. It’s a $30 fix now versus a five-figure ceiling repair later.
- If your roof is nearing 20 years old or has failed multiple times, get a straight answer on whether repair or full replacement makes more financial sense.
Why a Licensed Roofer Handles Emergency Leaks Differently
A licensed crew brings more than a ladder and a tarp. Buffalo Roofing & Exteriors’ emergency response workflow includes:
- Rapid tarping to stop active water intrusion the same day, in many cases the same visit.
- Photo and video documentation that supports your insurance claim from the start.
- Written estimates before repair work begins, with no verbal-only agreements.
- Warranty-backed permanent repairs once the emergency phase is over.
- Financing options for homeowners facing a larger storm-damage bill.
- Field experience with coastal Texas weather, from hail to tropical humidity, that shapes how the crew prioritizes repairs.
What Emergency Roof Calls Actually Teach You
The biggest mistake homeowners make on an emergency call isn’t skipping a step. It’s underestimating how fast water spreads once it’s inside the structure. People will mop up a puddle and assume the problem is handled, not realizing the same water has already wicked three feet sideways through insulation and drywall.
The second mistake is delaying the tarp because the rain seems to be letting up. It rarely stays that way, and a roof that’s already compromised doesn’t need a second storm to fail further.
If there’s one lesson worth repeating from years of storm season calls, it’s this: mitigation now is cheaper than repair later, every single time.
Pro Tip: When a tarp goes up, photograph the anchor points before you leave the roof. Adjusters sometimes question whether mitigation was done “properly,” and a clear photo of the furring strips and screws settles that argument before it starts.
— Results
Get Emergency Roof Help From Buffalo Roofing & Exteriors
Buffaloroofingandexteriors is the alternative to waiting out a leak and hoping it holds until a contractor has an opening. With 24/7 emergency response across the Corpus Christi, San Antonio, and Victoria service areas, a crew can be tarping your roof and photographing the damage for your insurance file the same day you call, not sometime next week.

Every emergency visit comes with a written estimate before work starts, documented mitigation for your claim, and financing options if the repair is larger than expected. If your roof has a flat section that’s leaking, Buffaloroofingandexteriors’ flat roof repair team handles those systems specifically, since they fail differently than a pitched roof and need different fixes. Call now for emergency roof repair and get a crew on the way before the next round of rain makes the damage worse.
Sources
- Emergency Roof Leak Repair in 2025: Costs and Safety Measures
- Temporary Roof Repair: Tarp and Leak Fixes