
TL;DR:
- Emergency tarping provides immediate protection against water intrusion after storm damage and lasts up to 90 days. Professional installation using the batten method ensures wind resistance and proper coverage, preventing further structural and mold damage. Most homeowners insurance covers the cost as a mitigation expense, and prompt action within 24 hours is crucial to minimize secondary damage and claim complications.
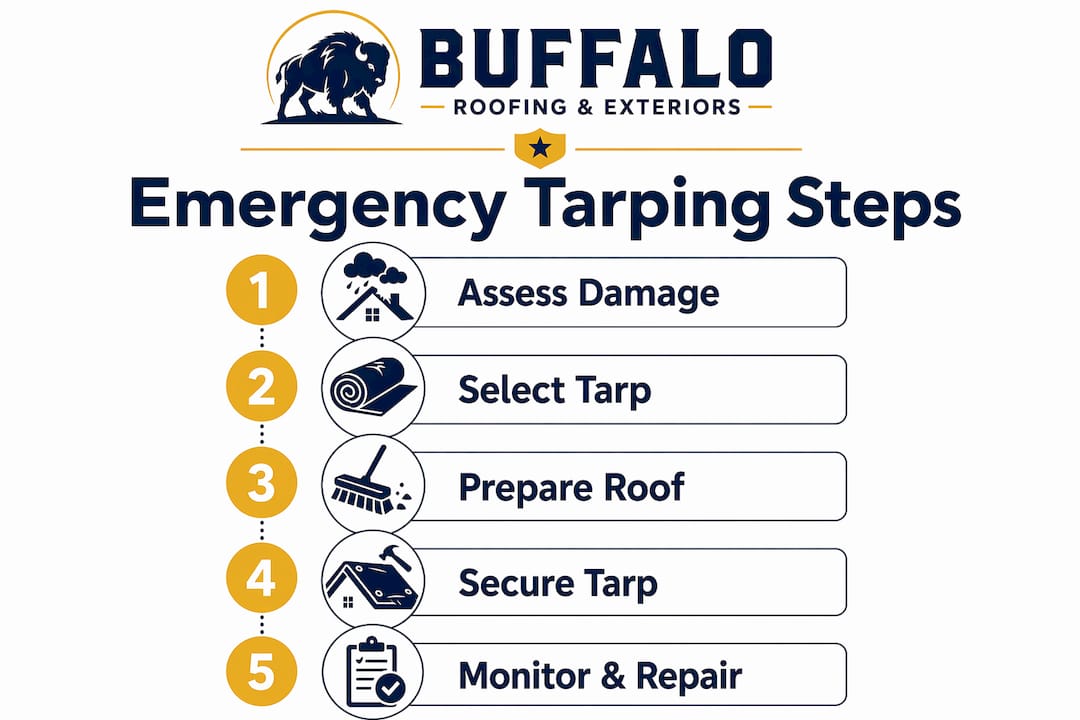
Emergency tarping is the immediate application of heavy-duty, weather-resistant tarps over a damaged roof or exterior to stop water intrusion after a storm until permanent repairs can be completed. The industry term you will hear from contractors and insurance adjusters is “emergency roof tarping” or “temporary protective tarping.” Both phrases describe the same stopgap measure. After a hurricane, hailstorm, or fallen tree strips away shingles or punches through your roof deck, every hour without protection increases the damage inside your home. Understanding what is emergency tarping, how it works, and what it costs puts you in control when you need to act fast.
What is emergency tarping and why does it matter?
Emergency tarping is a temporary protective measure designed to last up to 90 days while permanent repairs are scheduled. It is not a repair. It is a shield. The goal is to prevent rain, wind, and debris from reaching the interior of your home through an opening created by storm damage.
Common situations that call for emergency tarp solutions include:
- Missing or blown-off shingles exposing the roof deck
- Tree limbs or falling debris that puncture the roof
- Damaged or collapsed sections of siding or fascia
- Broken skylights or roof vents after high winds
The 90-day maximum is not arbitrary. Tarp materials degrade under UV exposure and repeated weather cycles. Leaving a tarp beyond that window risks additional damage to the very surfaces it was meant to protect.
How does emergency tarping prevent further home damage?
Water intrusion is the most destructive consequence of an unprotected roof opening. Mold growth begins within 24–48 hours of moisture exposure inside a structure. That timeline is not forgiving. A single night of rain through a six-inch gap in your roof deck can saturate insulation, warp ceiling joists, and trigger mold colonies that cost thousands to remediate.
Properly installed tarps shed water by creating a continuous slope that directs runoff away from the opening. For this to work, the tarp must extend 3–4 feet beyond the damaged area on all sides. Ridge coverage is equally critical. The tarp must drape 2–3 feet past the peak to prevent water from flowing back under the covering at the high point of the roof.
Pro Tip: If you can see daylight through your ceiling or attic after a storm, treat it as a 24-hour emergency. Water does not wait for business hours.
Structural degradation is the second major risk. Wet wood loses load-bearing strength quickly. Roof decking that stays saturated for days can delaminate, and ceiling drywall can collapse entirely. Emergency tarping stops that chain reaction at the first link.
What materials and installation methods ensure effective tarping?
Not all tarps are equal. Heavy-duty polyethylene or UV-treated vinyl tarps with 10–20 mil thickness provide the durability needed to survive weeks of sun, wind, and rain. Thin blue tarps sold at hardware stores fail quickly under direct sunlight and are not rated for extended outdoor exposure. They are a short-term patch at best.
Choosing the right tarp
The right tarp for an emergency situation meets three criteria:
- Thickness: 10 mil minimum, 20 mil preferred for coastal or high-wind regions like Corpus Christi and San Antonio.
- Size: Large enough to extend 3–4 feet past the damaged area on every side, plus 2–3 feet over the ridge.
- Material: Woven polyethylene with UV inhibitors or reinforced vinyl for maximum weather resistance.
Professional batten method vs. DIY toss-and-brick
The difference between a tarp that holds for 90 days and one that blows off in the next storm comes down to fastening method.
| Method | Description | Wind Resistance | Recommended? |
|---|---|---|---|
| Batten method | 2×4 lumber screwed into rafters over tarp edges | High | Yes, professional standard |
| Toss-and-brick | Tarp thrown over roof, weighted with bricks or debris | Very low | No, fails in moderate wind |
| Staple and tape | Tarp stapled to decking with seam tape | Low to moderate | No, degrades quickly |
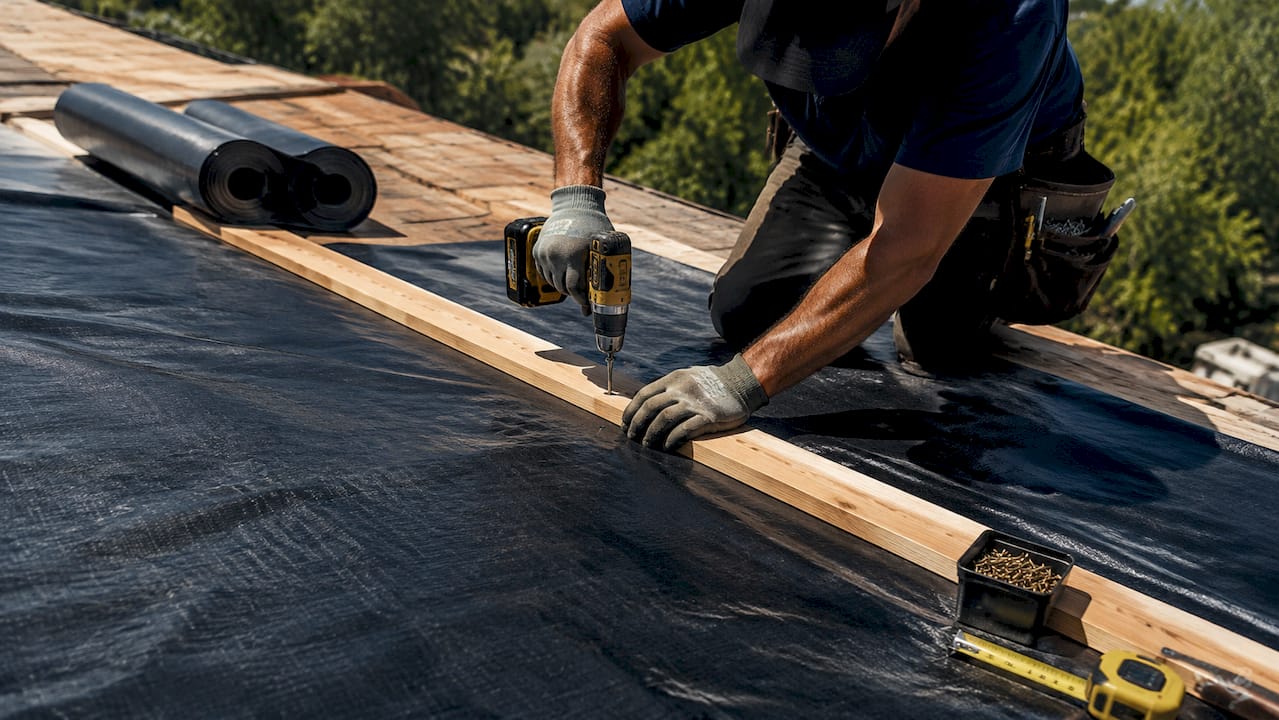
The industry-standard batten method secures tarps with 2×4 boards nailed or screwed directly into the roof rafters. This prevents the tarp from ballooning in wind gusts and tearing away from the fastening points. SERVPRO and professional roofing contractors use this method because it is the only approach that reliably holds through subsequent storms.
Pro Tip: Never attempt to tarp a damaged roof yourself. Professional roofers advise against DIY tarping because damaged roofs are structurally unstable and surfaces become extremely slippery when wet. One fall from a roof can be fatal.
A common DIY failure involves improper ridge coverage, where the tarp stops short of the peak. Water then flows under the tarp at the ridge and enters the home despite the apparent coverage. Professionals check this detail every time.
How much does emergency tarping cost and what does insurance cover?
The national average cost of emergency roof tarping ranges from $1 to $2.80 per square foot, including materials and labor. For a typical 1,500-square-foot roof with partial damage, a homeowner might pay between $300 and $800 for professional tarping. That figure varies by roof pitch, accessibility, and the extent of the damaged area.
What homeowners insurance typically covers
Emergency tarping is covered by homeowners insurance as a mitigation expense in most standard policies. Insurance companies classify it as a reasonable step to prevent further damage, which means it reduces the total claim payout they would otherwise face. That alignment of interests works in your favor.
Key points to confirm with your insurance agent:
- Documentation: Photograph all damage before tarping begins. Adjusters need a clear record of the original damage.
- Pre-approval: Some insurers require you to notify them before mitigation work starts. A quick call takes five minutes and protects your reimbursement.
- Receipts: Keep all invoices from the tarping contractor. Reimbursement depends on documented costs.
- Policy limits: Mitigation coverage limits vary by policy. Confirm your specific cap before authorizing extensive work.
Emergency tarping as a mitigation expense also strengthens your overall claim. It demonstrates to the insurer that you acted responsibly to limit losses. Adjusters view that favorably when evaluating the full scope of damage. For homeowners in coastal Texas, where storms can be severe and frequent, understanding this dynamic is worth your time before the next weather event hits. You can also review home watch service exclusions to understand what property protection services typically cover and exclude.
When should you request emergency tarping?
Request emergency tarping within 24 hours of discovering storm damage to your roof or exterior. Professional emergency services target a 24–48 hour response window specifically because that is the threshold before water damage becomes mold damage. Waiting longer does not save money. It multiplies costs.
The risks of delaying emergency tarp solutions include:
- Mold colonization in insulation, drywall, and wood framing within 48 hours
- Structural weakening of roof decking and ceiling joists from sustained moisture
- Higher repair bills as secondary damage compounds the original storm damage
- Insurance complications if adjusters determine that delayed mitigation worsened the loss
After a storm damages your roof, the steps you take immediately determine how much of the damage stays manageable. Calling a professional tarping service the same day is the single most effective action you can take. For a full breakdown of the repair process that follows, the emergency roof repair workflow at Buffaloroofingandexteriors walks through each stage from tarping to permanent restoration.
Key takeaways
Emergency tarping is the fastest and most cost-effective way to stop storm damage from becoming a structural and financial crisis, and most homeowners insurance policies cover it as a mitigation expense.
| Point | Details |
|---|---|
| Temporary protection limit | Tarps last up to 90 days; schedule permanent repairs before that window closes. |
| Act within 24 hours | Mold growth begins within 24–48 hours of water intrusion, making speed the top priority. |
| Use the batten method | 2×4 boards screwed into rafters are the only wind-resistant fastening approach. |
| Insurance covers tarping | Document damage before work begins and notify your insurer to secure reimbursement. |
| Avoid DIY installation | Damaged roofs are structurally unstable; professional installation prevents injury and ensures proper coverage. |
Why i always recommend calling a pro before touching that tarp
I have seen the aftermath of dozens of DIY tarping attempts across coastal Texas properties. The pattern is consistent. A homeowner buys a blue tarp from a hardware store, tosses it over the damaged section, and weights the edges with bricks or old lumber. It looks covered. Three days later, after the next afternoon thunderstorm, the tarp is in the neighbor’s yard and the living room ceiling has a water stain the size of a dining table.
The problem is never effort. Homeowners who attempt DIY tarping are trying to protect their homes. The problem is that the toss-and-brick method simply does not hold in real wind conditions, and most people do not know that the ridge needs to be covered with a 2–3 foot overlap to prevent backflow. These are not obvious details. They are things professionals learn from doing this work repeatedly.
There is also the safety reality that gets underestimated. A storm-damaged roof is not a stable surface. Broken decking, wet shingles, and compromised fascia create fall hazards that are genuinely dangerous. No tarp installation is worth a trip to the emergency room.
The upfront cost of professional tarping is modest, especially when insurance covers it. What you get in return is a properly installed, wind-resistant cover, a documented record for your insurance claim, and a professional assessment of the full damage scope. That last point matters more than most people realize. A trained eye on your roof after a storm often catches secondary damage that would have gone unnoticed until it became a much larger problem.
— Buffaloroofingandexteriors
How Buffaloroofingandexteriors responds when your roof needs it most
When a storm hits Corpus Christi, San Antonio, or the surrounding Texas coast, Buffaloroofingandexteriors deploys experienced crews for emergency tarping within the critical 24–48 hour window. Every installation uses heavy-duty polyethylene or UV-resistant vinyl tarps secured with the professional batten method, not shortcuts.

The team also handles insurance documentation from the start, photographing damage, providing itemized invoices, and coordinating directly with adjusters to support your claim. For homeowners who need more than a tarp, Buffaloroofingandexteriors offers full storm damage restoration from temporary protection through permanent repair. Contact Buffaloroofingandexteriors today for a free assessment and get your home protected before the next storm arrives.
FAQ
What is the purpose of emergency tarping?
Emergency tarping protects a damaged roof or exterior from further water intrusion after a storm until permanent repairs are completed. It is a temporary measure designed to last up to 90 days.
Does homeowners insurance pay for emergency tarping?
Most standard homeowners insurance policies cover emergency tarping as a mitigation expense. Document all damage before work begins and notify your insurer to confirm coverage and secure reimbursement.
How long does an emergency tarp last on a roof?
A properly installed heavy-duty tarp lasts up to 90 days. Thin blue tarps degrade much faster under UV exposure and should not be used for extended protection.
Can i tarp my own roof after a storm?
Professional roofers strongly advise against DIY tarping. Damaged roofs are structurally unstable and slippery, creating serious fall hazards. Improper installation also leaves gaps that allow continued water intrusion.
How much does professional emergency tarping cost?
The national average ranges from $1 to $2.80 per square foot including materials and labor. For most residential roofs with partial damage, total costs typically fall between $300 and $800.