

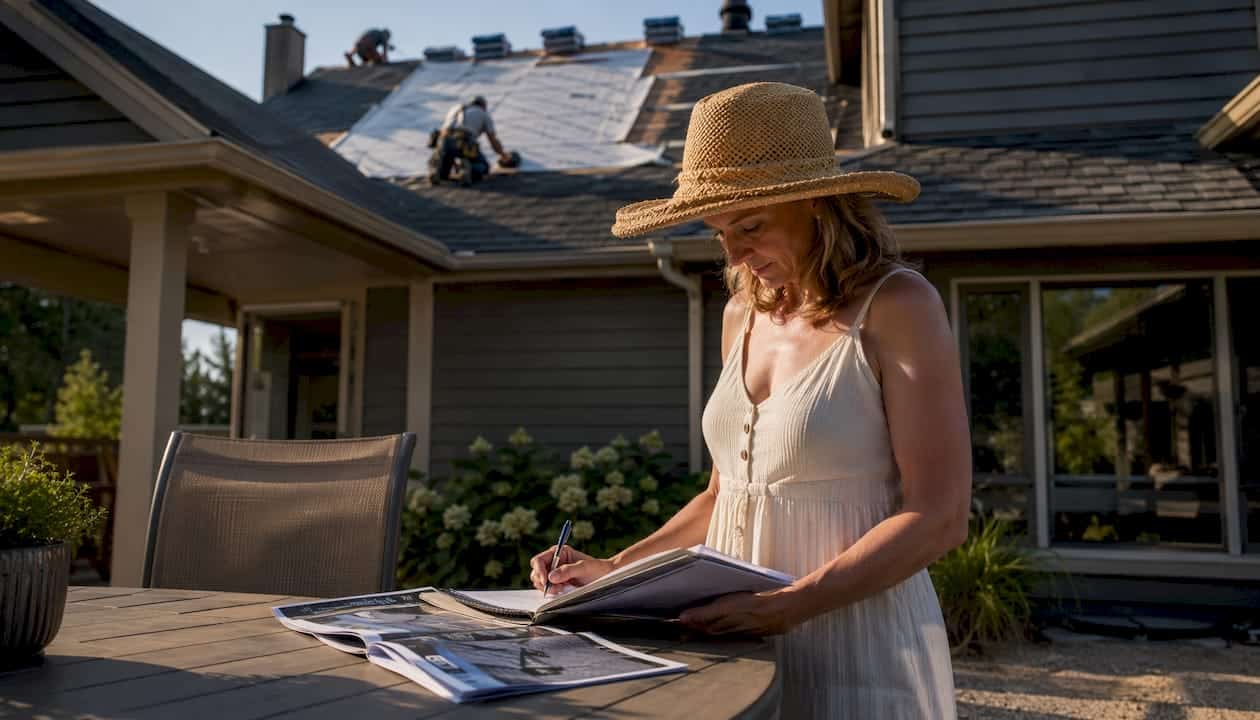
For most asphalt-shingle roofs, the right system is a full-deck synthetic underlayment paired with peel-and-stick rubberized asphalt membrane at the eaves, valleys, and any roof penetrations. That combination meets IRC code, handles the heat and storm exposure common across South Texas, and protects your shingle warranty. If budget is tight, #15 felt is the IRC minimum for slopes at or above 4:12, but it wrinkles in heat and degrades faster. For low slopes between 2:12 and 4:12, the IRC requires two layers with a 19-inch offset, no exceptions.
Before you sign any roofing estimate, check three things:
- Underlayment type listed: “felt” or “synthetic” with no product name is a red flag.
- Peel-and-stick locations documented: eaves, valleys, and pipe boots should be called out explicitly.
- ASTM or ICC-ES standard referenced: ASTM D226 for felt, ASTM D4869 or ICC-ES acceptance for synthetics, ASTM D1970 for peel-and-stick.
Pro Tip: Ask every contractor to list the product SKU on the quote, not just the category. A named product with a published ASTM rating is the fastest way to compare bids on equal footing.
Table of Contents
- What are the three main types of shingle underlayment?
- Why underlayment does more than keep water out
- Does code require underlayment, and what does the IRC say?
- How to choose the right underlayment for your roof
- What good underlayment installation actually looks like
- What do underlayment products cost, and what should you expect?
- When should you hire a pro, and what does Buffaloroofingandexteriors do differently?
- Key Takeaways
- The part most homeowners miss until it is too late
- Buffaloroofingandexteriors handles the underlayment details so you do not have to
- Useful sources
What are the three main types of shingle underlayment?
Roofing underlayment sits between the roof deck and the shingles. It is not optional, and the type you choose affects everything from inspection results to how long your shingles perform. There are three categories, each with a different job.
Asphalt-saturated felt
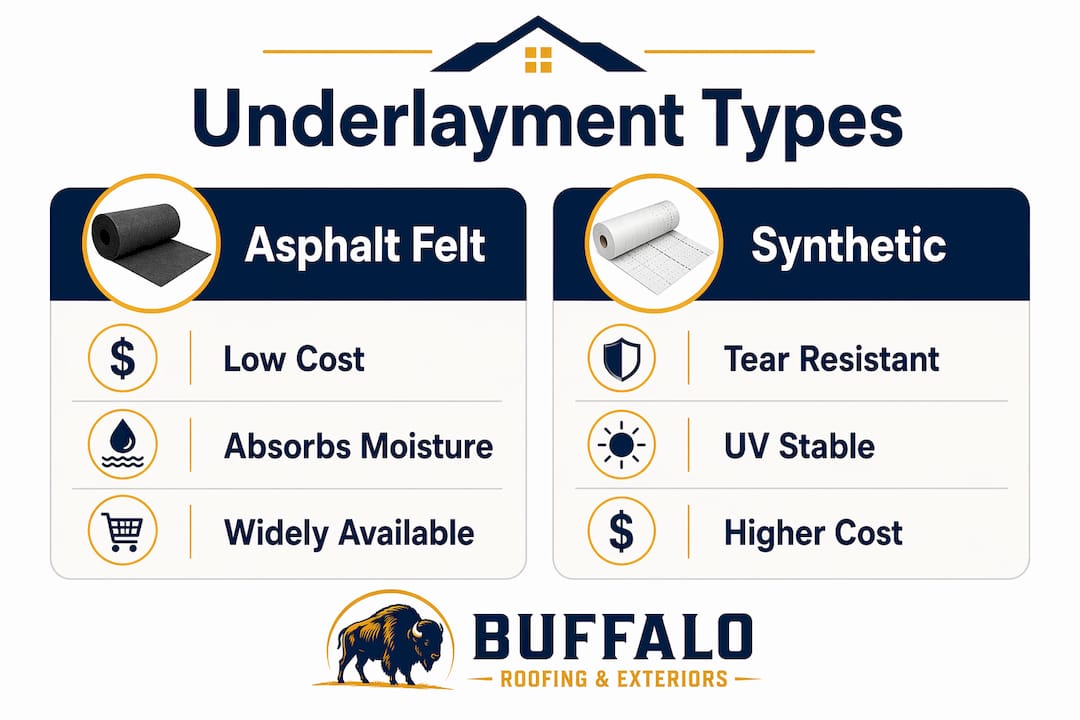
Felt underlayment, sold as #15 or #30, is made from a cellulose or fiberglass mat saturated with asphalt. It has been the standard for decades and still meets IRC minimums in most jurisdictions. The problem is that felt absorbs moisture, wrinkles in heat, and can telegraph deck irregularities through the finished shingles. #30 felt is heavier and more tear-resistant than #15, but both degrade under UV and should not be left exposed for more than a day or two.
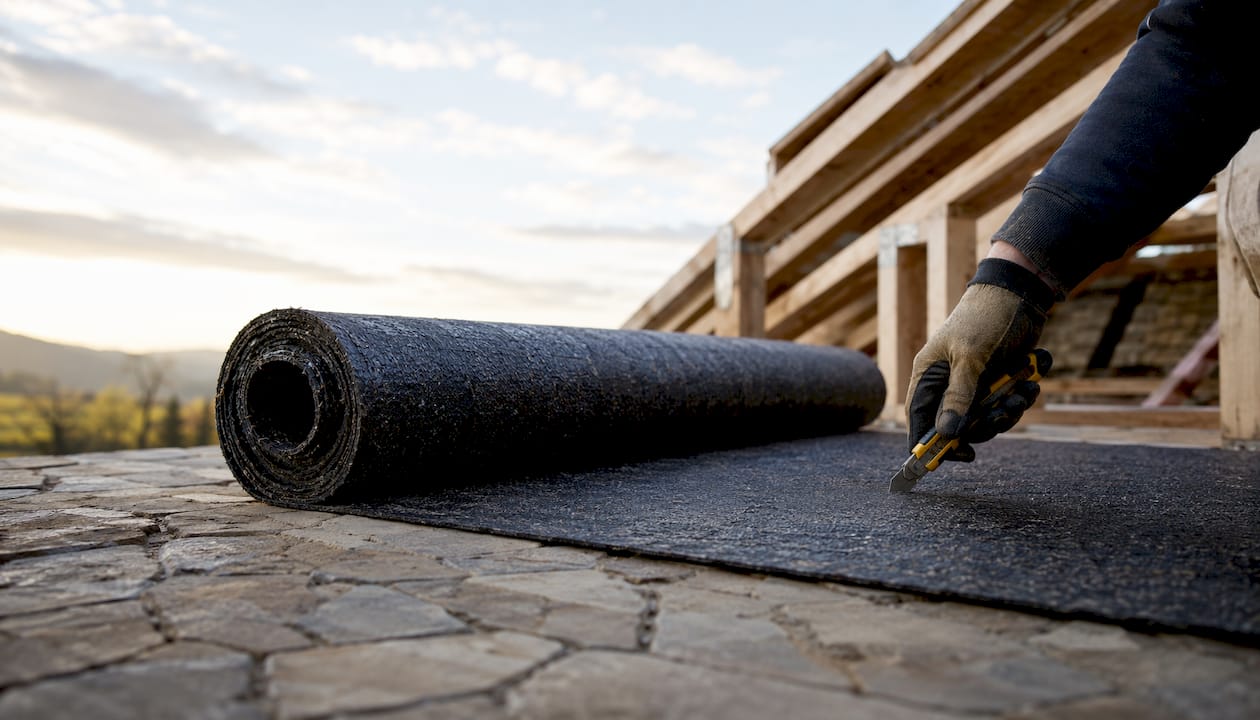
Pros: Low material cost, widely available, meets IRC minimums.
Cons: Absorbs moisture, wrinkles in heat, tears easily during installation, short UV tolerance.
Synthetic sheet underlayment
Synthetic underlayment is a woven or spunbond polypropylene sheet. It is lighter per roll than felt, resists tearing, does not absorb moisture, and tolerates longer UV exposure. Synthetic underlayment has become the residential performance standard in many markets precisely because it avoids felt’s tendency to buckle. Under IRC 2024 R905.2.3, synthetics meeting ASTM or ICC-ES standards are accepted as code-compliant substitutes for felt.
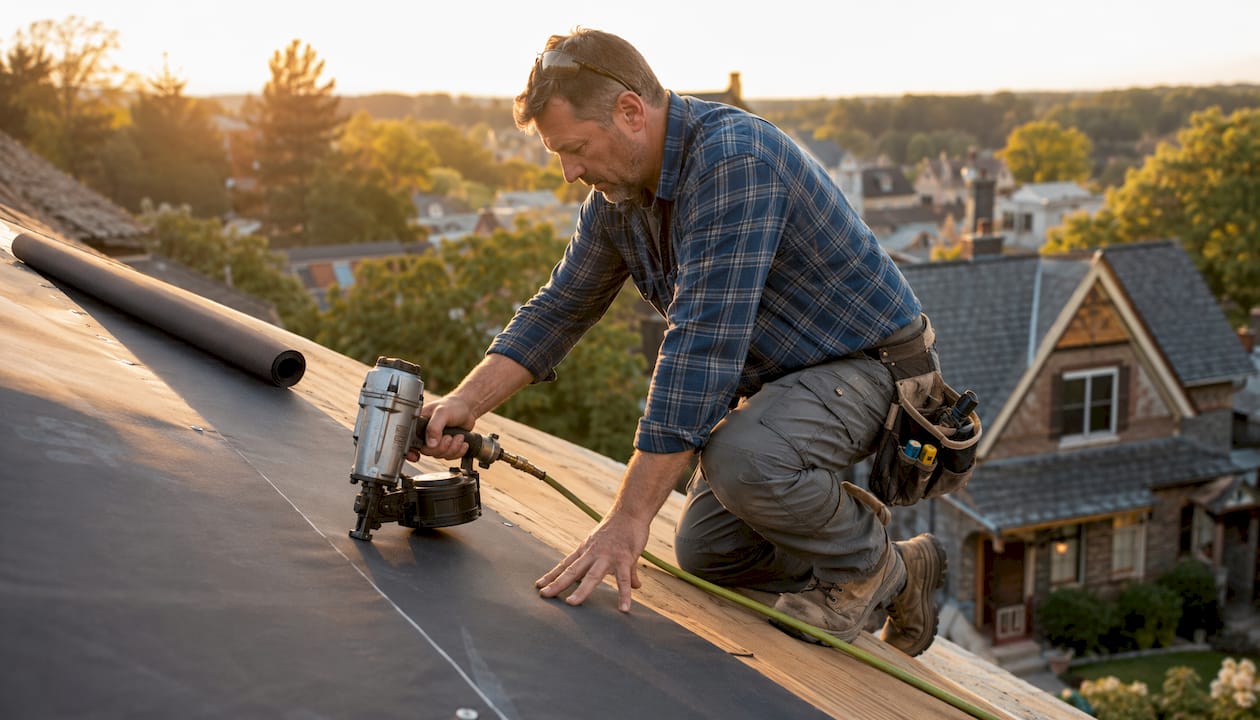
Pros: Tear-resistant, dimensionally stable, longer UV exposure window, lighter to handle.
Cons: Higher material cost than #15 felt, quality varies widely between budget and premium products.
Peel-and-stick rubberized asphalt (self-adhering membrane)
Peel-and-stick is the only underlayment category that functions as a fully waterproof membrane, rated under ASTM D1970. It bonds directly to the deck and self-seals around fasteners. The trade-off is cost: self-adhering membranes run roughly 2–4x the per-square price of standard #15 felt. That is why professional roofers use it selectively at critical leak zones rather than across the full deck.
Pros: Fully waterproof, self-seals fasteners, best defense against ice dams and wind-driven rain.
Cons: Highest material cost, not designed as a full-deck replacement, requires clean dry deck for adhesion.
| Category | Best for | Waterproof? | Tear/tensile strength | UV exposure tolerance | Slip resistance | Typical cost per square (material only) |
|---|---|---|---|---|---|---|
| #15 asphalt felt | Budget installs, slopes ≥4:12 | Water-resistant only | Low | 1–2 days | Moderate | $10–$20 |
| #30 asphalt felt | Steeper slopes, heavier-duty felt | Water-resistant only | Moderate | 1–2 days | Moderate | $20–$35 |
| Synthetic sheet | Full-deck coverage, most climates | Water-resistant | High | 30–90 days (product-dependent) | High (textured surface) | $25–$65 |
| Peel-and-stick (rubberized asphalt) | Eaves, valleys, penetrations | Fully waterproof | Very high | Limited (cover promptly) | High | $50–$120 |
Pro Tip: UV tolerance varies dramatically across synthetic products. If your deck will stay exposed for more than a few weeks during a multi-phase project, confirm the product’s UV stabilization rating in writing before it goes on.
Why underlayment does more than keep water out
The moisture barrier function gets all the attention, but underlayment provides three additional functions that directly affect roof performance and inspection outcomes.
- Deck resin separation: Fresh OSB and plywood off-gas resins that can degrade shingle adhesive over time. Underlayment keeps the shingle backing from direct contact with the deck.
- Temporary weather barrier: During a re-roof or new construction, the deck can be exposed for hours or days. Underlayment is the only protection against rain, dew, and wind during that window.
- Telegraphing prevention: Deck irregularities, nail pops, and seam edges can show through shingles as visible ridges. A dimensionally stable synthetic underlayment smooths those transitions in a way that wrinkled felt cannot.
- Vapor control: In certain climate zones, underlayment perm ratings affect how moisture moves through the roof assembly. This matters more in humid coastal climates like South Texas than in dry inland regions.
Proper underlayment installation is also a requirement for maintaining a roof’s UL-rated fire performance, and it is a standard item on inspector checklists. Skip it or use a substandard product, and you risk failing inspection or voiding your shingle manufacturer’s warranty. Most major shingle manufacturers specify a minimum underlayment standard in their warranty documentation, and some require a specific product category.
Does code require underlayment, and what does the IRC say?
Yes. The IRC requires underlayment under asphalt shingles. The specific rules depend on roof slope.
- Slopes ≥4:12: One layer of underlayment minimum. IRC Section R905.2.7 sets this as the baseline for standard residential shingle applications.
- Slopes 2:12–4:12: Two layers required, applied with a 19-inch offset so the second layer overlaps the first by at least 19 inches before the next course begins.
- Ice-and-water shield (peel-and-stick) zones: In ice-dam-prone climates, the IRC mandates self-adhering membrane from the eave edge to at least 24 inches inside the exterior wall line. Texas coastal areas are generally not in the highest ice-dam risk zones, but local amendments can still require it at valleys and penetrations.
Product standards to look for:
- ASTM D226 Type I or II: Standard for asphalt-saturated felt (#15 and #30).
- ASTM D4869: Standard for asphalt-saturated ply sheet underlayment.
- ICC-ES acceptance: Required for synthetic underlayments to be recognized as code-compliant substitutes under IRC 2024.
- ASTM D1970: Standard for self-adhering (peel-and-stick) membranes.
Local jurisdictions can adopt stricter rules than the IRC baseline. The authority having jurisdiction (AHJ) for your county or city is the final word.
Pro Tip: Ask your contractor to confirm in writing which IRC edition and local amendments apply to your permit. “We follow code” is not the same as naming the specific edition and any local supplements.
How to choose the right underlayment for your roof
The right choice depends on five factors working together.
- Climate and ice-dam risk: South Texas homeowners face intense heat, UV, and hurricane-driven rain rather than ice dams. That shifts the priority toward UV-stable synthetics and wind-driven rain resistance at valleys and eaves, rather than maximum ice-dam protection.
- Roof slope: Low slopes (2:12–4:12) require two-layer coverage per IRC. Very low or flat slopes may need a different product category entirely. Check the flat-roof underlayment options if your slope falls below 2:12.
- Shingle manufacturer warranty requirements: Many manufacturers specify a minimum underlayment standard. Using a product below that threshold can void the shingle warranty even if the installation passes inspection. Check the shingle compatibility guidance before finalizing your product choice.
- UV exposure window: If the deck will be exposed for more than a few days, choose a synthetic with a confirmed UV stabilization rating. Budget synthetics can degrade rapidly under direct sun.
- Budget vs. performance trade-off: #15 felt is the cheapest option that still meets IRC minimums. Synthetic sheet is the best value for most full-deck applications. Peel-and-stick is worth the premium at critical zones but is not cost-effective across the full deck.
Reading a quote correctly matters here. Contractors sometimes list only “felt” or “synthetic” without a product name or ASTM reference. That vague line item usually means the lowest-cost option available. Ask for the product SKU, the ASTM or ICC-ES standard it meets, and a written description of where peel-and-stick will be applied. If the contractor cannot or will not provide that, treat it as a warning sign.
Pro Tip: Insist on contract language that names the specific ASTM standard (D226, D4869, D1970, or ICC-ES report number). That language protects you at inspection and keeps the warranty intact.
What good underlayment installation actually looks like
Installation quality matters as much as product quality. Here is what a properly installed system includes.
- Starter course at the eave: The first course of underlayment runs parallel to the eave with a minimum 2-inch overhang into the gutter or drip edge. Drip edge goes under the underlayment at the eave, over it at the rake.
- Correct side and end laps: Side laps (horizontal overlaps between courses) must be at least 2 inches. End laps (where rolls meet end-to-end) must be at least 4 inches. Inspection checklists flag laps that fall short of these minimums as installation defects.
- Two-layer pattern for low slopes: For 2:12–4:12 slopes, the first course covers the full bottom 36 inches. The second course overlaps by 19 inches, and subsequent courses continue with that offset.
- Fastener pattern: Roofing nails or cap staples per manufacturer specification. Staples alone, without caps, are often insufficient and may not meet wind-resistance requirements.
- Peel-and-stick placement: Apply at all eaves (especially in cold climates or where wind-driven rain is a risk), in every valley, and around all penetrations including pipe boots, skylights, and chimneys. Peel-and-stick is a targeted leak barrier, not a substitute for full-deck underlayment.
- Exposed edge protection: Peel-and-stick edges left exposed to UV will degrade. Shingles should cover all membrane edges promptly after installation.
Common mistakes to watch for:
- Underlayment omitted from the quote entirely (yes, this happens).
- Insufficient laps at seams, especially on hips and ridges.
- Ice-and-water shield skipped at valleys on a permitted job.
- Wrong fastener type for the product specified.
- Felt left exposed overnight in rain without temporary protection.
Pro Tip: Walk the roof with your contractor before shingles go on, or ask for photos of the underlayment installation. Once the shingles are down, there is no way to verify what is underneath without tearing them off.
What do underlayment products cost, and what should you expect?
Material costs vary by product tier. These are material-only ranges per square (100 sq ft) and do not include labor.
- #15 asphalt felt: $10–$20 per square. Meets IRC minimums for slopes ≥4:12. Short service life, prone to wrinkling.
- #30 asphalt felt: $20–$35 per square. Heavier, more tear-resistant than #15, but still absorbs moisture and has limited UV tolerance.
- Mainstream synthetic sheet: $25–$50 per square. The best value for most full-deck applications. Lighter, stronger, and more dimensionally stable than felt.
- Premium synthetic sheet: $45–$65 per square. Extended UV tolerance (up to 90 days on some products), slip-resistant surface, higher tensile strength. Worth the premium on complex roofs or multi-phase projects.
- Peel-and-stick ice and water shield: $50–$120 per square. Fully waterproof, self-sealing. Used selectively at critical zones, not full-deck.
| Product tier | Typical cost per square | Full-deck or zone use | Key trade-off |
|---|---|---|---|
| #15 felt | $10–$20 | Full deck | Lowest cost; wrinkles, short UV life |
| #30 felt | $20–$35 | Full deck | Better tear resistance; still absorbs moisture |
| Mainstream synthetic | $25–$50 | Full deck | Best value; confirm UV rating |
| Premium synthetic | $45–$65 | Full deck | Extended UV tolerance; higher upfront cost |
| Peel-and-stick | $50–$120 | Critical zones only | Fully waterproof; not cost-effective full-deck |
Labor complexity also affects total cost. Peel-and-stick requires a clean, dry deck and careful seam work. Premium synthetics with slip-resistant surfaces are safer and faster to install on steep slopes. Choosing a product that meets your shingle manufacturer’s warranty requirements from the start avoids the cost of a warranty dispute later.
For weather-resistant roofing in Texas, the combination of a mainstream or premium synthetic full-deck underlayment with peel-and-stick at eaves and valleys typically adds $150–$300 to the material cost of a standard re-roof compared to minimum-code felt. That gap closes fast when you factor in the extended service life and warranty protection.
When should you hire a pro, and what does Buffaloroofingandexteriors do differently?
Some underlayment jobs are genuinely DIY-accessible. Most are not.
Hire a licensed roofer when:
- The roof slope is steep (above 6:12). Falls are the leading cause of roofing injuries, and steep slopes require safety equipment most homeowners do not own.
- The slope is low (2:12–4:12) and requires two-layer underlayment with precise offsets.
- The project involves complex valleys, dormers, or multiple penetrations where peel-and-stick placement is critical.
- The job is tied to an insurance claim. Insurers require licensed contractor documentation, and improper underlayment installation can complicate a future claim.
- The roof deck needs repair or replacement. Underlayment over damaged decking is money wasted.
- A permit is required. Permitted work requires inspection, and inspectors will check underlayment laps, fastener patterns, and peel-and-stick coverage.
Buffaloroofingandexteriors documents every underlayment installation with product SKUs, ASTM and ICC-ES compliance records, a written peel-and-stick coverage map, and fastening pattern confirmation. That documentation goes to the homeowner at project close, not just into a file. It matters at inspection, at warranty claim time, and when you sell the house.
Hire-or-DIY checklist: Can you safely access the roof with proper fall protection? Do you have the tools for correct fastening patterns? Does the job require a permit and inspection? Will a DIY install void your shingle warranty? If any answer is uncertain, the cost of a licensed contractor is the cheaper option long-term.
Pro Tip: For storm-damage claims in South Texas, document every detail before any repair work starts. Underlayment condition is often a key factor in adjuster assessments, and a licensed contractor’s written report carries more weight than photos alone.
Key Takeaways
For most shingle roofs, a full-deck synthetic underlayment combined with peel-and-stick membrane at eaves, valleys, and penetrations is the best-performing, code-compliant system a homeowner can specify.
| Point | Details |
|---|---|
| Recommended system | Full-deck synthetic underlayment plus peel-and-stick at eaves, valleys, and penetrations covers code and performance. |
| Code baseline | IRC requires one layer for slopes ≥4:12 and two layers with a 19-inch offset for slopes 2:12–4:12. |
| Quote red flags | Any bid listing only “felt” or “synthetic” with no SKU, ASTM standard, or peel-and-stick coverage map is incomplete. |
| Product standards to verify | Look for ASTM D226 (felt), ASTM D4869 or ICC-ES (synthetic), and ASTM D1970 (peel-and-stick) on every quote. |
| Buffaloroofingandexteriors | Provides written product SKUs, ASTM/ICC compliance records, and a peel-and-stick coverage map with every installation. |
The part most homeowners miss until it is too late
The underlayment conversation almost always gets compressed into a single line on a quote. That is where the real cost difference between a good roof and a mediocre one hides. A contractor who lists “synthetic underlayment” without a product name or ASTM reference is not necessarily cutting corners, but you have no way to know. The ones who are cutting corners count on that ambiguity.
What the industry does not say loudly enough is that underlayment failure is usually invisible until it becomes a leak. By then, the shingles are off warranty, the deck may be damaged, and the repair cost dwarfs what a better product would have added to the original job. The upgrade from #15 felt to a quality synthetic with peel-and-stick at critical zones is one of the highest-return decisions on any re-roof, and it rarely gets the attention it deserves.
The other thing worth saying: South Texas is not Minnesota. Ice-dam protection matters less here than UV stability, wind-driven rain resistance, and the ability to handle the thermal cycling that comes with 100-degree summers. A product spec sheet written for a northern climate may not reflect what actually performs in Corpus Christi or San Antonio. Ask your contractor which products they have seen hold up locally, not just which ones meet the national code minimum.
Buffaloroofingandexteriors handles the underlayment details so you do not have to
Getting the underlayment right is the part of a re-roof that most homeowners cannot verify after the shingles go down. Buffaloroofingandexteriors solves that problem with full documentation on every job: named product SKUs, ASTM and ICC-ES compliance records, a written peel-and-stick coverage map showing exactly where the waterproof membrane was applied, and fastening pattern confirmation. You get that paperwork at project close, not buried in a file somewhere.
Buffalo Roofing and Exteriors serves homeowners from San Antonio to Corpus Christi, including Robstown and the surrounding South Texas coast. Free inspections and written estimates are available, and every estimate names the underlayment product, the standard it meets, and where peel-and-stick will be installed. If you are comparing bids and one of them does not include that information, that is the conversation to have before you sign. Request a free estimate or check the storm damage restoration guide if a recent weather event is what brought you here.
Useful sources
These are the primary references behind the technical claims in this article. Use them to verify code requirements, product standards, and installation guidance for your own project.
- IRC R905.2.7 underlayment code summary (Jaspector): Slope-based underlayment rules, ice barrier requirements, and IRC 2018/2021/2024 guidance for asphalt shingles.
- IRC 2024 underlayment requirements (Jaspector): Synthetic underlayment acceptance criteria, lap requirements, and common installation defects flagged at inspection.
- InspectAPedia: Roofing underlayment requirements: Secondary functions of underlayment, UL fire performance requirements, and inspection checklist items.
- National Roofing Authority: Underlayment types: Category comparisons, synthetic performance characteristics, and peel-and-stick cost context.
- NACHI: Underlayment types and UV exposure: UV stabilization guidance for synthetic products and inspector-facing product evaluation criteria.
- Buffaloroofingandexteriors: Roofing underlayment for Texas homes: Local climate context, storm exposure considerations, and Buffalo Roofing & Exteriors’ recommended system for South Texas roofs.
- Home insurance and roofing coverage: Overview of how roofing material choices interact with homeowner insurance coverage and matching requirements.