

TL;DR:
- Exterior restoration systematically repairs and upgrades a home’s outer shell to ensure durability and energy efficiency. Proper sequencing, thorough assessments, and precise material matching prevent costly errors and long-term damage. Coordinated full-scale projects reduce overall costs and enhance building performance over time.
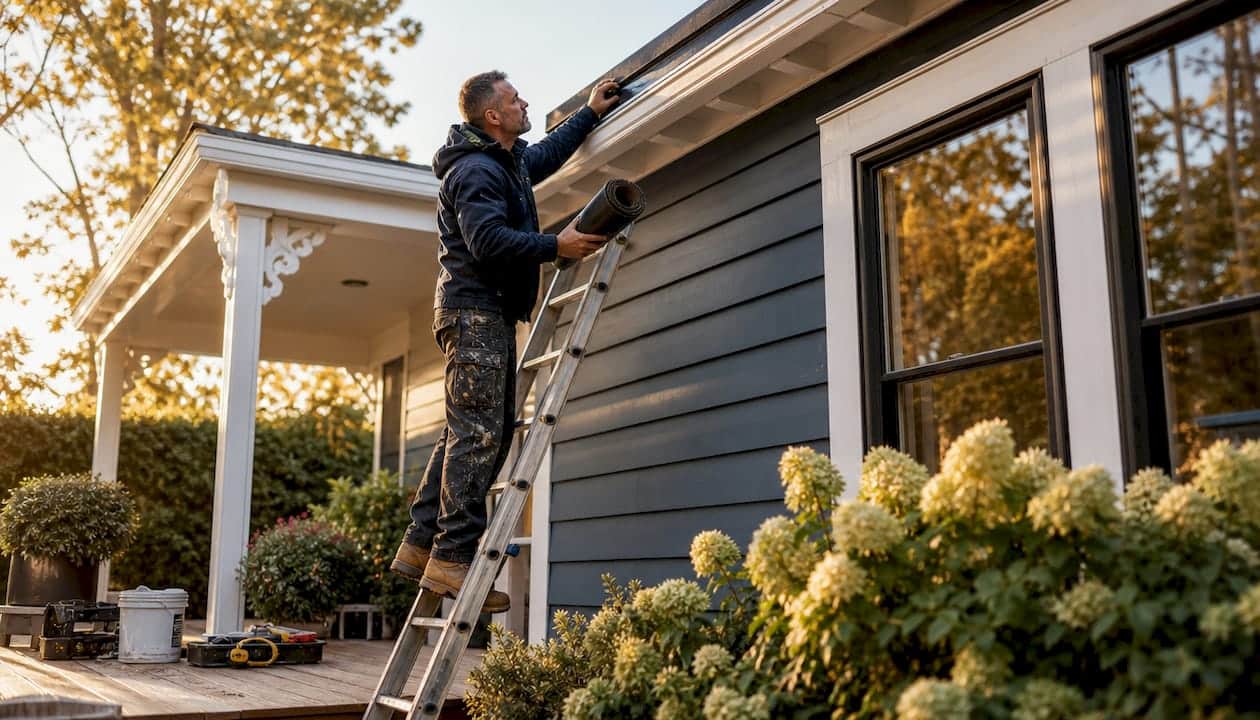
Step by step exterior restoration is the systematic process of repairing, replacing, and upgrading every major component of a home’s outer shell to secure structural integrity and improve energy efficiency. Industry research confirms that properly executed restoration can lower utility bills by 20–30% by sealing gaps that allow conditioned air to escape. This process covers the full building envelope: roof, windows, doors, siding, flashing, masonry, and gutters. Buffaloroofingandexteriors treats exterior restoration as a coordinated system, not a collection of isolated repairs. Done in the right sequence, it protects your home from weather damage and adds lasting curb appeal.
What tools, materials, and assessments do you need before starting?
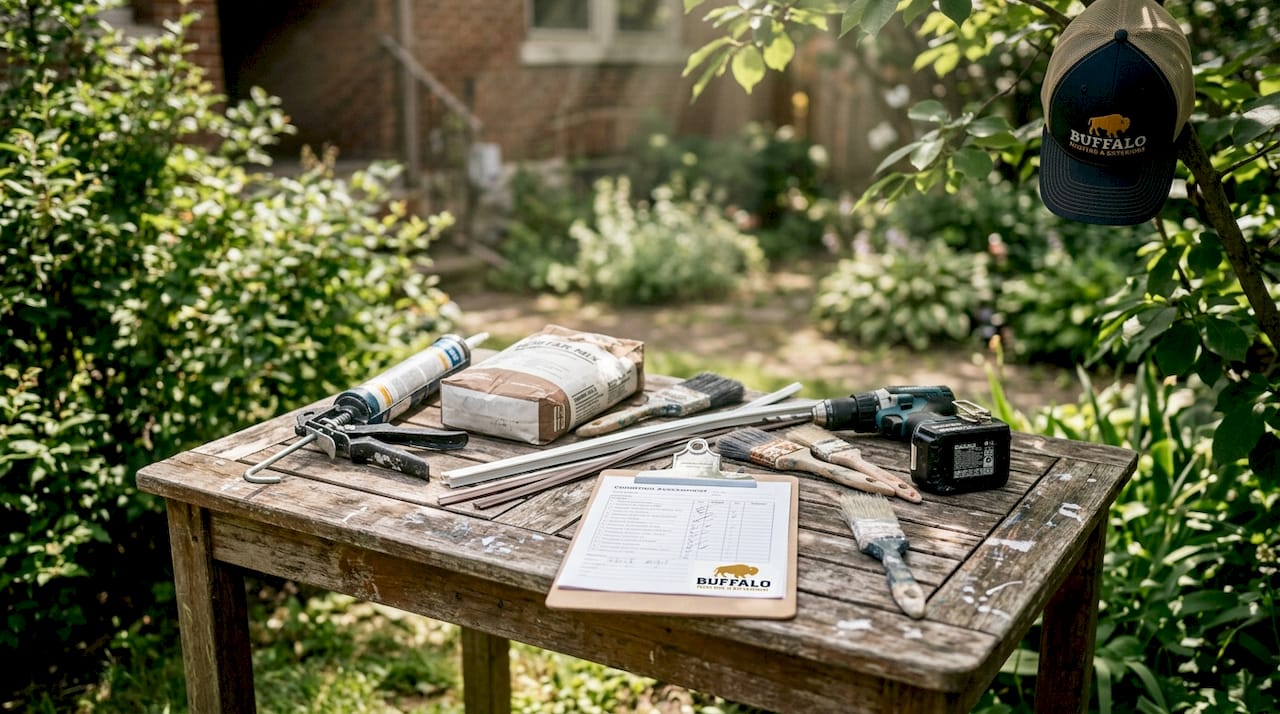
Preparation is the phase most homeowners underestimate. Skipping a thorough condition assessment before any work begins leads to missed repairs, budget overruns, and rework. A thorough condition assessment should document the state of mortar, bricks, caulking, flashing, and any signs of structural movement across every exterior surface.
Core tools and materials to gather
Before you pick up a caulk gun, confirm you have the right supplies for each trade involved:
- Inspection tools: Moisture meter, binoculars for roof scanning, flashlight, and a probe for testing soft wood
- Masonry repair: Matching mortar mix, tuckpointing tools, crack injection epoxy, and wire brushes
- Sealing and weatherproofing: Polyurethane or silicone caulk, backer rod, weatherstripping rolls, and a quality caulk gun
- Siding and trim: Replacement panels, corrosion-resistant fasteners, primer, and exterior-grade paint
- Safety gear: Non-slip ladder, harness for roof work, safety glasses, and work gloves
Permitting and budgeting
Most municipalities require permits for structural repairs, window replacements, and full siding replacements. Pull permits before work starts, not after. For budgeting, get itemized quotes that separate labor from materials so you can compare accurately. Use the Texas exterior renovation checklist to confirm you have covered every component before finalizing your scope of work.
Pro Tip: Run a basic energy audit before restoration begins. Thermal imaging cameras, available at most tool rental shops, reveal air leaks around windows and doors that are invisible to the naked eye. Fixing these during restoration, rather than after, saves you a second round of work.
What is the proper sequence for a successful exterior restoration?
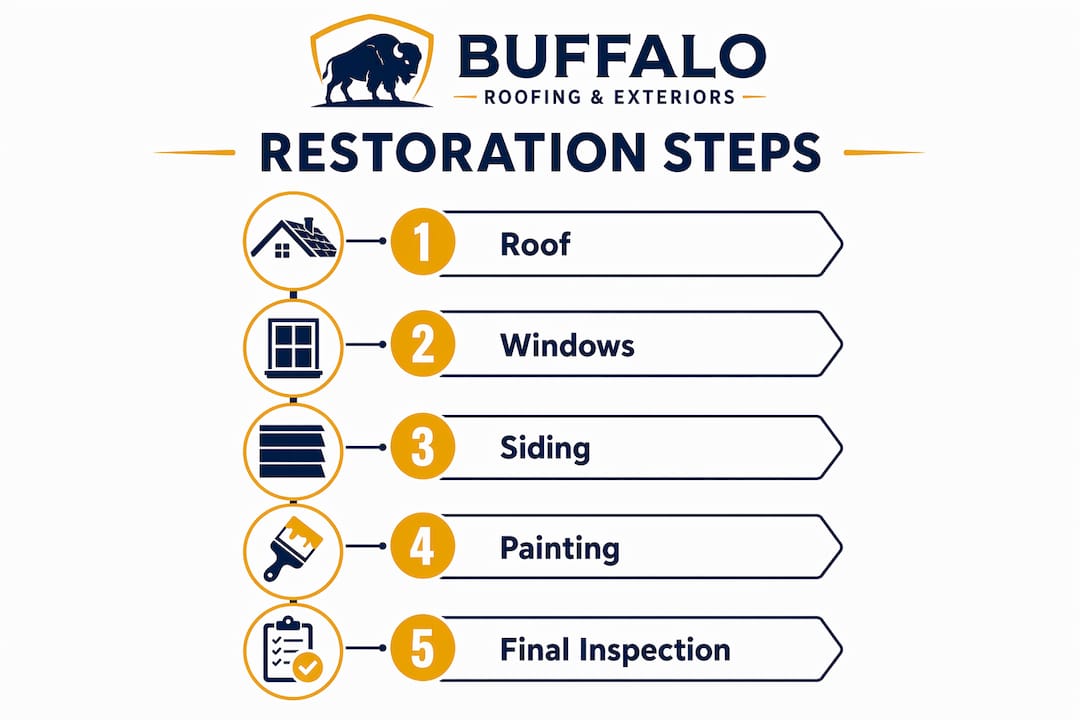
Sequence is everything in a complete exterior restoration process. Experts recommend a top-down approach: roof first, then windows and doors, then siding, then paint and trim, and finally gutters. Working out of order damages finished components and forces costly repairs.
Here is the established eight-step sequence:
- Roof repair or replacement. The roof is the first priority because it creates the dry-in base. The dry-in phase seals the home from rain before any other exterior component is stripped or replaced. Skipping this step risks framing decay and ruins all subsequent work.
- Flashing inspection and replacement. Once the roof deck is secure, replace all flashing around chimneys, skylights, vents, and wall-to-roof transitions. Flashing failures are a leading entry point for water.
- Window and door installation. New or restored windows and doors go in next, with proper flashing tape and sill pans installed before the frames are set. This order lets siding lap over the window flanges correctly.
- Siding and stucco repair or replacement. Install new siding panels or repair existing stucco after windows are in place. This sequence lets you integrate the water-resistive barrier behind the siding without cutting around finished frames. Check for signs you need new siding before deciding whether repair or full replacement makes more sense.
- Masonry repair and tuckpointing. Address brick, stone, or concrete block repairs after the siding work is complete. Structural repairs always precede tuckpointing and caulking to ensure proper adhesion and long-term stability.
- Exterior painting and trim work. Paint and trim work happens after siding, windows, and doors are fully installed. Painting before those components are set guarantees you will scratch or scuff the finish during installation.
- Final caulking and sealant application. Caulk goes on last. Applying sealants before all surfaces are clean, primed, and stable causes poor adhesion and early failure.
- Gutter and drainage system installation. Gutters attach to the fascia after all roofing, siding, and painting are complete. This prevents paint overspray on gutters and allows proper alignment with the finished roofline.
Pro Tip: Photograph every stage of the work, especially flashing installation and window rough openings. These photos serve as proof of proper installation if a warranty claim arises later.
How do you handle masonry repair, window sealing, and flashing replacement?
These three tasks carry the most technical risk in any home exterior makeover. Getting them wrong creates water infiltration problems that compound over time. Water infiltration is the leading cause of building deterioration, causing more damage than all other environmental factors combined. That fact alone justifies spending extra time on these three areas.
Masonry repair: tuckpointing and crack injection
Tuckpointing removes deteriorated mortar to a depth of roughly 3/4 inch and replaces it with fresh mortar. The critical rule: match mortar to the original masonry. Using hard Portland cement mortar on softer historic brick causes cracking and spalling because the mortar becomes stronger than the brick itself. Match the replacement mortar for color, texture, and absorption rate. For structural cracks in concrete or block, epoxy injection fills voids and restores load capacity before any cosmetic work begins.
Window and door sealing
Old weatherstripping and sealants harden and shrink over time. Replacing them is one of the most cost-effective steps in any stepwise exterior renovation. Reducing air leakage through the building envelope ranks among the most cost-effective strategies for energy efficiency. Install backer rod in wide gaps before applying caulk so the sealant has a stable backing and does not bridge too large a void. For windows, check the energy efficiency impact of frame material before selecting replacements, since aluminum, vinyl, and fiberglass perform very differently in coastal climates.
Flashing replacement
Flashing protects every transition point where two surfaces meet: roof to wall, chimney to roof deck, window head to siding. Use step flashing at roof-to-wall intersections, counter flashing at chimneys, and self-adhering membrane flashing tape at window and door openings. Aluminum and galvanized steel are the most common materials. In coastal areas, stainless steel or copper resists salt-air corrosion far better.
Pro Tip: Never rely on caulk alone to seal a flashing joint. Caulk is a secondary line of defense. Properly lapped metal flashing is the primary barrier. Caulk fills the gap; flashing stops the water.
What common mistakes should you avoid during exterior restoration?
Even experienced homeowners make avoidable errors during a full exterior restoration. Knowing the pitfalls in advance keeps your project on track and your budget intact.
- Skipping the dry-in stage. Omitting the roof-first sequence risks framing moisture decay and jeopardizes every component installed afterward. No amount of siding or paint compensates for a wet wall cavity.
- Using incompatible materials. Mixing mortar types, paint sheens, or sealant chemistries causes delamination and cracking within one to two seasons. Always confirm material compatibility before purchasing.
- Painting over bare wood or unprimed surfaces. Paint applied without primer peels within months, especially in high-humidity coastal climates. Prime every raw surface before topcoating.
- Ignoring hidden damage. Rot, mold, and pest damage often hide behind siding and trim. Budget a contingency of 10–15% of your total project cost for unexpected repairs uncovered during demolition.
- Rushing the final caulking. Applying caulk to dusty, damp, or cold surfaces causes adhesion failure. Clean and dry every joint before sealing, and apply caulk only when temperatures are above 40°F.
“Exterior restoration is not a collection of separate repairs. It is a system-wide effort. Every component depends on the one installed before it. Treat the facade as an interdependent system, and the results last for decades. Treat it as a checklist of isolated tasks, and you will be back on a ladder within five years.”
For unexpected hidden damage, stop work on that section, document the damage with photos, and get a structural assessment before proceeding. Covering damaged framing with new siding traps moisture and accelerates decay.
Key Takeaways
A successful exterior restoration depends on treating the building envelope as one connected system, not a series of independent repairs.
| Point | Details |
|---|---|
| Sequence drives quality | Follow the top-down order: roof, windows, siding, paint, caulk, gutters to avoid damaging finished work. |
| Assessment before action | Document every surface condition before starting to prevent missed repairs and budget surprises. |
| Material compatibility matters | Match mortar, sealants, and paint to existing materials to prevent cracking and early failure. |
| Water infiltration is the top threat | Prioritize flashing and sealing at every transition point to stop the leading cause of building deterioration. |
| Energy savings are real | Proper sealing and envelope restoration can reduce utility bills by 20–30% through reduced air infiltration. |
Why patchwork repairs cost more in the long run
After working alongside Buffaloroofingandexteriors on dozens of coastal Texas properties, one pattern stands out clearly. Homeowners who repair one component at a time almost always spend more money over a five-year period than those who plan a coordinated restoration from the start.
The reason is sequencing damage. A homeowner replaces siding in year one, then discovers the windows leak in year two and the new siding has to be partially removed to install proper flashing. That is a real scenario, not a hypothetical. Exterior restoration differs from isolated repair precisely because it treats the facade as an interdependent system. Fixing one component without assessing the others is like patching one hole in a boat and ignoring the rest.
Proactive assessment also changes what you find. Facade experts emphasize identifying minor vulnerabilities before they become catastrophic failures. A $200 flashing repair caught during a routine inspection costs far less than a $12,000 wall cavity remediation after two seasons of water intrusion. The math is not complicated. The discipline to act early is the hard part.
My honest recommendation: commission a full building envelope assessment every three to five years, especially after a major storm. Use that report as your restoration roadmap, not a single trade’s sales pitch. A roofer will find roof problems. A window company will find window problems. An independent inspector finds the full picture.
— Results
How Buffaloroofingandexteriors can help with your restoration
Exterior restoration projects succeed when every trade works from the same plan. Buffaloroofingandexteriors manages the full scope of exterior renovation services for homeowners across Corpus Christi, San Antonio, and Victoria, Texas, covering roofing, siding, windows, gutters, and storm damage repair under one coordinated project.

The team starts with a free assessment that documents every vulnerability across your home’s envelope before a single nail is pulled. From there, Buffalo Roofing and Exteriors builds a sequenced project plan that protects finished work at every stage. Financing options are available for larger scopes. Contact Buffaloroofingandexteriors for a free estimate and get a clear restoration roadmap built around your home’s specific needs.
FAQ
What does step by step exterior restoration include?
Step by step exterior restoration covers the full building envelope: roof, windows, doors, siding, masonry, flashing, paint, and gutters, completed in a specific sequence to prevent damage and ensure water tightness.
Why does the roof have to come first in exterior restoration?
The roof creates the dry-in base that protects the home from rain while all other exterior components are stripped and replaced. Skipping this step risks moisture damage to framing and all subsequent work.
How much can exterior restoration lower my energy bills?
Properly executed building envelope restoration can lower utility bills by 20–30% by sealing gaps that allow conditioned air to escape through the facade.
How do I know if I need full restoration or just repairs?
A full condition assessment covering mortar, flashing, caulking, siding, and structural movement reveals whether isolated repairs are sufficient or whether a coordinated restoration is the more cost-effective path.
What is the biggest mistake homeowners make during exterior restoration?
The most common mistake is working out of sequence, such as painting before siding is installed or caulking before surfaces are clean and dry, which forces rework and shortens the life of finished materials.