When hurricane season rolls through the Gulf Coast, your home’s siding becomes the first line of defense against wind-driven rain, flying debris, and salt-laden air. For Texas coastal homeowners, fiber cement siding offers superior durability with a 40-50 year lifespan compared to vinyl’s 20-40 years, resisting impact, corrosion, and fire. But even the best materials fail without proper installation. This guide walks you through the complete workflow, from understanding local requirements to passing your final windstorm inspection, so you can protect your investment and maintain insurance eligibility.
Table of Contents
- Understanding siding installation requirements in coastal Texas
- Essential tools, materials, and preparation steps
- Step-by-step siding installation workflow
- Inspection, windstorm certification, and common pitfalls
- Get expert help for your next siding project
- Frequently asked questions
Key Takeaways
| Point | Details |
|---|---|
| Get windstorm inspections | Windstorm certificates are required for insurance in many Texas coastal areas. |
| Choose durable materials | Fiber cement siding offers decades of reliable protection in coastal climates. |
| Follow the right workflow | A clear installation sequence ensures code compliance and storm readiness. |
| Avoid common pitfalls | Using correct fasteners and proper spacing prevents early failure and inspection issues. |
Understanding siding installation requirements in coastal Texas
Before you order a single panel or pick up a nail gun, you need to understand what makes coastal Texas different from inland regions. The state designates 14 counties plus parts of Harris County as catastrophe areas, and siding installation requires windstorm inspection and a Certificate of Compliance (WPI-8 or WPI-8-E) for TWIA insurance eligibility in these zones.
The distinction between major and minor repairs matters significantly. If you’re replacing more than 100 square feet of siding or doing a full installation, you need the full inspection process. Patching a small damaged section? You’re typically exempt. This threshold exists because insurance companies need verification that your home can withstand the intense wind loads common during tropical storms and hurricanes.
Coastal siding requirements at a glance:
| Requirement | Details | Why It Matters |
|---|---|---|
| Windstorm inspection | Mandatory for installations over 100 sq ft | TWIA insurance eligibility |
| Certificate type | WPI-8 (new construction) or WPI-8-E (existing) | Proves code compliance |
| Material standards | Corrosion-resistant fasteners required | Salt air degrades standard hardware |
| Installation codes | Must meet IRC and local amendments | Prevents insurance claim denials |
Your choice of siding material types directly impacts both upfront costs and long-term value. Fiber cement runs $9-14 per square foot installed, while vinyl costs $3-8 per square foot. That price difference reflects fiber cement’s enhanced wind and impact ratings, which translate to fewer repairs after storms and lower insurance premiums over time.
The inspection process isn’t just bureaucratic red tape. It verifies that your proper siding installation meets the engineering standards designed to keep your home standing when winds exceed 130 mph. Inspectors check fastener spacing, flashing details, and attachment methods because these seemingly small details determine whether panels stay attached or become dangerous projectiles during a hurricane.
Essential tools, materials, and preparation steps
Gathering the right equipment before you start prevents mid-project trips to the hardware store and ensures you meet code requirements from the first panel. For coastal installations, material selection becomes even more critical than in inland areas.
Complete preparation checklist:
- Fiber cement siding panels (calculate 10% overage for cuts and waste)
- Stainless steel or hot-dipped galvanized fasteners (never standard steel)
- Corrosion-resistant flashing and trim pieces
- Pneumatic siding nailer with depth adjustment
- Circular saw with fiber cement blade
- Level (6-foot minimum), chalk line, and measuring tape
- Safety gear: respirator, eye protection, work gloves
- Building permit from local jurisdiction
- Moisture barrier and house wrap
Fiber cement with stainless steel fasteners provides critical salt and corrosion resistance that standard materials can’t match. Within two years, regular steel fasteners in coastal environments show visible rust staining and structural weakening. By year five, they often fail completely, allowing panels to detach during moderate storms.
| Tool/Material | Specification | Code Requirement |
|---|---|---|
| Fasteners | Stainless steel, 2-inch minimum | IRC R703.6 |
| Nailing pattern | 16 inches on center | Manufacturer specs |
| Flashing | Corrosion-resistant metal | IRC R703.8 |
| Moisture barrier | Weather-resistant barrier | IRC R703.2 |
| Panel gaps | 1/8 to 1/4 inch | Expansion allowance |
Permitting starts with contacting your local building department. In Corpus Christi, San Antonio, and Victoria, you’ll submit plans showing panel layout, fastener schedules, and flashing details. The permit fee typically ranges from $150 to $400 depending on project size. Processing takes 5-10 business days, so factor this into your timeline.
Pro Tip: Before ordering materials, verify both manufacturer installation guides and local code amendments. Some coastal jurisdictions require enhanced fastening schedules beyond standard recommendations, and discovering this mid-project means pulling off panels and starting over.
Your preparation phase should also include protecting siding for storm damage by ensuring proper substrate condition. Rotted sheathing or damaged house wrap compromises even perfect siding installation. Address these issues before the first panel goes up, following siding maintenance best practices to extend your investment’s lifespan.
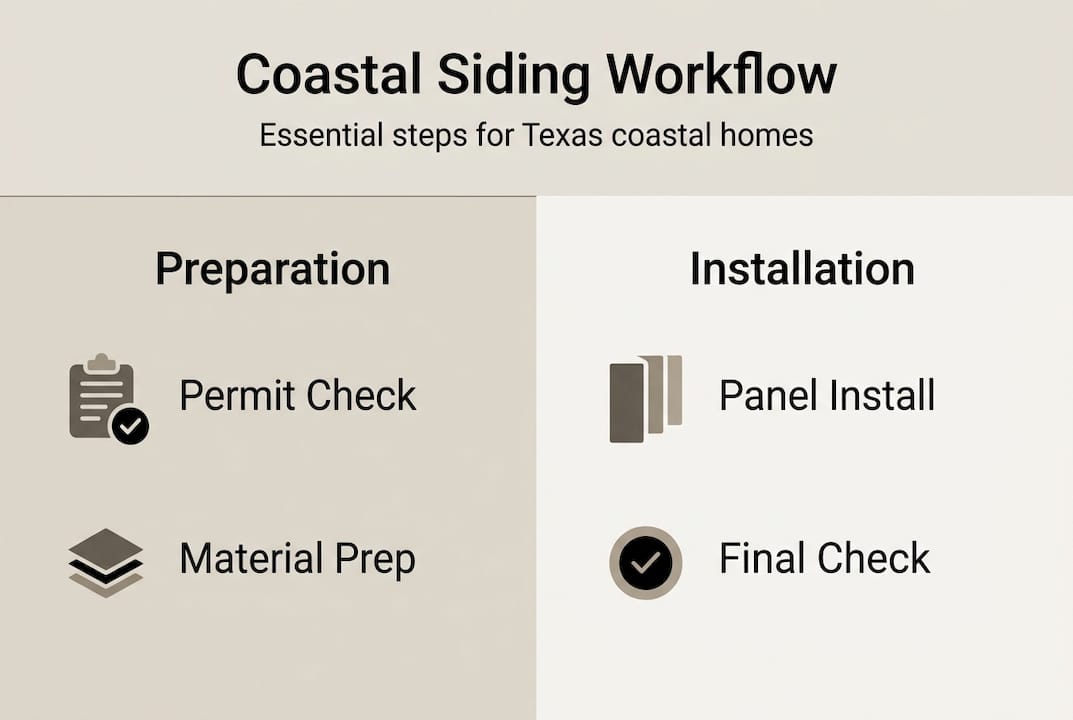
Step-by-step siding installation workflow
With materials staged and permits in hand, follow this proven sequence that accounts for Texas coastal requirements and passes inspection on the first attempt.
Installation sequence:
Site preparation and layout: Remove existing siding down to sheathing. Inspect and repair any water damage or rot. Install weather-resistant barrier with 6-inch overlaps, taping all seams. Mark stud locations with chalk lines every 16 inches.
Install starter strip and corner trim: Position starter strip level at the bottom edge, maintaining 6-8 inches above grade. Attach corner trim pieces first, ensuring plumb installation. These guide panel alignment for the entire project.
First course installation: Begin at a corner, leaving 1/4-inch gap from trim for expansion. Blind nail 3/4-1 inch from top edge into studs, using the recommended nailing pattern. Maintain 1/8-1/4 inch butt joint gaps between panel ends.
Subsequent courses: Work upward, overlapping each course per manufacturer specifications. Check level every three courses. Install flashing above all windows and doors before continuing upward. Never rely on caulk alone for water protection.
Fastener verification: Use corrosion-resistant (stainless steel in coastal zones) fasteners exclusively. Set nail depth flush with the surface without overdriving. Pneumatic nailers require pressure adjustment to prevent crushing fiber cement edges.
Trim and finishing: Install J-channel around windows and doors. Add soffit and fascia trim. Seal all penetrations with paintable, flexible caulk rated for coastal exposure. Leave expansion gaps at all rigid intersections.
Pre-inspection review: Walk the perimeter checking fastener spacing, flashing continuity, and proper clearances. Verify no panels sit closer than 6 inches to grade or 2 inches to roof surfaces.
Critical Code Warning: Improper fastener spacing or using non-corrosion-resistant hardware will fail windstorm inspection and void manufacturer warranties. In coastal zones, this isn’t optional, it’s the difference between insurance coverage and out-of-pocket storm repairs.
The workflow mirrors the roof installation workflow in its emphasis on systematic progression and built-in quality checks. Each step builds on the previous one, and skipping ahead creates problems that multiply as you go higher.
Pro Tip: Mark all stud locations before installing the first panel. Trying to find studs through installed siding leads to missed fasteners and failed inspections. Use a bright-colored chalk that photographs well for your inspection documentation.
Proper installation creates truly weather-resistant exteriors that protect your home’s structure and interior. The time invested in following each step correctly pays dividends when the next tropical system approaches the coast.
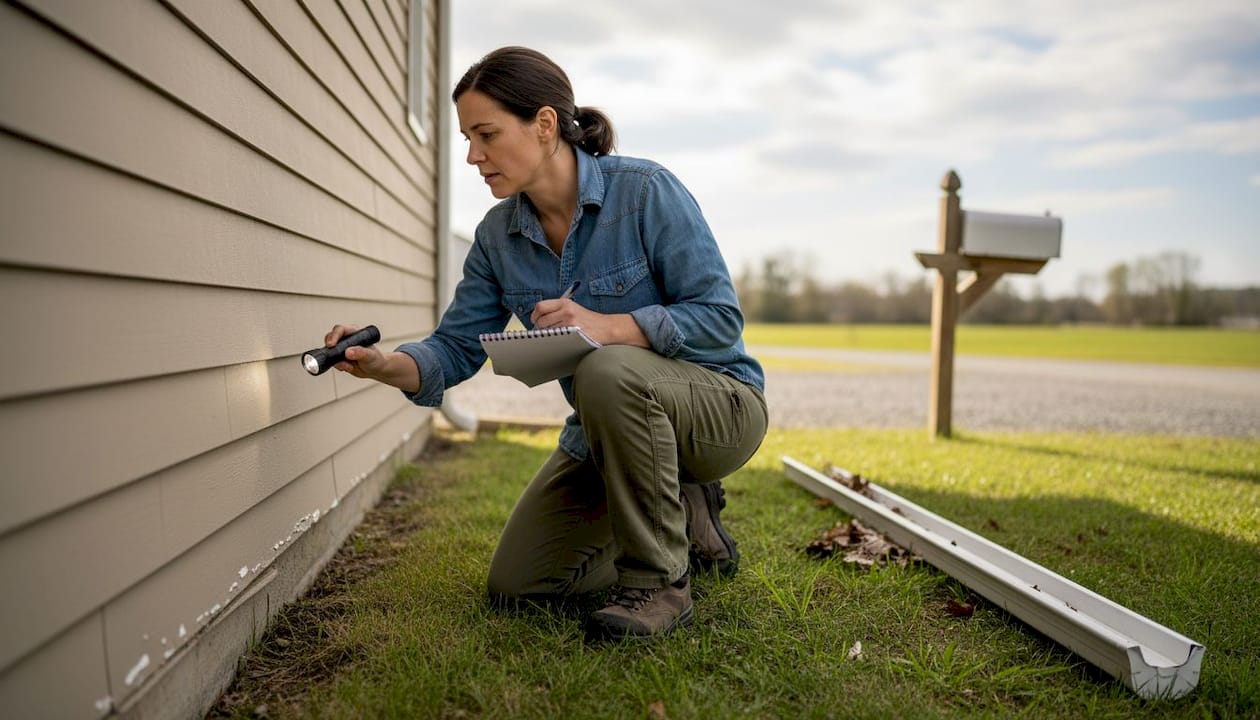
Inspection, windstorm certification, and common pitfalls
Your installation work means nothing without passing the required inspections. Understanding what inspectors look for and avoiding common mistakes ensures you get your certificate on the first visit.
Inspectors verify multiple compliance factors during windstorm certification. They check fastener type and spacing, measuring the distance between nails and comparing it to approved plans. They examine flashing installation around all penetrations, looking for proper overlap and sealant application. They verify clearances from grade, roof lines, and other surfaces. They confirm that corner trim and J-channel installations allow for thermal expansion without binding.
Common installation pitfalls:
- Using standard steel fasteners instead of stainless steel or hot-dipped galvanized
- Overdriving pneumatic nailers, crushing panel edges and reducing holding power
- Insufficient expansion gaps at butt joints, causing buckling during temperature swings
- Installing panels closer than 6 inches to grade, inviting moisture wicking and rot
- Skipping flashing above windows and doors, creating hidden water entry points
- Painting or caulking before inspection, hiding installation details inspectors need to verify
- Mixing fastener types within the same project
- Installing in temperatures below 40°F or above 100°F without proper precautions
| Inspection Item | Pass Criteria | Fail Criteria |
|---|---|---|
| Fastener type | Stainless steel or HDG | Standard steel, wrong length |
| Nailing pattern | 16 inches on center maximum | Inconsistent spacing, missed studs |
| Clearances | 6+ inches above grade | Less than 6 inches |
| Flashing | Continuous, properly lapped | Gaps, missing sections |
| Expansion gaps | 1/8-1/4 inch at joints | Tight joints, no gaps |
Remember that siding installation requires windstorm inspection and Certificate of Compliance for TWIA insurance eligibility, but only for major work. If you’re doing damaged siding replacement covering less than 100 square feet, you typically don’t need the full WPI-8 process. However, check with your insurance provider before assuming you’re exempt.
The most expensive mistake homeowners make is treating coastal installation like an inland project. The salt air, higher wind loads, and intense UV exposure in Texas coastal regions demand different materials and methods. What works fine in Dallas fails catastrophically in Corpus Christi. Understanding what is siding replacement in a coastal context means recognizing these environmental differences.
Schedule your inspection as soon as installation completes. Most jurisdictions require inspection within 72 hours of completion, before you paint or apply final finishes. Bring your permit, material receipts showing corrosion-resistant fasteners, and manufacturer installation guides. Inspectors appreciate organized documentation and often move faster through their checklist when you demonstrate preparation.
Get expert help for your next siding project
Navigating coastal building codes, selecting appropriate materials, and executing flawless installation requires expertise that most homeowners don’t possess. One missed detail can mean failed inspections, insurance complications, or storm damage that could have been prevented.

Buffalo Roofing & Exteriors specializes in professional siding installation for Texas coastal homes, with deep knowledge of local codes and windstorm certification requirements. Our teams in Corpus Christi, San Antonio, and Victoria complete hundreds of coastal installations annually, maintaining relationships with local inspectors and staying current on code changes. We handle permitting, material selection, installation, and certification, delivering turnkey solutions that pass inspection the first time. Our trusted coastal siding solutions include fiber cement, vinyl, and composite options, each matched to your specific exposure level and budget. We understand why exterior renovations matter for coastal properties and design every project for maximum storm protection and longevity. Contact us today for a free consultation and quote on your siding project.
Frequently asked questions
What is the best siding material for Texas coastal homes?
Fiber cement siding outperforms vinyl due to its resistance to storms, salt, and humidity, offering 40-50 year lifespan versus 20-40 years for vinyl. Its superior impact resistance and non-corrosive properties make it the optimal long-term choice for coastal exposure.
Do I need a windstorm inspection for siding replacement in Texas coasts?
Yes, in designated catastrophe areas, windstorm inspection and certificate are required for TWIA insurance coverage when replacing more than 100 square feet. Smaller repairs under this threshold typically don’t require full certification.
What mistakes cause siding inspection failures?
Using wrong fasteners, incorrect gaps or overlaps, and failing to maintain recommended spacings are common pitfalls. Specifically, using non-stainless fasteners and improper nailing 3/4-1 inch from top edge causes most failures.
How much does siding installation typically cost in coastal Texas?
Fiber cement costs $9-14 per square foot installed, while vinyl runs $3-8 per square foot. The higher fiber cement cost delivers greater durability, enhanced wind ratings, and longer lifespan in harsh coastal conditions.
How long does a complete siding installation take?
Most residential projects take 5-10 days depending on home size and complexity. This includes prep work, installation, and inspection scheduling, though permit processing adds another 5-10 business days before work begins.