
TL;DR:
- A thorough storm damage inspection involves safety checks, exterior and interior evaluations, and detailed documentation within the first 24 hours. Proper evidence collection, including photos and samples, helps ensure insurance claims are accurate and complete. Homeowners should focus on observation first and avoid repairs until damages are fully documented.
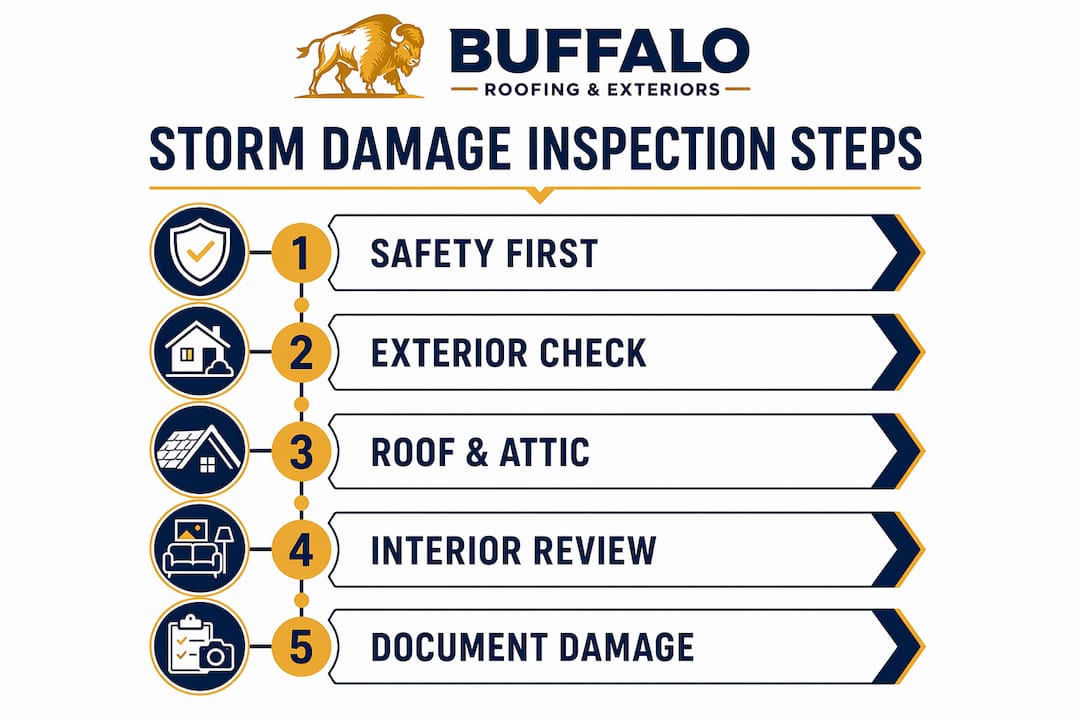
A step by step storm damage inspection is the process of systematically evaluating your property after severe weather to identify all damage, prioritize safety, and document evidence for repairs and insurance claims. The industry term for this process is a “post-storm property assessment,” and it follows a clear sequence: safety check, exterior walkthrough, roof evaluation, interior review, and formal documentation. Skipping any phase risks missing hidden damage that worsens over time. Mold precursors develop within 24–48 hours of water intrusion, which means your window to act is short. Buffaloroofingandexteriors works with homeowners across Corpus Christi, San Antonio, and Victoria who face exactly this pressure after every major storm season.
How to ensure safety before your storm damage inspection begins
Safety comes before documentation. Every step of a post-storm inspection carries real physical risk, and the most common injuries happen when homeowners rush outside before conditions are stable.

Start by scanning from inside your home. Look through windows for downed power lines, leaning trees, or debris piled against the structure. Do not step outside until you have confirmed no live electrical hazards are visible. If you smell gas, leave immediately and call your utility provider from a safe distance.
When you do go outside, wear closed-toe shoes, work gloves, and eye protection. Wet debris hides nails, broken glass, and sharp metal. Walk the perimeter slowly, keeping at least one full tree length between yourself and any leaning or partially fallen trees.
Gather your inspection tools before you start:
- A smartphone or camera with timestamp enabled
- Binoculars for viewing the roof from the ground
- A moisture meter if you own one
- A flashlight for attic and crawlspace checks
- A notepad or voice recorder for written observations
Pro Tip: Save your local utility emergency number, a licensed roofing contractor’s number, and your insurance agent’s number in your phone before storm season starts. Having those contacts ready cuts response time when every hour counts.
What are the key exterior inspection steps to identify visible storm damage?
A methodical exterior walkthrough is the foundation of any effective storm damage assessment. Start from the street. A wide view from 50–100 feet away reveals roofline sags, missing sections of siding, and structural shifts that are invisible up close.
Walk the full perimeter of the property in a single direction. Do not jump between areas. A consistent path prevents you from missing sections and creates a logical sequence for your photo record.
- Street view: Photograph the full front elevation before approaching. Note any visible roofline deformation, displaced ridge caps, or missing shingles.
- Gutters and downspouts: Check for dents, separation from fascia, and granule buildup in gutters. Heavy granule loss signals shingle deterioration.
- Siding and soffits: Look for cracks, dents, missing panels, and lifted edges. Wind-driven rain enters through even small gaps and causes interior damage.
- Windows and doors: Check for cracked glass, broken seals (visible as fogging between panes), and frame warping that prevents proper closure.
- Fences, outbuildings, and landscaping: Leaning fences and uprooted trees indicate wind intensity and help establish the storm’s damage pattern for your insurer.
- Driveways and walkways: Hail leaves circular impact marks on soft asphalt. These marks support a hail damage claim for roofing and siding.
| Exterior element | What to look for | Documentation priority |
|---|---|---|
| Roof (from ground) | Missing shingles, sagging, displaced ridge caps | High |
| Gutters | Dents, separation, granule accumulation | High |
| Siding | Cracks, dents, missing panels | High |
| Windows | Cracked glass, broken seals, frame damage | Medium |
| Fences and outbuildings | Leaning, collapse, displaced panels | Medium |
Independent, timestamped photography with location context is the single most powerful tool you have before any contractor or adjuster arrives. Take wide-angle shots first to establish location, then move in for close-ups of specific damage.
How to safely inspect your roof and attic for storm damage
Never climb a damaged roof. The risk of a fall on a wet, debris-covered surface is not worth the information gained. Use binoculars from the ground or, if you have access, a drone to capture footage of the full roof surface.
From the ground, look for these specific indicators:
- Missing, torn, or curled shingles in any section
- Exposed underlayment (the dark felt layer beneath shingles)
- Displaced or missing ridge caps along the peak
- Dented metal flashing around chimneys, vents, and skylights
- Sagging sections that suggest decking damage beneath the shingles
- Debris embedded in the roof surface
The attic is where hidden moisture damage first appears, often before any ceiling stain shows up in your living space. Moisture follows framing and mechanical penetrations, traveling far from the original entry point.
Inside the attic, check for:
- Water stains on rafters or sheathing
- Wet or compressed insulation (insulation loses its shape when saturated)
- Daylight visible through the roof deck
- A musty smell, which signals moisture accumulation even without visible staining
Pro Tip: Bring a flashlight and a piece of white paper into the attic. Hold the paper near the insulation and press gently. If it comes away damp or discolored, moisture has already reached the insulation layer. That finding belongs in your written inspection notes immediately.
For a detailed breakdown of what to look for on the roof surface, the storm damage identification guide from Buffaloroofingandexteriors covers concealed moisture and wind-driven rain intrusion in depth.
What indoor inspections reveal about storm damage and structural risk
Interior checks complete the picture that exterior walkthroughs start. Water and wind damage rarely stay confined to the outside of a home. They migrate inward through gaps, cracks, and penetrations that are invisible during an exterior survey.
Work room by room, starting from the top floor and moving down. In each room, check:
- Ceilings: Look for water stains, bubbling paint, or sagging drywall. A brown ring stain indicates active or recent water intrusion.
- Walls: Press gently on drywall near windows and exterior walls. Soft spots indicate moisture behind the surface.
- Floors: Warping, buckling, or separation at seams in wood or laminate flooring signals water has reached the subfloor.
- Crawlspaces: Check for standing water, wet insulation hanging from the floor joists, and any new cracks in the foundation walls.
Electrical hazards require special attention after any storm with flooding or roof penetration.
Discolored, wet, or burnt-smelling electrical outlets and switches must not be touched. Note their locations and flag them for immediate professional evaluation. Food held above 40°F for more than 2 hours after a power outage is unsafe and should be discarded.
Do not attempt to test outlets or reset breakers if you have any reason to suspect water reached your electrical panel. That decision belongs to a licensed electrician.
How to document storm damage effectively for insurance claims
Documentation is where homeowners either protect their claim or lose money. The first contractor or adjuster to define the damage scope often sets the ceiling on what gets covered. Your independent evidence collection prevents that from happening.
Follow this sequence for every area you inspect:
- Wide-angle shot first: Capture the full wall, roof section, or room to establish location context.
- Mid-range shot: Show the damaged element within its surrounding area.
- Close-up shot: Capture the specific damage detail with enough clarity to identify the cause.
- Written note: Record the location, the type of damage, and the time of observation.
- Physical samples: Retain broken shingles, damaged siding panels, or hardware if safe to collect. These support material-specific claims.
Document temporary protections separately from permanent repairs. If you place a tarp over a damaged roof section, photograph it before and after installation and keep the receipt. Insurers require proof that you took reasonable steps to prevent further damage.
| Documentation type | Purpose | Timing |
|---|---|---|
| Timestamped photos | Establish damage scope before any work begins | Within 24 hours of storm |
| Written inspection notes | Support photo evidence with location and damage type | Same day as inspection |
| Temporary repair receipts | Prove mitigation duty was fulfilled | At time of temporary repair |
| Contractor estimates | Establish repair cost baseline | Within 48–72 hours |
Proper evidence collection in the first 24 hours prevents claim denials, because mold and secondary damage develop quickly and insurers enforce mitigation timing rules strictly. For a full walkthrough on building your evidence file, the guide on documenting weather-related damage covers the complete process.
Key Takeaways
A thorough storm damage inspection requires safety first, a methodical exterior and interior walkthrough, and timestamped documentation completed within 24 hours to protect both your property and your insurance claim.
| Point | Details |
|---|---|
| Act within 24 hours | Mold precursors develop in 24–48 hours; early documentation prevents claim denial. |
| Safety before inspection | Confirm no live electrical or structural hazards before stepping outside. |
| Document independently | Capture wide-angle and close-up photos before any contractor or adjuster arrives. |
| Inspect attic and crawlspace | Hidden moisture in these areas causes structural damage before it appears in living spaces. |
| Separate temporary from permanent | Document tarps and emergency repairs separately to satisfy insurer mitigation requirements. |
What I have learned from watching homeowners inspect storm damage
The most consistent mistake I see is homeowners treating the inspection as a repair planning session. They walk outside, spot a missing shingle, and immediately start thinking about contractors and costs. That mental shift pulls attention away from the full picture.
Homeowners should act as disciplined observers, not engineers or adjusters. Your job in the first 24 hours is to collect evidence, not to solve the problem. The moment you start making repair decisions before documentation is complete, you create gaps in your record that adjusters will use to narrow your claim.
Hidden damage is the other issue that costs homeowners real money. Moisture migration follows framing and mechanical penetrations, which means a small roof breach can show up as a wet wall on the opposite side of the attic. Restoration professionals consistently flag overlooked moisture and insulation damage as the leading cause of escalating repair costs after storms.
My honest advice: be patient with the process. Insurance and repair timelines feel slow when your home is damaged. But a thorough, well-documented assessment gives you far more leverage than a rushed one. Collect everything, keep every receipt, and let the evidence speak before you accept any scope of work from a third party.
Buffalo Roofing and Exteriors is ready when the storm clears
After a storm, the last thing you need is to figure out the inspection process alone. Buffalo Roofing and Exteriors provides professional storm damage assessments for homeowners across Corpus Christi, San Antonio, and Victoria, Texas, with a team that knows exactly what insurers look for and where hidden damage hides.

The team at Buffaloroofingandexteriors handles everything from initial roof evaluation to full storm damage restoration, including documentation support and insurance coordination. If your roof, siding, or windows took a hit, a licensed inspection from Buffaloroofingandexteriors gives you an accurate damage scope before any adjuster sets the narrative. Request a free estimate and get a professional set of eyes on your property fast.
FAQ
How soon should I inspect my home after a storm?
Complete your initial inspection within 24 hours of the storm passing. Mold precursors develop within 24–48 hours of water intrusion, and delayed documentation can result in claim denial.
Is it safe to climb my roof to check for damage?
Never climb a damaged roof after a storm. Use binoculars from the ground or drone footage to assess the roof surface safely, and call a licensed contractor for a professional evaluation.
What photos do I need for an insurance claim?
Take wide-angle shots to establish location context, then mid-range and close-up shots of each damaged area. Timestamped, high-context photography gives you the strongest position when an adjuster reviews your claim.
What is the difference between temporary and permanent repairs in a claim?
Temporary repairs, like tarps or board-ups, prevent further damage and must be documented separately with receipts. Insurers require proof of mitigation to confirm you took reasonable steps to limit additional loss.
Should I wait for my insurance adjuster before making any repairs?
Document all damage thoroughly before any work begins, but do not delay temporary protective measures. Apply tarps or cover broken windows immediately, photograph the work, and keep all receipts to satisfy your policy’s mitigation requirements.