Storm-damaged siding on a Texas coastal commercial property is not just an eyesore. It is a ticking clock. Every hour that wind-driven rain has access to your building’s substrate, moisture works deeper into the wall assembly, setting the stage for rot, mold, and structural failure. 28 US billion-dollar disasters in 2023 alone tell you how routine this threat has become along the Gulf Coast. This guide walks you through every step of commercial siding restoration, from the moment the storm clears to the final code-compliant inspection, so you can protect your investment, satisfy your insurer, and get your business back to full operation fast.
Table of Contents
- Understanding storm damage and commercial siding risks in Texas
- What you’ll need: Tools, materials, and safety gear
- Step-by-step: How to restore commercial siding after a storm
- Cost, insurance, and when to repair vs. replace
- Get expert help for commercial siding restoration in Texas
- Frequently asked questions
Key Takeaways
| Point | Details |
|---|---|
| Act quickly after storms | Immediate documentation and protection save thousands and ensure valid claims. |
| Choose repair vs replacement smartly | Use the 20% elevation rule, assess substrate, and prioritize code-compliant restoration. |
| Know Texas insurance rules | Texas requires prompt, documented claims and often separate windstorm coverage for coastal properties. |
| Use proper tools and safety gear | Selecting siding-appropriate materials and observing safety (respirators, PPE) ensures results and regulatory compliance. |
| Professional help pays off | Pros spot hidden damage, speed insurance, and secure resilient, code-compliant repairs. |
Understanding storm damage and commercial siding risks in Texas
Texas coastal properties face a combination of threats that most inland buildings never see. High-velocity wind, large hail, and horizontal rain work together to attack siding from multiple angles simultaneously. What looks like surface scuffing on the outside can hide saturated sheathing and compromised insulation behind the panels.
One of the most dangerous failure patterns is what contractors call the zipper effect. When wind gets under a single loose panel, it peels adjacent panels progressively, exposing large sections of wall in minutes. Hail at or above 0.75 inches can crack fiber cement, dent metal, and fracture vinyl, opening pathways for water intrusion that leads directly to rot and mold. Understanding protecting Texas properties from storm damage starts with recognizing that visible surface damage is rarely the whole story.
For commercial property owners in the 14 Texas counties along the coast, the Texas Windstorm Insurance Association (TWIA) is often the primary windstorm carrier. TWIA policies have strict documentation and repair requirements, meaning a sloppy or incomplete restoration can result in a denied claim. Knowing the importance of siding in coastal Texas goes beyond aesthetics. It directly affects your coverage eligibility.
Key storm damage warning signs to inspect after any major weather event:
- Cracked, buckled, or missing siding panels
- Visible gaps at panel seams or around windows and doors
- Soft spots or discoloration on interior walls adjacent to exterior siding
- Rust staining around fasteners on metal or fiber cement panels
- Peeling paint or efflorescence (white mineral deposits) indicating moisture movement
Following damaged siding replacement best practices from the start prevents small problems from becoming six-figure repairs.
What you’ll need: Tools, materials, and safety gear
Before you touch a single panel, you need the right equipment for the specific siding type on your building. Using the wrong tools causes additional damage and can void manufacturer warranties.
| Siding type | Key tools | Materials needed | Safety requirement |
|---|---|---|---|
| Fiber cement | Shears, scoring knife | Cementitious patch, corrosion-resistant nails | P100 respirator (silica dust) |
| Vinyl | Zip tool, utility knife | Patch kit, color-matched sealant | Safety glasses, gloves |
| Metal | Drill, metal snips | Sheet metal patch, metal caulk | Cut-resistant gloves |
| Wood | Pry bar, circular saw | WRB (weather-resistant barrier), epoxy filler | Respirator if lead paint present |
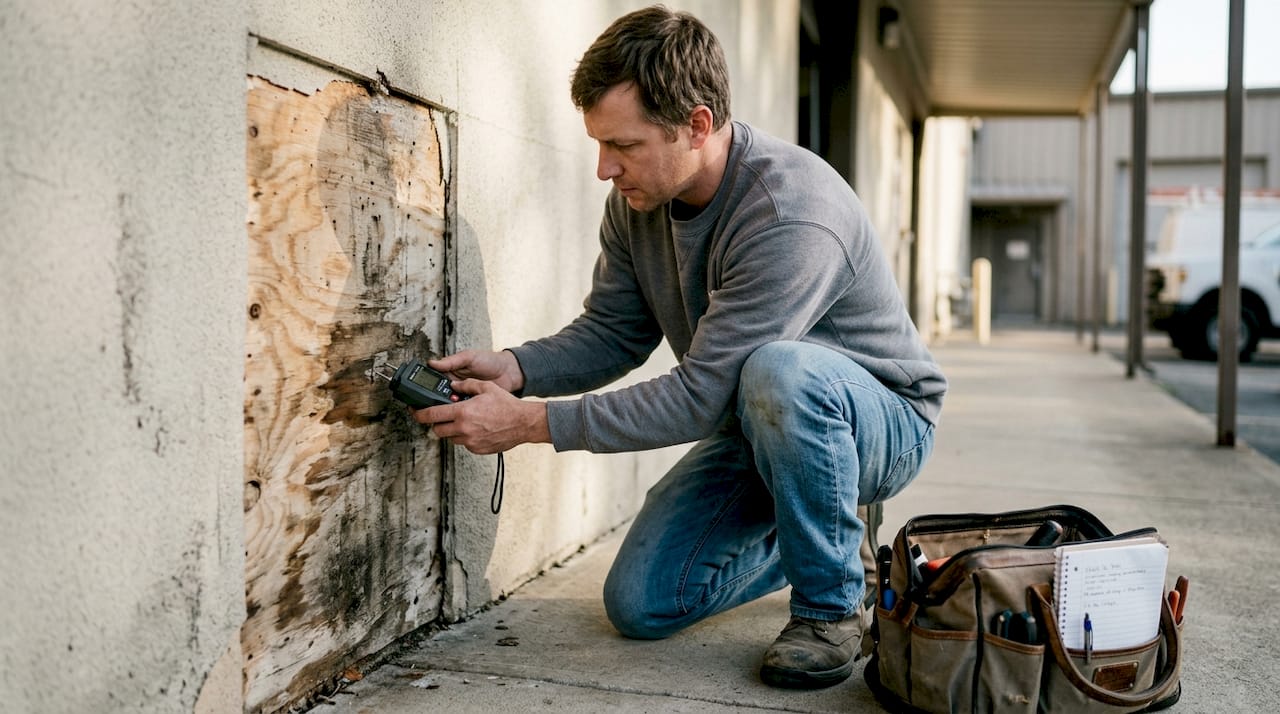
A moisture meter is non-negotiable for commercial work. It tells you whether the substrate behind the panels is already compromised before you close up the wall. A camera or smartphone for photo documentation is equally important for insurance purposes.
Fiber cement repair requires a P100 respirator to protect against silica dust, corrosion-resistant fasteners to prevent rust staining, and a cementitious patch compound for seamless repairs. Vinyl and metal panels each need specialty tools to avoid cracking or deforming the material during removal.
Pro Tip: Before ordering replacement panels, pull an existing panel from a less visible area of the building and bring it to your supplier. Color and texture matching is far more accurate with a physical sample than with a product code alone.
Additional safety considerations for commercial properties include awareness of older buildings that may contain lead paint or asbestos-containing siding materials. Both require licensed abatement before any repair work begins. Review siding materials for Texas commercial properties to understand which materials perform best in coastal conditions and what proper siding installation steps look like for each type. For a broader overview of siding repair safety and tools, consult a licensed contractor before starting.
Step-by-step: How to restore commercial siding after a storm
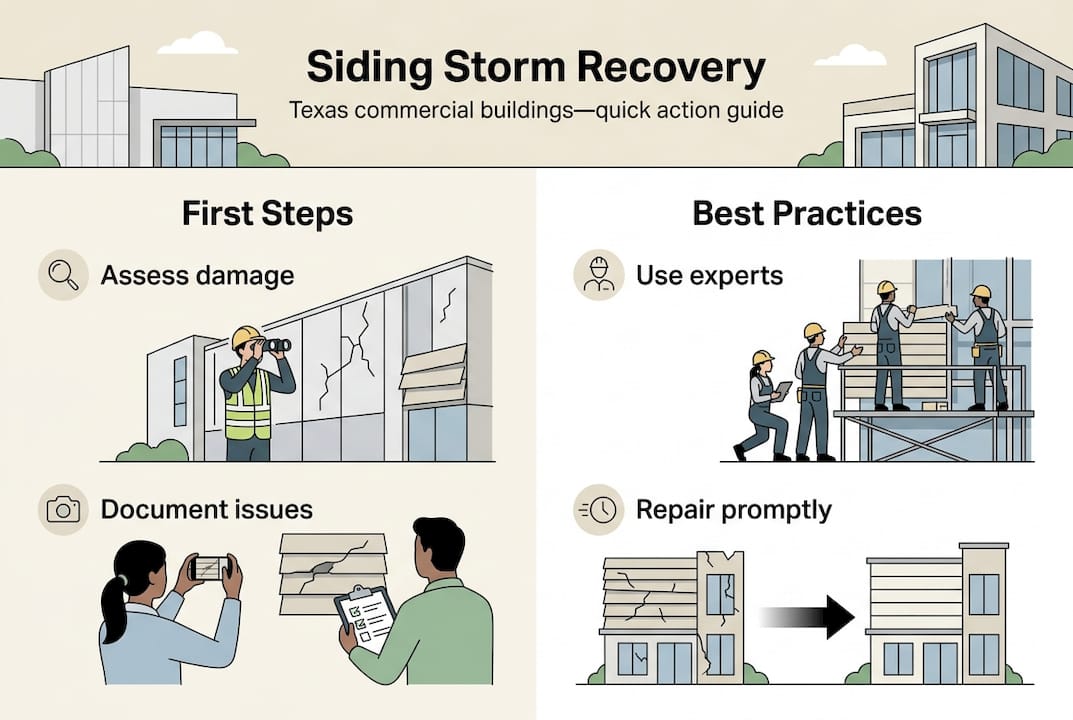
The restoration sequence follows a clear order: safety and temporary protection, documentation, moisture assessment, WRB inspection, structural repair, panel replacement, flashing and caulk, then final code inspection. Skipping steps creates liability and insurance problems.
Secure the property first. Tarp any exposed wall sections immediately. Use heavy-duty polyethylene tarps secured with furring strips, not just tape. This stops active water intrusion while you plan the full repair.
Document everything before touching it. Photograph and video every damaged panel, every gap, every stain. Capture wide shots showing the full elevation and close-ups of individual failures. Your insurer will require this.
Measure moisture content. Use a pin-type moisture meter on the sheathing behind any damaged panels. A reading above 19% moisture content (MC) means the substrate is already compromised and must be addressed before new siding goes on.
Inspect the weather-resistant barrier (WRB). The WRB is the membrane between your sheathing and siding. Tears, punctures, or missing sections must be patched with compatible tape or replaced entirely. A failed WRB turns every future rainstorm into a leak event.
Assess repair vs. replace. If less than 20% of a single wall elevation is damaged and the substrate is dry and structurally sound, targeted panel repair is viable. Over 20% damage per elevation often triggers a full reclad requirement under Texas building code. Use assessing siding storm damage resources to make this call accurately.
Execute panel-specific repairs. For vinyl, use a zip tool to unlock the damaged panel from the one above it, slide out the panel, and snap in the replacement. For fiber cement, score and snap new panels to size, pre-drill fastener holes, and nail at 16-inch stud spacing. For metal, cut a patch slightly larger than the damaged area, apply metal caulk to all edges, and fasten with matching screws.
Seal all penetrations and install flashing. Every window, door, and utility penetration adjacent to repaired siding needs fresh flashing and sealant. This is where most DIY repairs fail. Improper flashing is the leading cause of recurring water intrusion after storm repairs.
Call in a licensed pro for final inspection. Texas coastal counties require wind-rated installation for commercial siding. A licensed contractor can certify compliance, which protects your TWIA coverage and satisfies local building officials. Review the full storm damage restoration process and storm damage prevention strategies to stay ahead of the next event.
Minor repairs run $300 to $900, while full panel replacement costs $7 to $15 per square foot depending on material and labor. A professional inspection typically runs $200 to $500 and is often reimbursable through your insurance claim. For a thorough walkthrough of the comprehensive siding repair process, licensed contractors remain the safest option for commercial properties.
Cost, insurance, and when to repair vs. replace
Making the right financial decision after storm damage requires understanding both the physical condition of your siding and the specifics of your insurance policy. These two factors together determine whether repair or full replacement makes more sense.
If damage exceeds 20% of a wall elevation, Texas building code may require a full reclad of that elevation rather than patchwork repairs. Your policy type also matters significantly. Replacement Cost Value (RCV) coverage pays for new materials at current prices. Actual Cash Value (ACV) coverage deducts depreciation, meaning older siding yields a smaller payout. Knowing which you have before filing changes your negotiating position with the adjuster.
Key financial and coverage considerations for Texas commercial property owners:
- Texas law gives you two years to file a storm damage claim, but waiting reduces your leverage and allows damage to worsen
- If your siding material has been discontinued or is over 15 years old, full replacement is likely the only viable path
- Pros can bill insurance directly in Texas, removing the burden of upfront payment from your cash flow
- Upgrading to impact-resistant fiber cement or engineered wood after a storm often qualifies for insurance premium discounts
- Neglected storm damage leads to mold remediation costs, denied future claims, and potential code violations
Pro Tip: Request an itemized scope of work from your contractor before the adjuster visits. A detailed line-item estimate gives you a strong baseline for the insurance negotiation and prevents lowball settlements.
Reviewing your hurricane season siding readiness before storm season and understanding Texas siding replacement rules puts you in a far stronger position when damage occurs. There are also compelling reasons to upgrade after a storm that go beyond simple repair, including improved energy efficiency and long-term durability. For a full breakdown of the Texas storm insurance process, working with a contractor experienced in insurance claims is your best move.
Get expert help for commercial siding restoration in Texas
Handling storm damage on a commercial property is not a weekend project. The stakes are too high, the code requirements too specific, and the insurance implications too significant to leave to chance.

At Buffalo Roofing & Exteriors, we specialize in exactly this kind of work. Our teams in Corpus Christi, San Antonio, and Victoria understand Texas coastal building codes, TWIA requirements, and the material sourcing challenges that come with matching existing commercial siding after a major storm. We offer detailed damage inspections, code-compliant repairs and full replacements, and direct insurance billing so you can focus on running your business. Explore our professional siding restoration services or review our comprehensive storm restoration guide to understand the full scope of what recovery looks like. Learn more about the value of exterior renovations in coastal Texas and how the right upgrade now can reduce your exposure for years to come. Contact us for a free estimate and let us handle the hard part.
Frequently asked questions
What is the first step after siding is damaged in a coastal Texas storm?
Temporarily cover exposed areas with tarps and document all damage with photos and videos before scheduling a professional assessment. Acting within the first 24 to 48 hours limits moisture intrusion and strengthens your insurance claim.
How do I know if siding should be repaired or replaced?
Repair isolated damage under 20% of a wall elevation when the substrate is dry and structurally sound. Widespread damage, water infiltration, or brittle aging material almost always calls for full replacement.
What are Texas insurance considerations for storm-damaged commercial siding?
Texas law gives you two years to file a storm damage claim, but prompt action and thorough documentation are critical, especially for TWIA windstorm and water damage claims. Delays allow damage to worsen and give insurers grounds to dispute the cause.
What’s the cost range for repairing vs. replacing commercial siding?
Minor repairs start at $300 to $900, while full panel replacement runs $7 to $15 per square foot depending on material type and labor. A professional inspection, typically $200 to $500, is often covered through your insurance claim.
Are there special risks to DIY siding restoration after storms in Texas?
DIY repairs risk voiding warranties and missing hidden rot or moisture damage behind panels. Licensed contractors also ensure wind-rated installation and handle silica and lead safety requirements that apply to older commercial buildings.