
TL;DR:
- Coastal Texas homes face harsh elements requiring durable siding like fiber cement.
- Proper installation, including vapor barriers and flashing, is essential for long-lasting protection.
- Investing in quality materials and professional work prevents costly storm-related damages.
Coastal Texas is one of the most demanding environments a home’s exterior can face. Between hurricane-force winds, relentless salt air, intense UV exposure, and sudden tropical downpours, your siding takes a beating that homeowners in other states simply don’t experience. When siding fails here, it’s not just an aesthetic problem. Water intrusion, mold, and structural damage follow quickly. This guide walks you through every stage of siding replacement, from spotting the warning signs to selecting the right material, executing a proper installation, and keeping your new siding performing for decades. Whether you’re recovering from storm damage or planning a proactive upgrade, this is the process that protects your investment.
Table of Contents
- Assessing your siding and project requirements
- Choosing the best siding material for coastal Texas
- Step-by-step process: Removing and installing new siding
- Verifying quality and maintaining new siding
- A Texas pro’s perspective: What most guides miss about siding replacement
- Take the next step: Protect your coastal home with expert siding
- Frequently asked questions
Key Takeaways
| Point | Details |
|---|---|
| Inspect before replacing | Check for extensive damage or age to decide if full replacement makes sense over repairs. |
| Choose durable materials | Fiber cement, metal, or premium vinyl offer the best protection for coastal Texas homes. |
| Follow installation steps | Careful removal, precise preparation, and strict adherence to manufacturer guidelines ensure lasting results. |
| Maintain for longevity | Regular inspection and maintenance extend the life and warranty of your new siding. |
Assessing your siding and project requirements
Before you spend a dollar on materials or labor, you need an honest evaluation of your current siding. Walk the full perimeter of your home and look for warping, cracking, bubbling paint, soft spots, or visible gaps near windows and corners. Don’t just look at the surface. Press gently on suspicious areas to check for rot or moisture damage underneath.
Knowing when to replace versus repair is one of the most important calls you’ll make. As a general rule, full replacement beats repairs when more than 20% of your siding is damaged or when your siding is over 20 years old. Patching isolated sections on aging siding rarely delivers lasting results in coastal climates because the underlying material is already compromised by years of salt and UV exposure.
Here’s a quick reference for common siding materials and what to budget:
| Material | Avg. installed cost (per sq ft) | Expected lifespan |
|---|---|---|
| Fiber cement | $9 to $14 | 40 to 50 years |
| Premium vinyl | $5 to $12 | 20 to 40 years |
| Metal/steel | $7 to $14 | 40 to 70 years |
For a typical 1,500 sq ft exterior, total project costs run between $8,000 and $25,000 depending on material and labor complexity.
Before work begins, check with your local municipality about permit requirements. Many Texas coastal counties require permits for full siding replacement, especially in wind zones near the Gulf. Skipping this step can create problems when you sell your home or file an insurance claim.
Key warning signs that point to full replacement:
- Siding older than 20 years with widespread fading or brittleness
- Multiple panels with moisture damage or soft spots
- Recurring mold or mildew that keeps returning after cleaning
- Storm damage affecting large sections of the wall
- Rising energy bills pointing to lost insulation behind failing siding
Pro Tip: Take photos of all damage before contacting your insurance company. Documented evidence speeds up claims and helps contractors give you accurate quotes.
Understanding siding material types early in the process saves you from expensive mid-project changes. And if you’re still on the fence about whether to act now, why siding matters for your home’s structural health is worth reviewing before you decide.
Choosing the best siding material for coastal Texas
Once you’ve decided to replace, your material choice will make or break the results. Not every product sold at a big-box store is built for the Gulf Coast’s specific conditions. Salt air accelerates corrosion. High humidity invites mold. Wind speeds during storm season can exceed 100 mph. Your siding has to handle all of it.
Here’s how the top options compare for coastal Texas conditions:
| Material | Wind resistance | Salt/moisture resistance | Fire resistance | Lifespan |
|---|---|---|---|---|
| Fiber cement | Excellent | Excellent | Excellent | 40 to 50 years |
| Premium vinyl | Good | Good | Moderate | 20 to 40 years |
| Metal/steel | Superior | Good (with coating) | Excellent | 40 to 70 years |
| Wood | Poor | Very poor | Poor | 10 to 20 years |
Fiber cement is the top material for coastal homes when it comes to impact resistance, moisture control, wind performance, and fire safety. Products like James Hardie are engineered specifically for high-humidity, high-wind regions and carry a 30-year warranty when installed correctly. The tradeoff is a higher upfront cost, but the lifespan and low maintenance make it the smarter long-term investment.
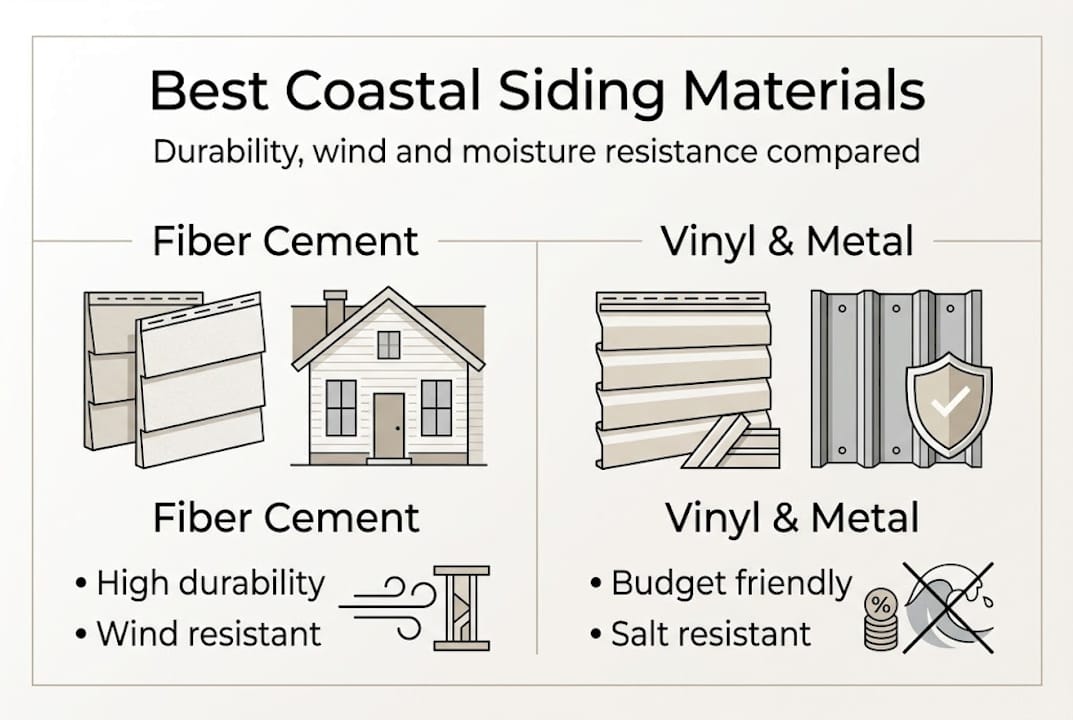
Premium or hurricane-rated vinyl is a solid option for homeowners who need a more budget-friendly path. Modern vinyl formulations are far more impact-resistant than older products, though they can fade faster under intense UV and salt exposure compared to fiber cement.
Metal and steel siding offers the highest wind resistance of any option, making it worth considering for homes in the most exposed coastal locations. It does require proper coatings to resist salt-air corrosion over time.
Wood siding is generally a poor fit for coastal Texas. Rot, mold, and insect damage make it a costly maintenance burden in humid, salt-laden air. Review expert siding options to see how these materials perform side by side in real coastal conditions, and check siding installation tips to understand how installation quality affects material performance.
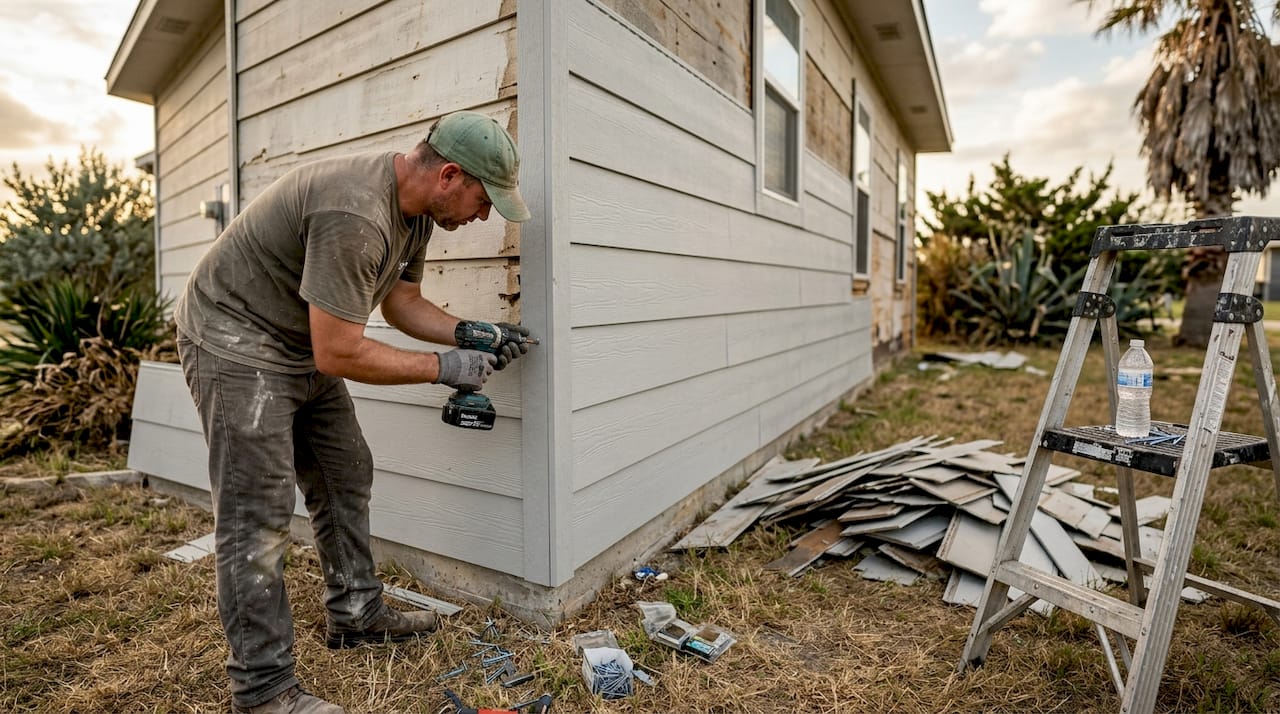
Step-by-step process: Removing and installing new siding
Material in hand, it’s time for the core siding replacement process. Rushing through any of these steps is where most DIY projects go wrong and where warranties get voided.
- Remove old siding carefully. Start from the top and work down. Pry panels away without damaging the sheathing underneath. Look for nails or staples left behind and remove them completely.
- Inspect and repair the wall sheathing. This is the most important hidden step. Any soft, rotted, or water-damaged sheathing must be replaced before new siding goes on. Skipping this turns a siding project into a mold problem within a few years.
- Install a water-resistive barrier (WRB). A WRB is a moisture-blocking wrap that goes over the sheathing before siding. In coastal Texas, this layer is non-negotiable. Overlap seams correctly and tape all edges.
- Add a rainscreen gap where applicable. A small gap between the WRB and siding allows moisture to drain and air to circulate, dramatically reducing rot risk in humid climates.
- Install new siding from the bottom up. Follow manufacturer installation guidelines precisely. For fiber cement, this means using corrosion-resistant fasteners, maintaining proper clearances from grade and trim, and priming all cut edges before they’re exposed to weather.
- Flash all openings and transitions. Windows, doors, corners, and roof lines need proper metal flashing to direct water away from the wall system. This is where most water intrusion problems begin.
- Caulk and seal. Use a high-quality, paintable caulk rated for exterior use. Apply it at all joints, corners, and trim intersections.
“For fiber cement in coastal Texas, use corrosion-resistant fasteners and prime all cut edges. Failing to follow manufacturer instructions strictly will void your warranty.”
Pro Tip: If you’re hiring a contractor, ask specifically whether they follow the installation workflow required by the manufacturer. A contractor who can’t answer that question confidently is a red flag.
Verifying quality and maintaining new siding
Final details matter. Here’s how to check your finished project and care for your new siding so it performs for the long haul.
Right after installation, walk the full perimeter again and check for these issues:
- Panel alignment: Rows should be level and consistent. Wavy or uneven panels indicate improper nailing or sheathing problems.
- Gap consistency: Uniform gaps between panels allow for thermal expansion. Gaps that are too tight will cause buckling in Texas heat.
- Flashing and caulk: Every window, door, and corner should be fully sealed. Run your hand along caulk lines to feel for gaps.
- Fastener placement: No exposed nail heads. All fasteners should be set correctly per the manufacturer spec.
- Drainage paths: Water should have a clear path to exit at the bottom of each wall. Check that weep holes or rainscreen gaps aren’t blocked.
For long-term maintenance, plan on these annual tasks:
- Rinse siding with a garden hose to remove salt and dirt buildup, especially after storms
- Inspect and reapply caulk wherever you see cracking or separation
- Check for paint peeling on fiber cement and touch up promptly to prevent moisture entry
- Look for any fasteners that have backed out and reset them
- Trim vegetation that touches the siding to prevent moisture trapping
Installed fiber cement costs $9 to $14 per sq ft, while vinyl runs $5 to $12 per sq ft, making maintenance a smart way to protect that investment. Use a siding maintenance checklist each spring and fall, and review how weatherproofing exteriors can reduce your storm-related repair costs over time.
If you spot issues within your warranty period, contact your contractor and the manufacturer promptly. Most fiber cement warranties require professional installation and documented maintenance to remain valid.
A Texas pro’s perspective: What most guides miss about siding replacement
Most siding guides focus on the visible product. Pick a color, pick a material, nail it up. But after working on coastal Texas homes through multiple hurricane seasons, we’ve learned that what’s behind the siding matters just as much as what’s on it.
The layered wall system, sheathing, water-resistive barrier, rainscreen gap, and siding working together, is what actually keeps water out of your home. A beautiful fiber cement installation over compromised sheathing and no WRB will still fail. We’ve seen it happen.
We also see homeowners patch and repair when a full replacement would have cost less over five years. In a coastal climate, partial fixes on aging siding are often money spent twice. The layered wall system is what separates a home that survives a major storm from one that doesn’t.
Another thing guides rarely say: the cheapest contractor is rarely the best value in a high-wind zone. Improper installation voids warranties and leaves you paying out of pocket after the next storm. Invest in proven materials and skilled labor. Your home’s resilience depends on it. Learn more about storm damage siding protection to understand what’s really at stake.
Take the next step: Protect your coastal home with expert siding
If you’ve made it this far, you already know more about coastal siding replacement than most homeowners. Knowing the steps is one thing. Executing them correctly in a Gulf Coast environment is another.

At Buffalo Roofing & Exteriors, we specialize in exterior siding solutions built for the demands of coastal Texas. Our teams in Corpus Christi, San Antonio, and Victoria understand local wind zones, permitting requirements, and the installation standards that keep warranties intact. Whether you want to explore all siding options or need help recovering from recent storm damage, our storm damage restoration services have you covered. Reach out for a free estimate and let’s build something that lasts.
Frequently asked questions
How do I know if my siding should be replaced or just repaired?
If more than 20% is damaged or your siding is over 20 years old, full replacement is almost always more cost-effective than repeated repairs in a coastal climate.
What’s the most durable siding material for coastal Texas?
Fiber cement leads the pack for impact, wind, and moisture resistance with a 40 to 50 year lifespan, followed by premium vinyl and metal siding for specific budget or exposure scenarios.
Do I need a professional for fiber cement siding replacement?
Experienced DIYers can handle it, but professionals ensure the installation meets manufacturer specs that keep your warranty valid and your walls weather-tight.
How much should I budget for siding replacement on a 1,500 sq ft home?
Plan on spending between $8,000 and $25,000 in 2026, with fiber cement at $9 to $14 per sq ft installed and vinyl ranging from $5 to $12 per sq ft.
Recommended
- Step-by-Step Siding Installation Workflow for Texas Coastal Homes
- Siding Options Explained: Expert Choices for Texas Coastal Homes
- Siding maintenance checklist for coastal Texas homes 2026
- Types of siding materials for coastal Texas homes 2026
- Interior vs Exterior Railings: Safety, Style, and Durability Compared – Inoxify
- Roofing Company San Antonio TX