
TL;DR:
- Proper weatherproofing siding is crucial for coastal Texas homes to prevent storm damage and structural deterioration.
- Use corrosion-resistant fasteners and materials like HZ10 fiber cement siding for optimal durability.
- Regular maintenance, including annual cleaning and inspections, extends siding lifespan and enhances storm protection.
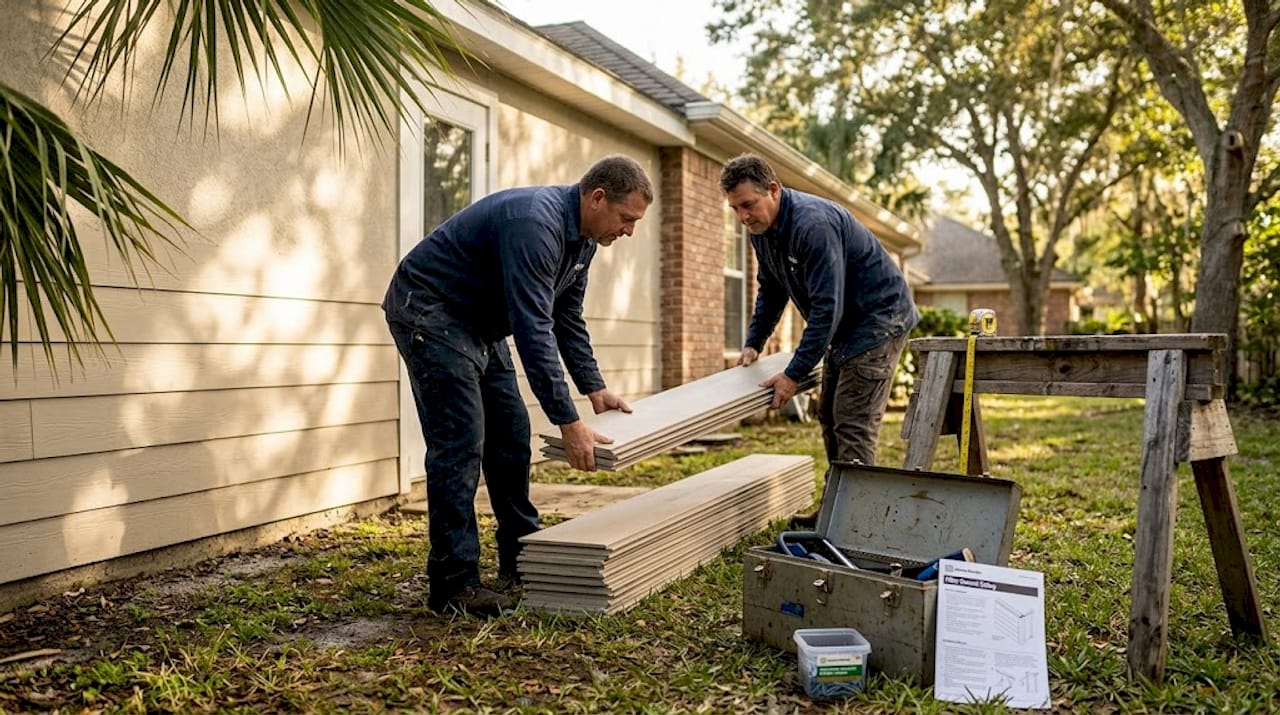
Coastal Texas homeowners know the routine all too well: a storm rolls in off the Gulf, and within days you’re calling contractors, filing insurance claims, and watching repair costs climb into the thousands. What separates homes that weather these events with minimal damage from those that don’t often comes down to one overlooked factor, which is how well the siding was weatherproofed before the storm ever arrived. This guide walks you through every step of that process, from understanding what makes coastal conditions so destructive to choosing the right materials, installing them correctly, and maintaining them so your home stays protected season after season.
Table of Contents
- Understanding the coastal Texas weatherproofing challenge
- Essential tools and materials for weatherproofing siding
- Step-by-step process for weatherproofing your siding
- Maintenance and troubleshooting for lasting protection
- What most guides miss about siding weatherproofing
- Enhance your protection with expert support
- Frequently asked questions
Key Takeaways
| Point | Details |
|---|---|
| Corrosion-resistant fasteners | Use category A or B+ fasteners for top storm protection near saltwater. |
| Annual cleaning is essential | Clean siding every year to prevent costly mildew and salt damage. |
| Proper installation prevents failures | Maintaining correct clearances and conditions ensures siding durability. |
| HZ10 siding for Texas | HZ10 siding is specifically formulated for hot, humid Gulf Coast climates. |
| Insurance savings available | Meeting FORTIFIED standards can cut insurance costs and limit storm damage risks. |
Understanding the coastal Texas weatherproofing challenge
Living along the Gulf Coast means your home’s exterior faces a combination of threats that inland homes simply don’t deal with at the same intensity. Salt air, relentless humidity, and wind speeds that can exceed 100 mph during hurricane season create a punishing environment for siding. Salt deposits corrode metal fasteners, moisture works its way behind panels, and wind pressure tests every seam and connection point. The result, if your siding isn’t properly prepared, is accelerated deterioration that can compromise your home’s structural integrity faster than you’d expect.
One of the biggest differences between coastal and inland weatherproofing is the hardware. Ordinary steel fasteners rust quickly in salt-air environments, which causes the siding panels they hold to loosen, warp, or fall away entirely. The FORTIFIED program developed by the Insurance Institute for Business and Home Safety recommends corrosion category A/B+ fasteners for any structure within 300 to 3,000 feet of a saltwater shoreline, and meeting those standards can qualify your home for up to a 24% reduction in insurance premiums in Texas coastal areas. That’s not a minor benefit. For a homeowner paying $3,000 a year in wind and storm coverage, that’s $720 back in your pocket annually.
Understanding the siding protection benefits goes beyond just storm resistance. Properly weatherproofed siding also reduces moisture intrusion, which is a leading cause of mold, rot, and structural damage in humid coastal climates. Here’s a quick comparison of how coastal and inland siding requirements differ:
| Factor | Inland Texas | Coastal Texas |
|---|---|---|
| Fastener type | Standard galvanized | Corrosion category A/B+ |
| Siding formulation | Standard | HZ10 for heat and humidity |
| Clearance from grade | 4 inches | 6 inches minimum |
| Salt/mildew cleaning | Optional | Annual requirement |
| Wind load rating | Standard | Enhanced, 130+ mph |
Common signs that your current siding is losing the battle against coastal conditions include:
- Rust streaks running down from fastener points
- Bubbling or peeling paint caused by moisture trapped behind panels
- Warped or buckled boards from thermal expansion in summer heat
- Visible gaps at seams and corners where sealant has failed
- Dark staining or mildew growth along the lower courses of siding
Catching these signs early is critical. Learning how siding protects against storm damage can help you recognize when your exterior needs attention before a storm makes that decision for you.
Once you understand the stakes, the next step is gathering the right tools and materials.
Essential tools and materials for weatherproofing siding
Choosing the right products isn’t just about picking something labeled “weather resistant.” For coastal Texas, you need materials that are specifically engineered for high heat, high humidity, and salt exposure. Getting this wrong means you’ll be replacing siding far sooner than you planned.
The gold standard for coastal Texas is fiber cement siding using the HZ10 formulation, which is specifically designed for hot, humid climates. Standard fiber cement formulations can absorb too much moisture in Gulf Coast conditions, leading to swelling and cracking. HZ10 addresses that with a denser, more moisture-resistant composition. Pair that with corrosion-resistant fasteners and a compatible exterior sealant, and you’ve built a system that works together rather than against itself.
Pro Tip: Before you install anything, let your siding materials sit in a covered outdoor area for 24 to 48 hours. Acclimating them to local temperature and humidity levels prevents expansion or contraction after installation, which is a common cause of gaps and warping.
Here’s a breakdown of the essential materials and tools you’ll need:
| Item | Specification | Purpose |
|---|---|---|
| Fiber cement siding | HZ10 formulation | Heat and humidity resistance |
| Fasteners | Corrosion category A/B+ | Prevents rust in salt air |
| Exterior sealant | Compatible with fiber cement | Seals seams and penetrations |
| House wrap | Water-resistive barrier | Secondary moisture defense |
| Circular saw with fiber cement blade | Carbide tipped | Clean cuts without cracking |
| Level and chalk line | Standard | Ensures straight installation |
| Pneumatic nail gun | Siding rated | Consistent fastener depth |
| Safety glasses and respirator | N95 or better | Fiber cement dust protection |
Explore your siding material options before committing to a product, and review a detailed siding materials comparison to understand how fiber cement stacks up against vinyl, wood, and engineered wood in your specific climate zone.
For cleaning and ongoing maintenance, you’ll also want a soft-bristle brush, a garden hose with moderate pressure, and a mild detergent rated for exterior use. Avoid pressure washers on fiber cement unless you’re using a very low setting, since high pressure can force water behind the panels and defeat the purpose of weatherproofing entirely.
With the right materials in hand, it’s time to start the weatherproofing process.
Step-by-step process for weatherproofing your siding
A solid weatherproofing job isn’t just about slapping new siding on a wall. The process matters as much as the product. Skipping steps or rushing through installation is one of the most common reasons siding fails prematurely in coastal environments.
- Inspect and prepare the wall surface. Remove any existing siding and check the sheathing underneath for rot, mold, or structural damage. Replace any compromised sections before moving forward. A fresh siding installation over a damaged substrate will fail quickly.
- Install a water-resistive barrier (house wrap). Overlap seams by at least 6 inches and tape all joints with compatible flashing tape. This layer is your backup defense if moisture ever gets past the siding itself.
- Acclimate your siding panels. As noted above, let HZ10 fiber cement panels sit in the local environment for at least 24 hours before installation. Do not install siding when temperatures are below 40°F or above 90°F, as extreme temperatures affect adhesion and material performance.
- Set proper clearances. This step is non-negotiable for coastal Texas. Maintain a minimum 2-inch clearance from the roofline and a 6-inch clearance from the ground. These gaps prevent water wicking from the roof and soil contact that accelerates moisture damage.
- Fasten panels with corrosion-resistant hardware. Drive fasteners to the correct depth, flush with the panel surface but not countersunk. Overdriven fasteners crack fiber cement and create entry points for water. Use category A/B+ rated nails or screws throughout.
- Seal all seams, joints, and penetrations. Apply a paintable exterior caulk compatible with fiber cement at every butt joint, corner, and around windows and doors. Tool the caulk smooth and allow it to cure fully before painting.
- Apply finish coating. If your siding comes primed but not pre-finished, apply two coats of a high-quality exterior paint rated for humid coastal environments. Follow the manufacturer’s recommended drying time between coats.
Pro Tip: Pay extra attention to the bottom course of siding. This is where moisture, soil splash, and pests most commonly cause problems. Make sure that bottom edge is cut cleanly, sealed, and sitting at the correct height above grade.
“Proper installation clearances and corrosion-resistant fasteners aren’t optional details in coastal Texas. They’re the difference between siding that lasts 30 years and siding that fails in 10.”
Review installation best practices and the full installation workflow to make sure no steps get missed on your project.
Having finished the main steps, let’s highlight easy maintenance and common pitfalls.
Maintenance and troubleshooting for lasting protection
Even the best siding installation will fail without consistent upkeep. In coastal Texas, maintenance isn’t a once-in-a-decade task. It’s an annual commitment that directly affects how long your exterior lasts and how well it performs when a major storm hits.
The single most important maintenance task is cleaning. Salt deposits and mildew are the two biggest enemies of coastal siding, and both accumulate steadily throughout the year. Annual cleaning removes these threats before they can cause lasting damage. Use a soft brush and mild detergent, work from top to bottom, and rinse thoroughly with a garden hose. This one habit alone can add years to your siding’s life.
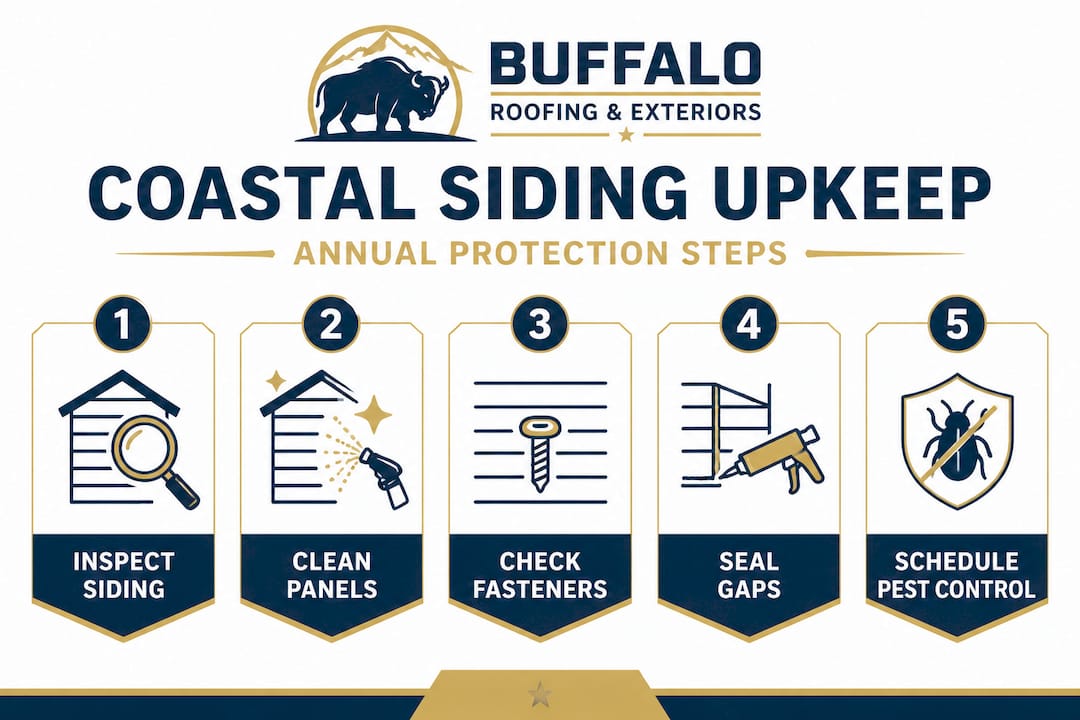
Here’s your ongoing maintenance checklist:
- Clean siding annually to remove salt, mildew, and dirt buildup
- Inspect fasteners every spring for signs of rust or corrosion and replace any that show deterioration
- Check caulk and sealant at all joints, corners, and penetrations after every major storm
- Look for fading or chalking paint as an early sign that your finish coating needs attention
- Monitor for warping or buckling panels, which can indicate moisture intrusion behind the siding
- Check for pest activity along the bottom courses and around any wood trim elements
Pro Tip: Schedule your annual siding inspection right before hurricane season, typically in late spring. That timing lets you catch and fix any issues while you still have time to complete repairs before the worst weather arrives.
On the finish side, fiber cement siding with ColorPlus technology carries a 15-year fade warranty, which is a strong indicator of long-term color performance. If your siding came primed only, plan to repaint every 10 to 15 years to maintain both appearance and protection. Waiting too long between paint cycles allows moisture to penetrate the primer and reach the panel substrate.
For pest prevention, integrating exterior pest control into your annual maintenance routine is smart practice. Termites and carpenter ants can exploit any gap or crack in your exterior, and coastal humidity creates ideal conditions for wood-destroying insects if any wood trim or framing is exposed.
When troubleshooting problems, use your siding maintenance checklist to systematically identify the source of any issue before assuming the worst. Many problems that look like full panel failure are actually just sealant failures or fastener corrosion that can be addressed without a full replacement. If replacement is necessary, follow the siding replacement steps to make sure the new panels integrate properly with your existing installation.
Now you know what ongoing protection looks like, so let’s examine the bigger picture behind these weatherproofing investments.
What most guides miss about siding weatherproofing
Most articles about siding weatherproofing spend all their time talking about products. Which brand is best. Which material is toughest. And while product selection matters, we’ve seen firsthand that the homes that hold up best after major storms aren’t always the ones with the most expensive siding. They’re the ones where the installation was done right and the maintenance was actually kept up.
The installation details that homeowners tend to skip, such as proper clearances, corrosion-rated fasteners, and acclimation time, are exactly the details that determine whether a product performs as advertised or fails years ahead of schedule. A $5,000 siding job done with standard fasteners in a salt-air environment is a worse investment than a $4,000 job done with the correct hardware. The product label doesn’t matter if the installation undermines it.
The insurance angle is another thing most guides barely mention, and it’s a significant missed opportunity. Qualifying for FORTIFIED program standards through exterior weatherproofing upgrades can save Texas coastal homeowners hundreds of dollars per year on wind and storm premiums. Over a 10-year period, those savings can offset a substantial portion of the original weatherproofing investment. Most homeowners don’t know to ask about it, and most guides don’t bother to bring it up.
The honest truth is that weatherproofing is a system, not a product. It’s the combination of the right material, the right installation, and the right maintenance schedule working together over time. When one element is missing, the whole system underperforms. When all three are in place, your home can take what the Gulf Coast throws at it and come out in good shape.
Enhance your protection with expert support
Knowing the steps is one thing. Executing them correctly in a coastal Texas environment is another, and the margin for error is smaller than most homeowners realize.

At Buffalo Roofing & Exteriors, we specialize in professional siding installation built specifically for the demands of Gulf Coast weather. Our team understands the local building codes, the FORTIFIED program requirements, and the installation details that make the difference between siding that lasts and siding that fails. We serve Corpus Christi, San Antonio, Victoria, and the surrounding coastal communities, and we offer free estimates so you can understand your options before committing to anything. Whether you need a full exterior upgrade or just a professional inspection to identify vulnerabilities, we’re ready to help you get your home ready for whatever storm season brings next.
Frequently asked questions
What type of fastener is best for weatherproofing siding in coastal Texas?
Use corrosion category A/B+ fasteners and connectors rated for saltwater proximity, which provide the best storm resistance for homes within 3,000 feet of the shoreline.
How often should I clean my siding to prevent salt or mildew damage?
Annual cleaning is the recommended minimum for coastal Texas siding to prevent salt and mildew buildup from causing lasting surface and substrate damage.
What type of siding formulation is optimal for hot, humid coastal Texas?
The HZ10 formulation is engineered specifically for the high heat and humidity of coastal Texas climates and outperforms standard fiber cement formulations in these conditions.
Are there insurance benefits for weatherproofing siding?
Yes. Homes that meet FORTIFIED program standards can qualify for up to 24% insurance discounts on wind and storm premiums in Texas coastal areas, which adds up to significant annual savings over time.